Very early on I was given the task to figure out how the panels and cables should look like. I was still trying to grasp the complexity of the puzzles and symbols and far from realizing that this would become as complex as any area of the island, keeping me busy for the next 4 years, all the way to release.
This task felt like one of hardest due to the constant evolving design and changes, it also extended to the vault boxes, lasers and controllers, basically anything that has a panel you can trace.
For ease of navigation, feel free to use the Contents bar on the right.
Initial Concepts
My first step was to try and understand all the symbols, the colors, and how much room there was to change them. Jonathan was pretty open about it as long as it made sense, so I decided to just try stuff, share with the team and see how they reacted. Here are some of my early attempts.

I realized that the added complexity was interesting but was mostly ‘noise’. If a player is stuck on a panel for three hours, and might start questioning everything, the last thing we want is to make him start paying attention to non important details. The panel itself was kept as simple as possible almost unchanged from the original design, just slightly more elegant and refined.
The bulk of the work became the frame, matching the utility of the panel itself. After some interesting discussions with the architects, I approached the problem in a realistic way, trying to imagine how these would have actually been built. Whoever created them would not be making a unique one every time, he would re-use as much as possible.
With that in mind, I started simple, looking at real world monitors, see how they are assembled, what are the details that give a sense of scale, etc.
Basic Panel
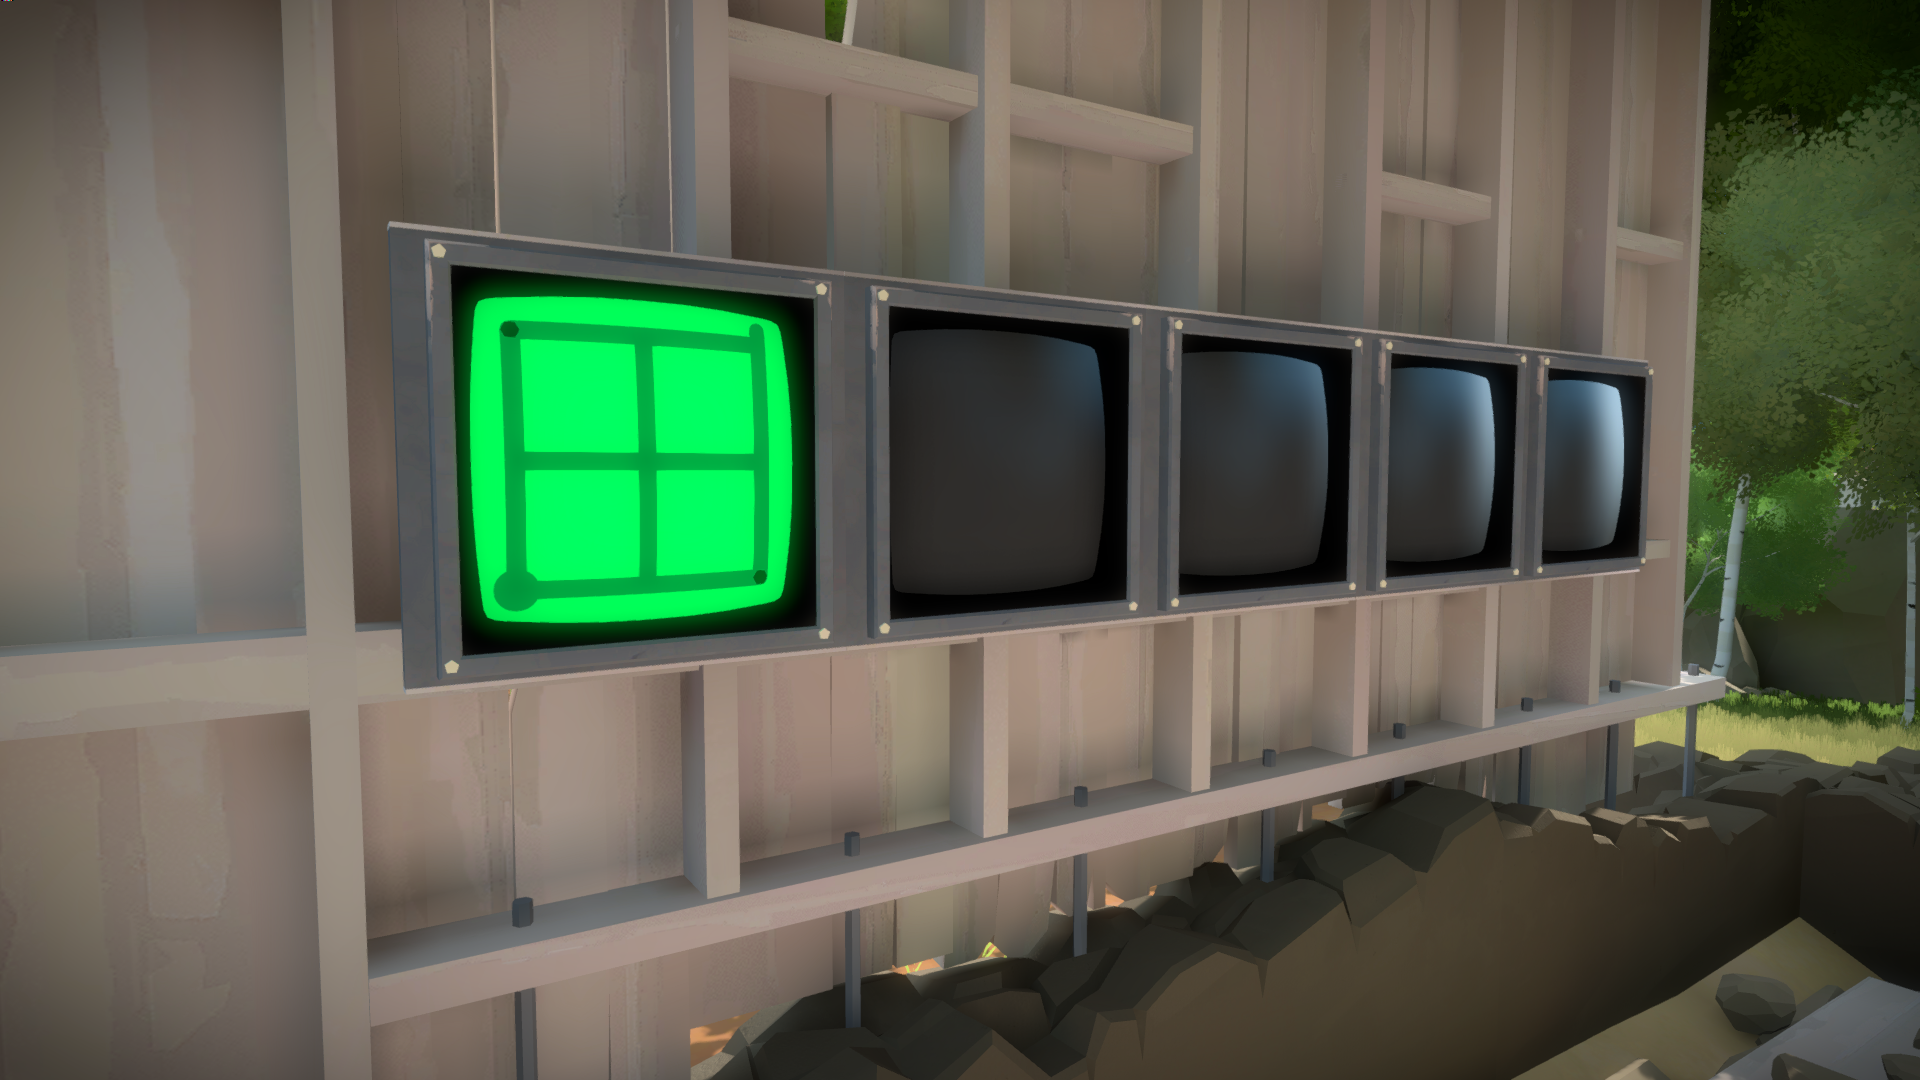
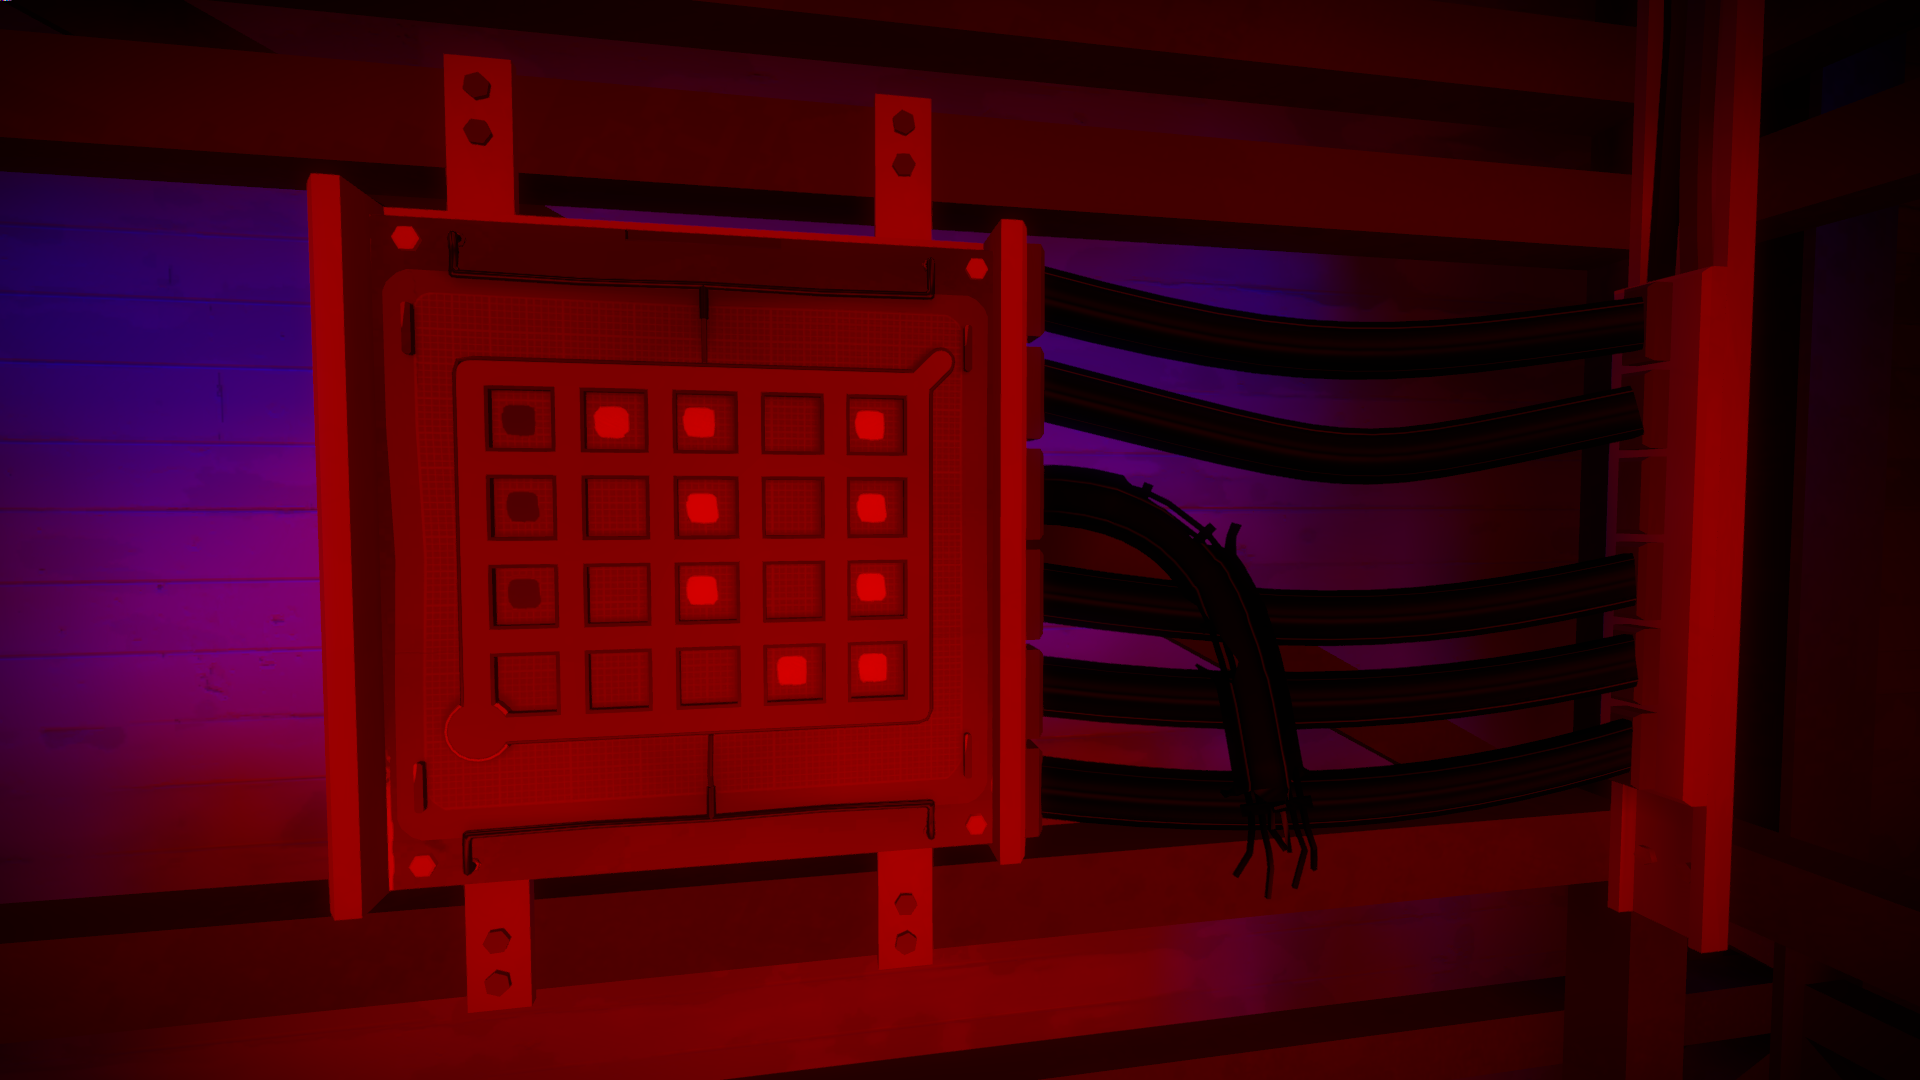
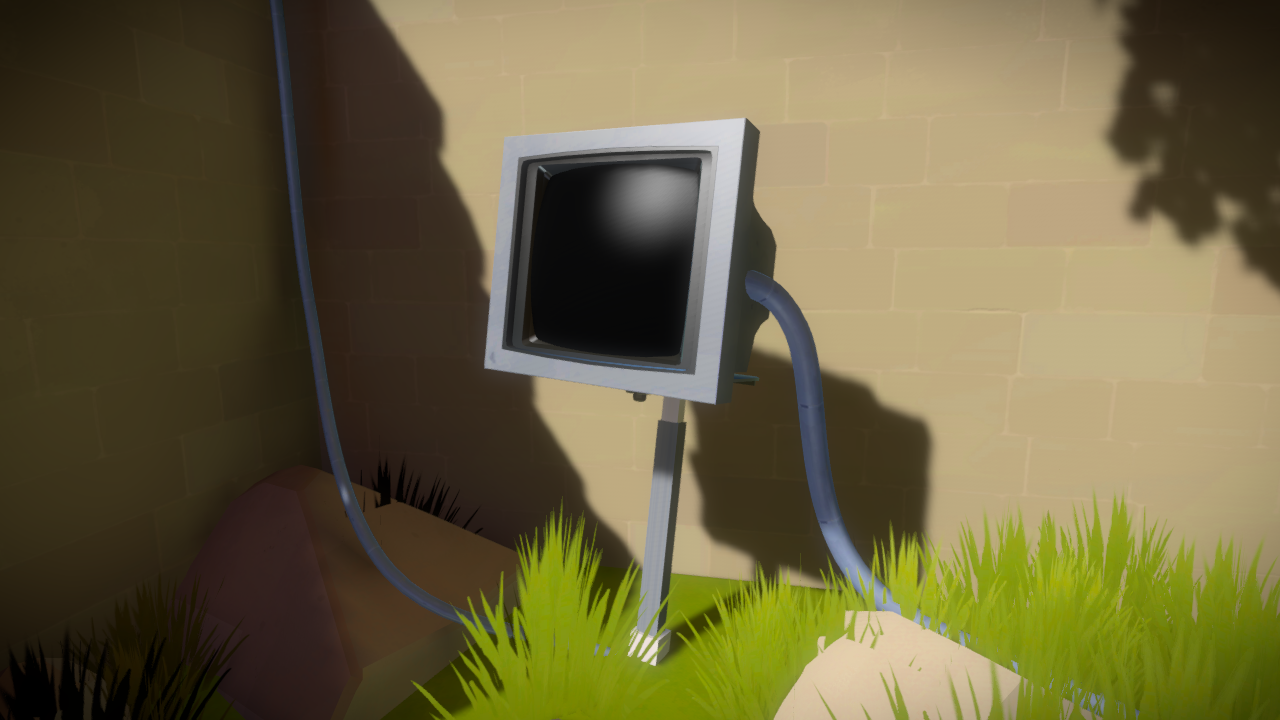
Just like the Entry Area wasa testing ground for most art, this first panel ended up being the lab rat and the starting point for the other panels.
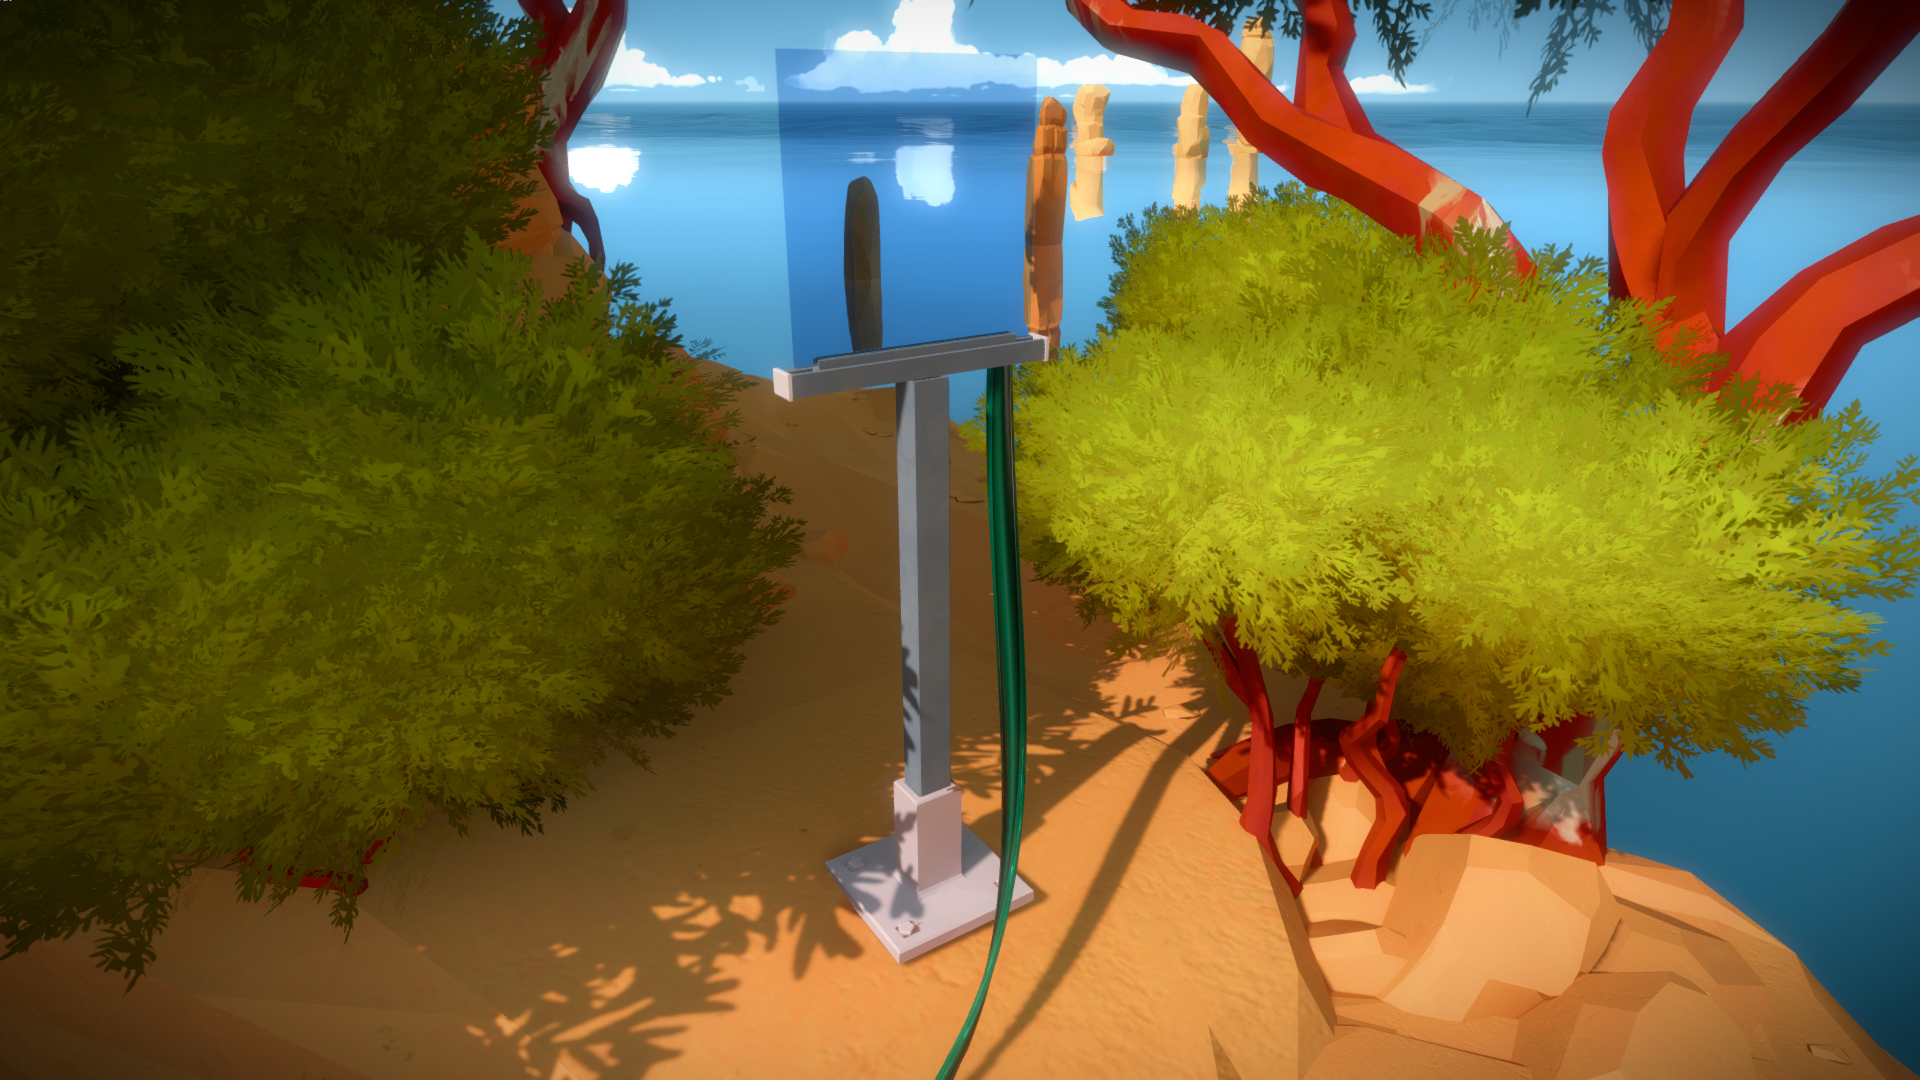
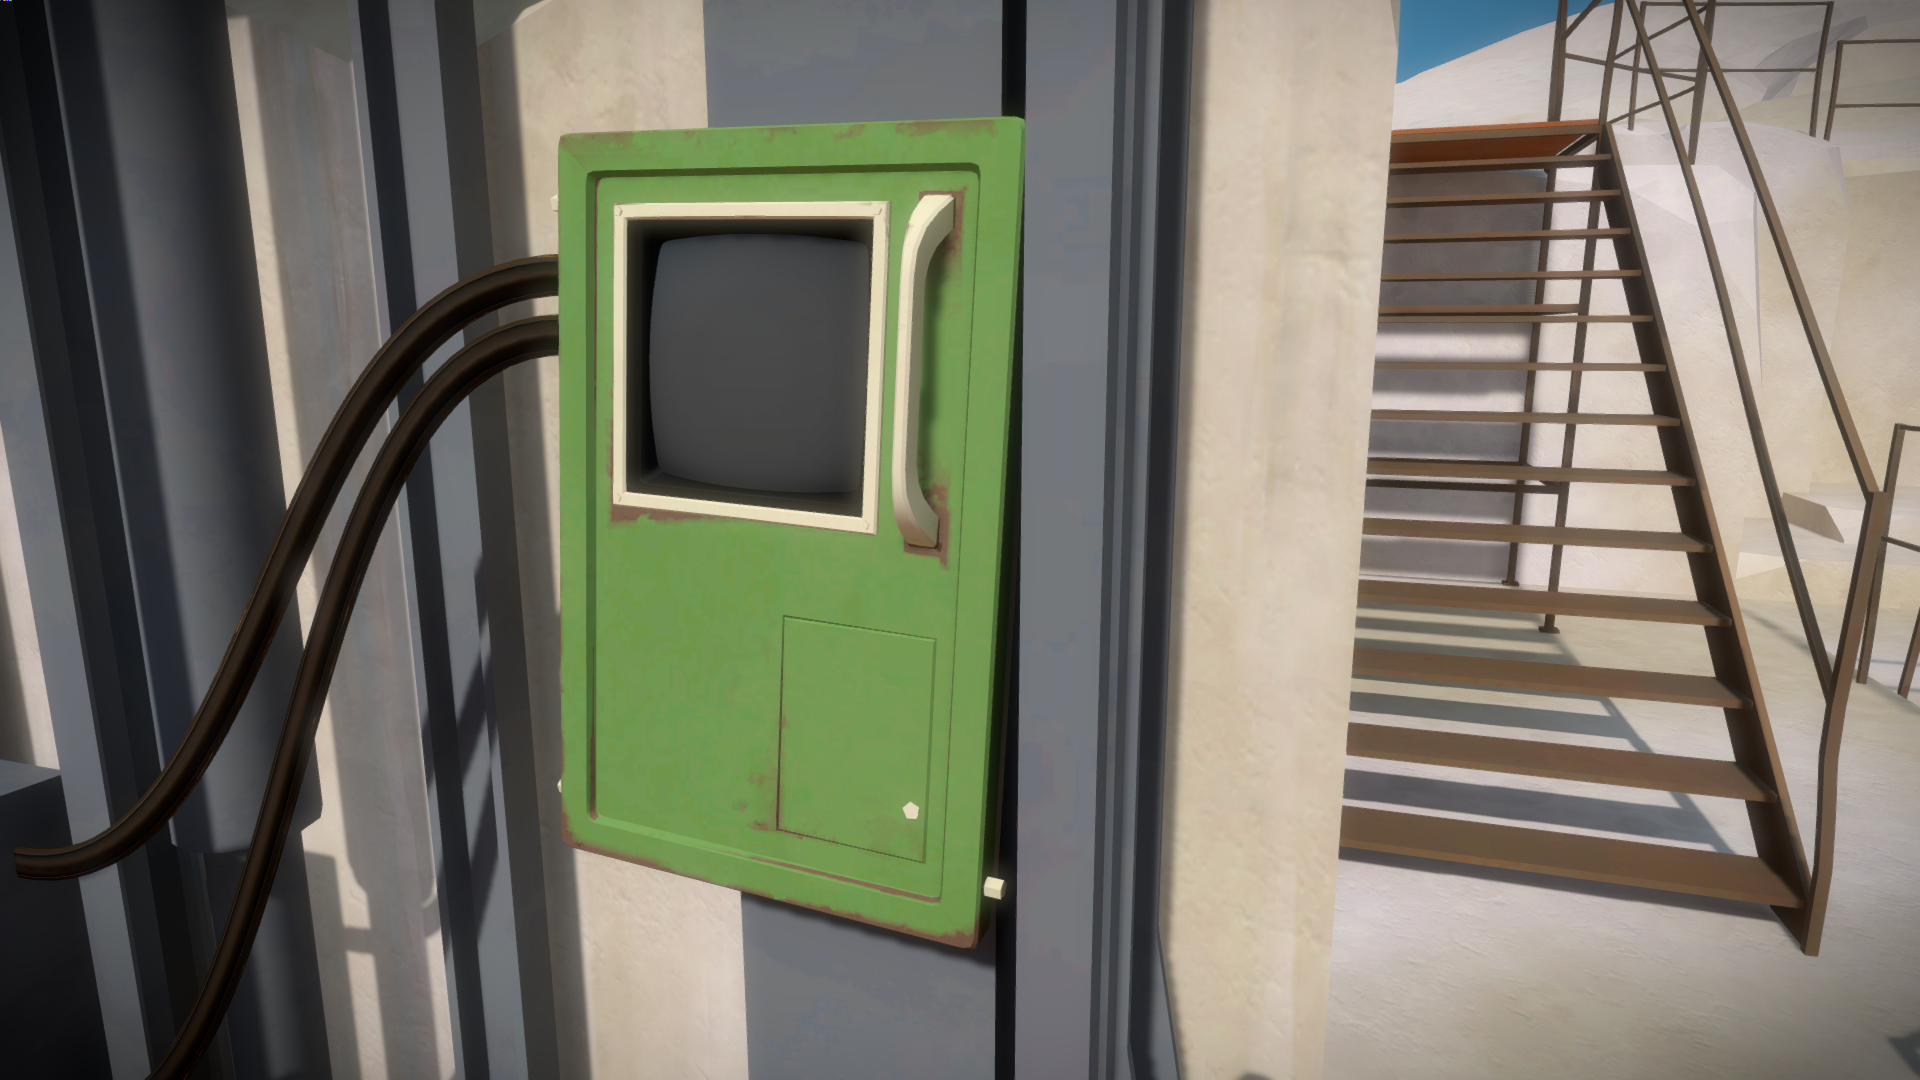
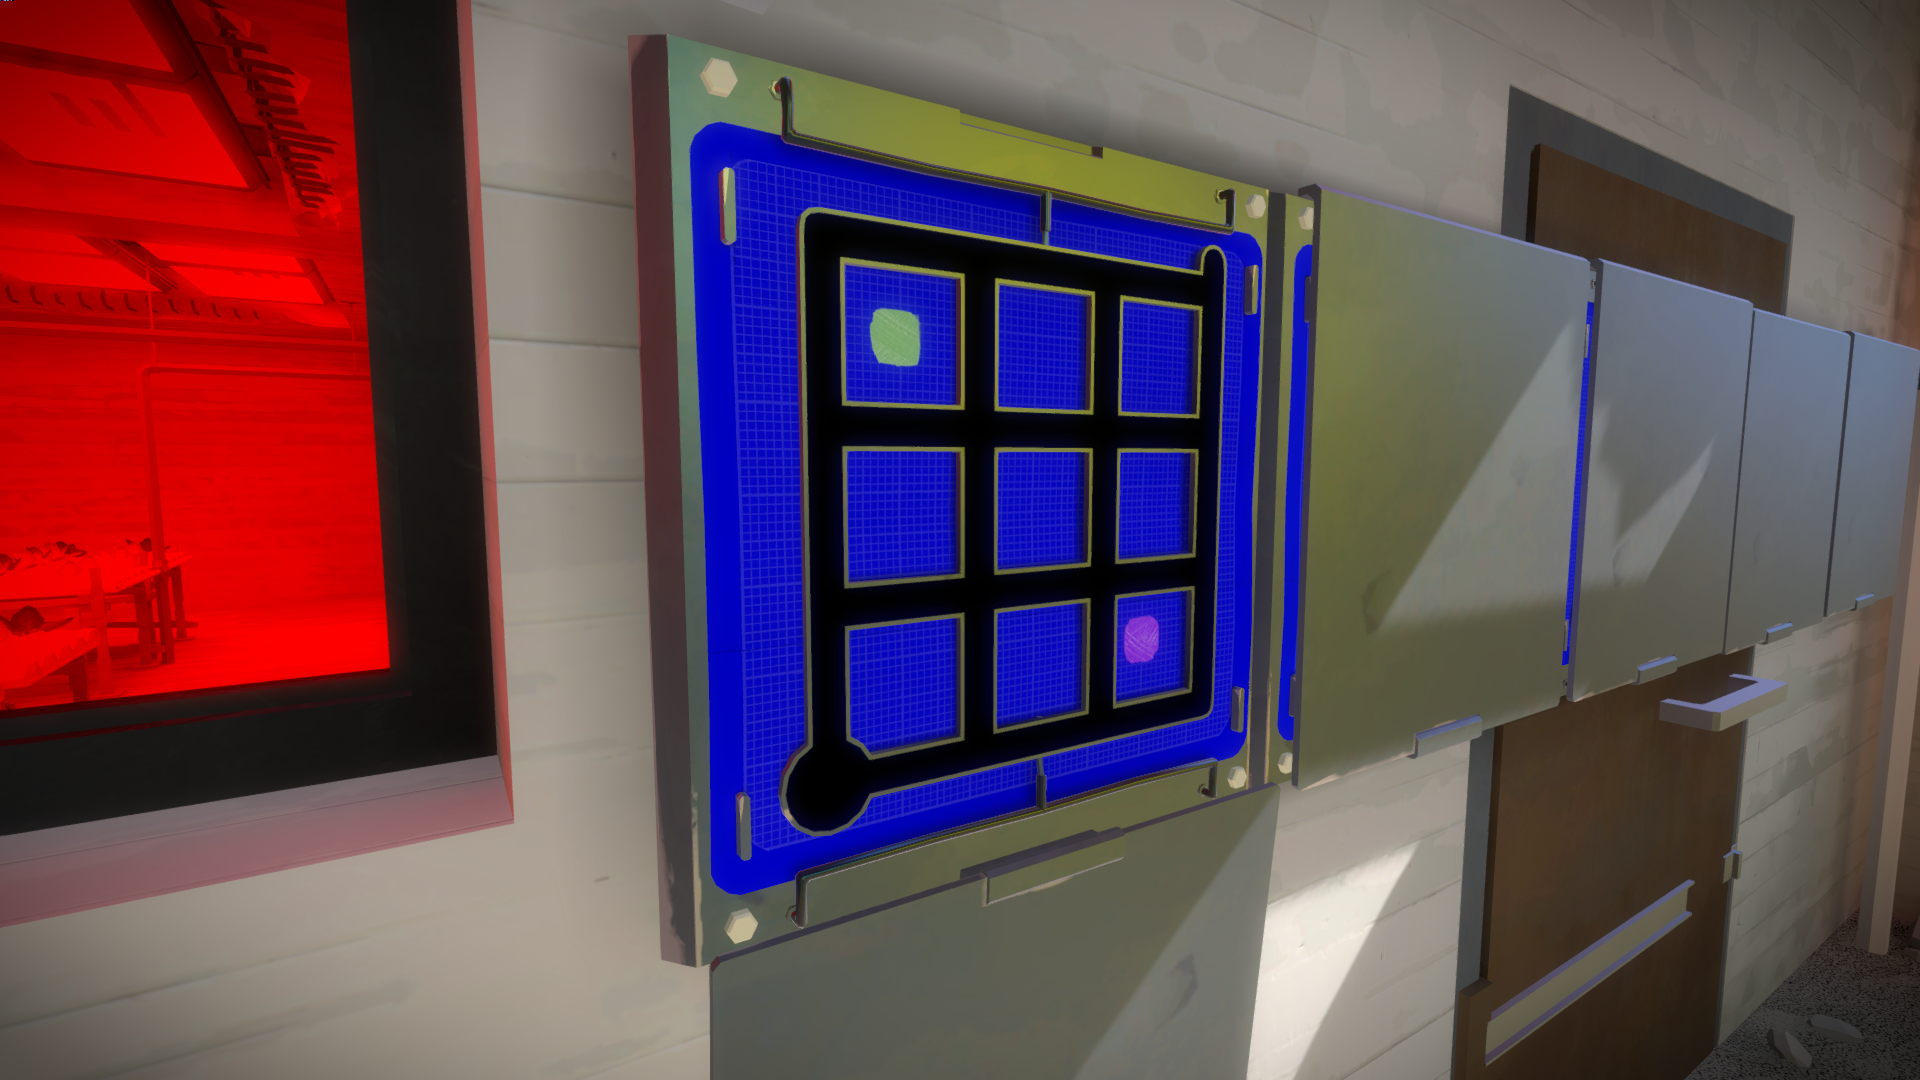
It’s a basic monitor, attached to a sturdy metal pillar and a metal base to make sure it doesn’t feel like you can move it. It’s clean, detailed enough to read as metal but simple enough to let the screen stand out.The white borders allow for the panel to still call attention to itself if turned off.
It can also appear in a row, using the same design with just added pillars for support.
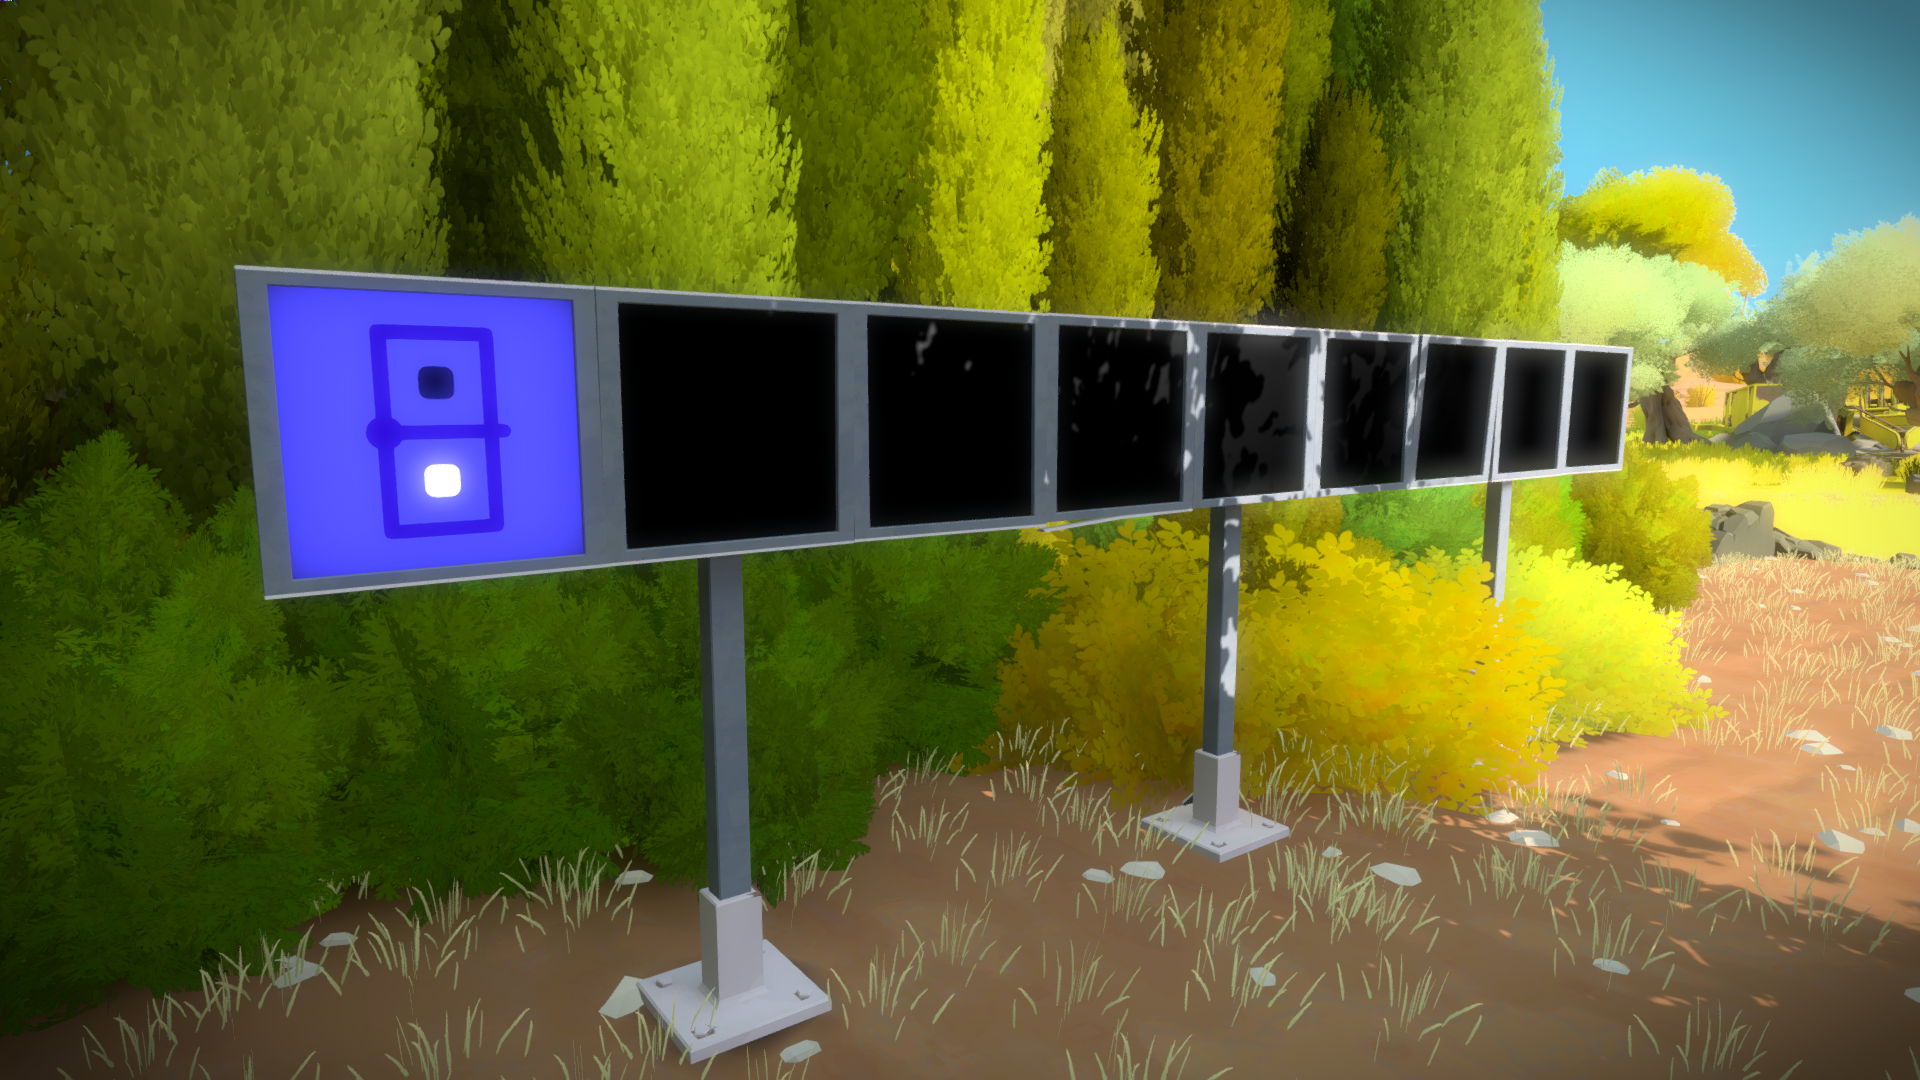
And another long beam on the back.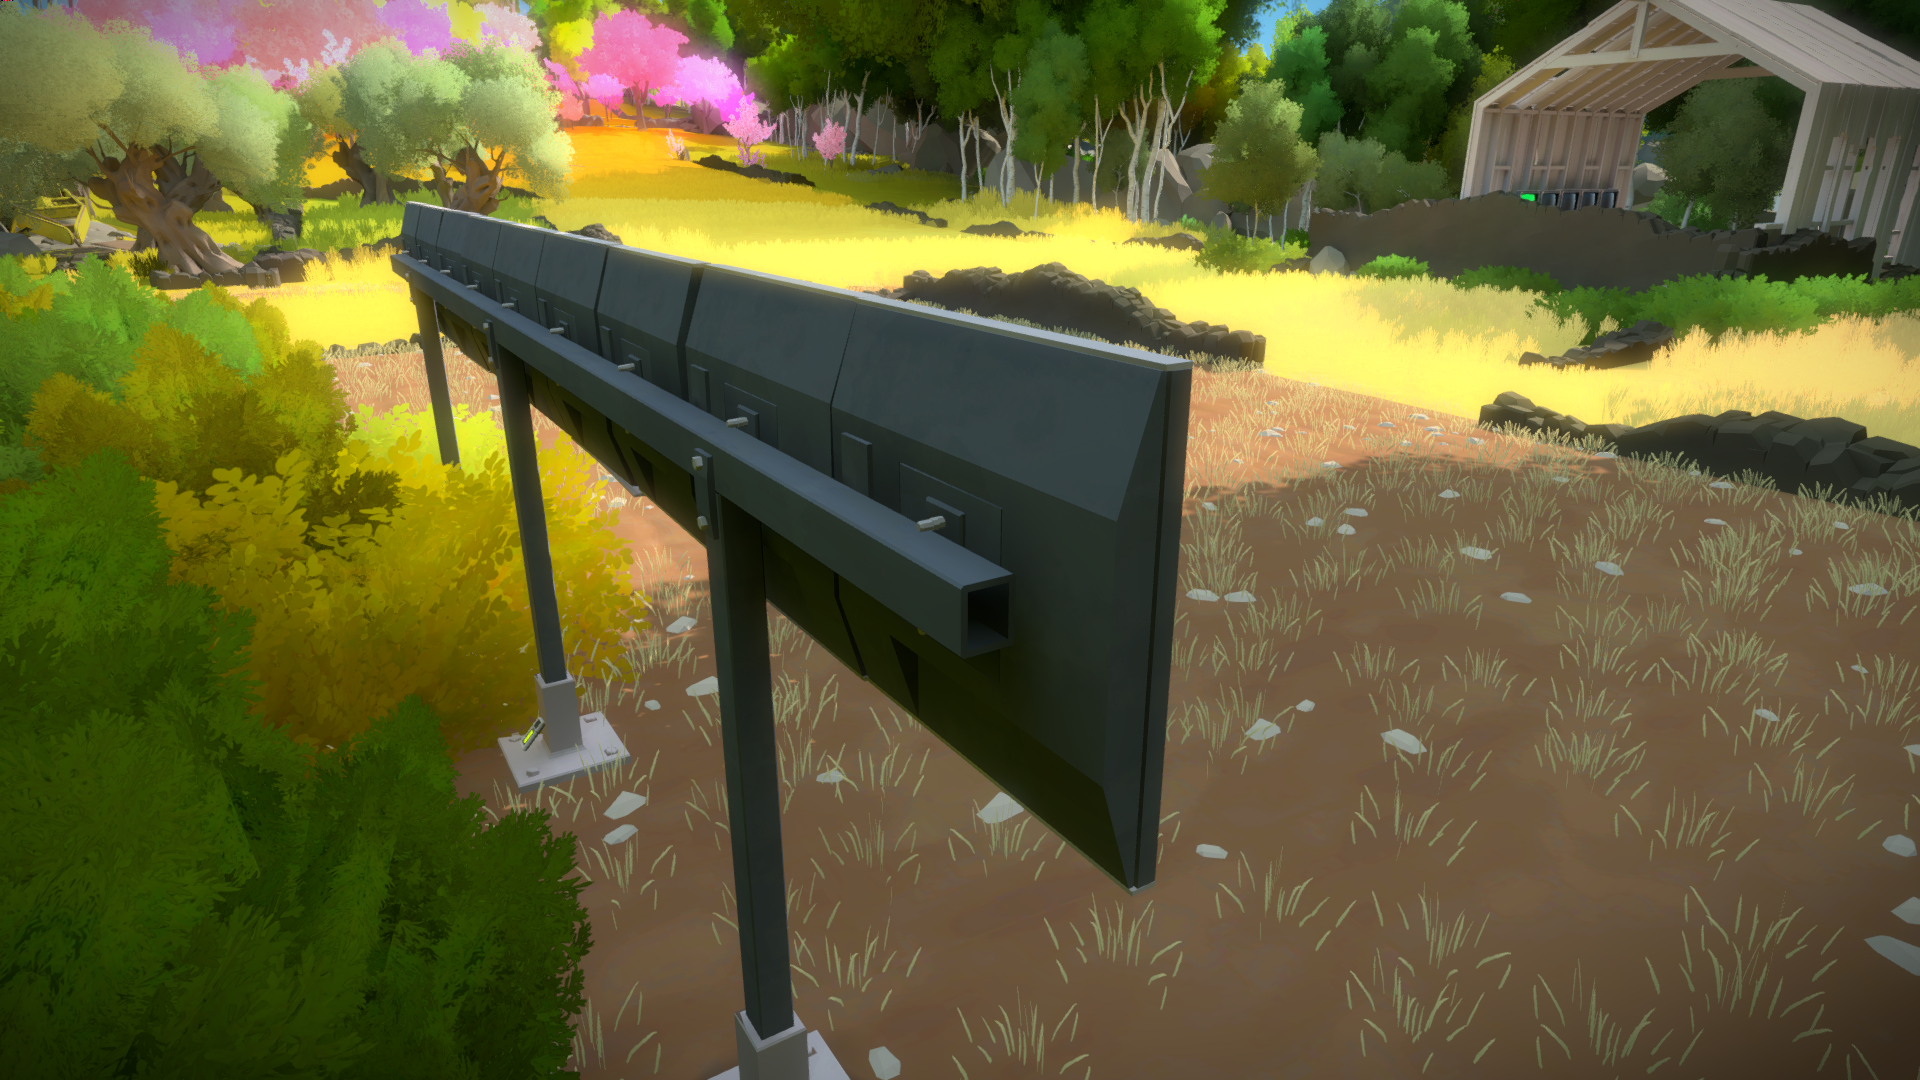
For variety, and to help distinguish certain types of puzzle, there are sometimes variations on the frame. In this example, it isn’t attached to anything.
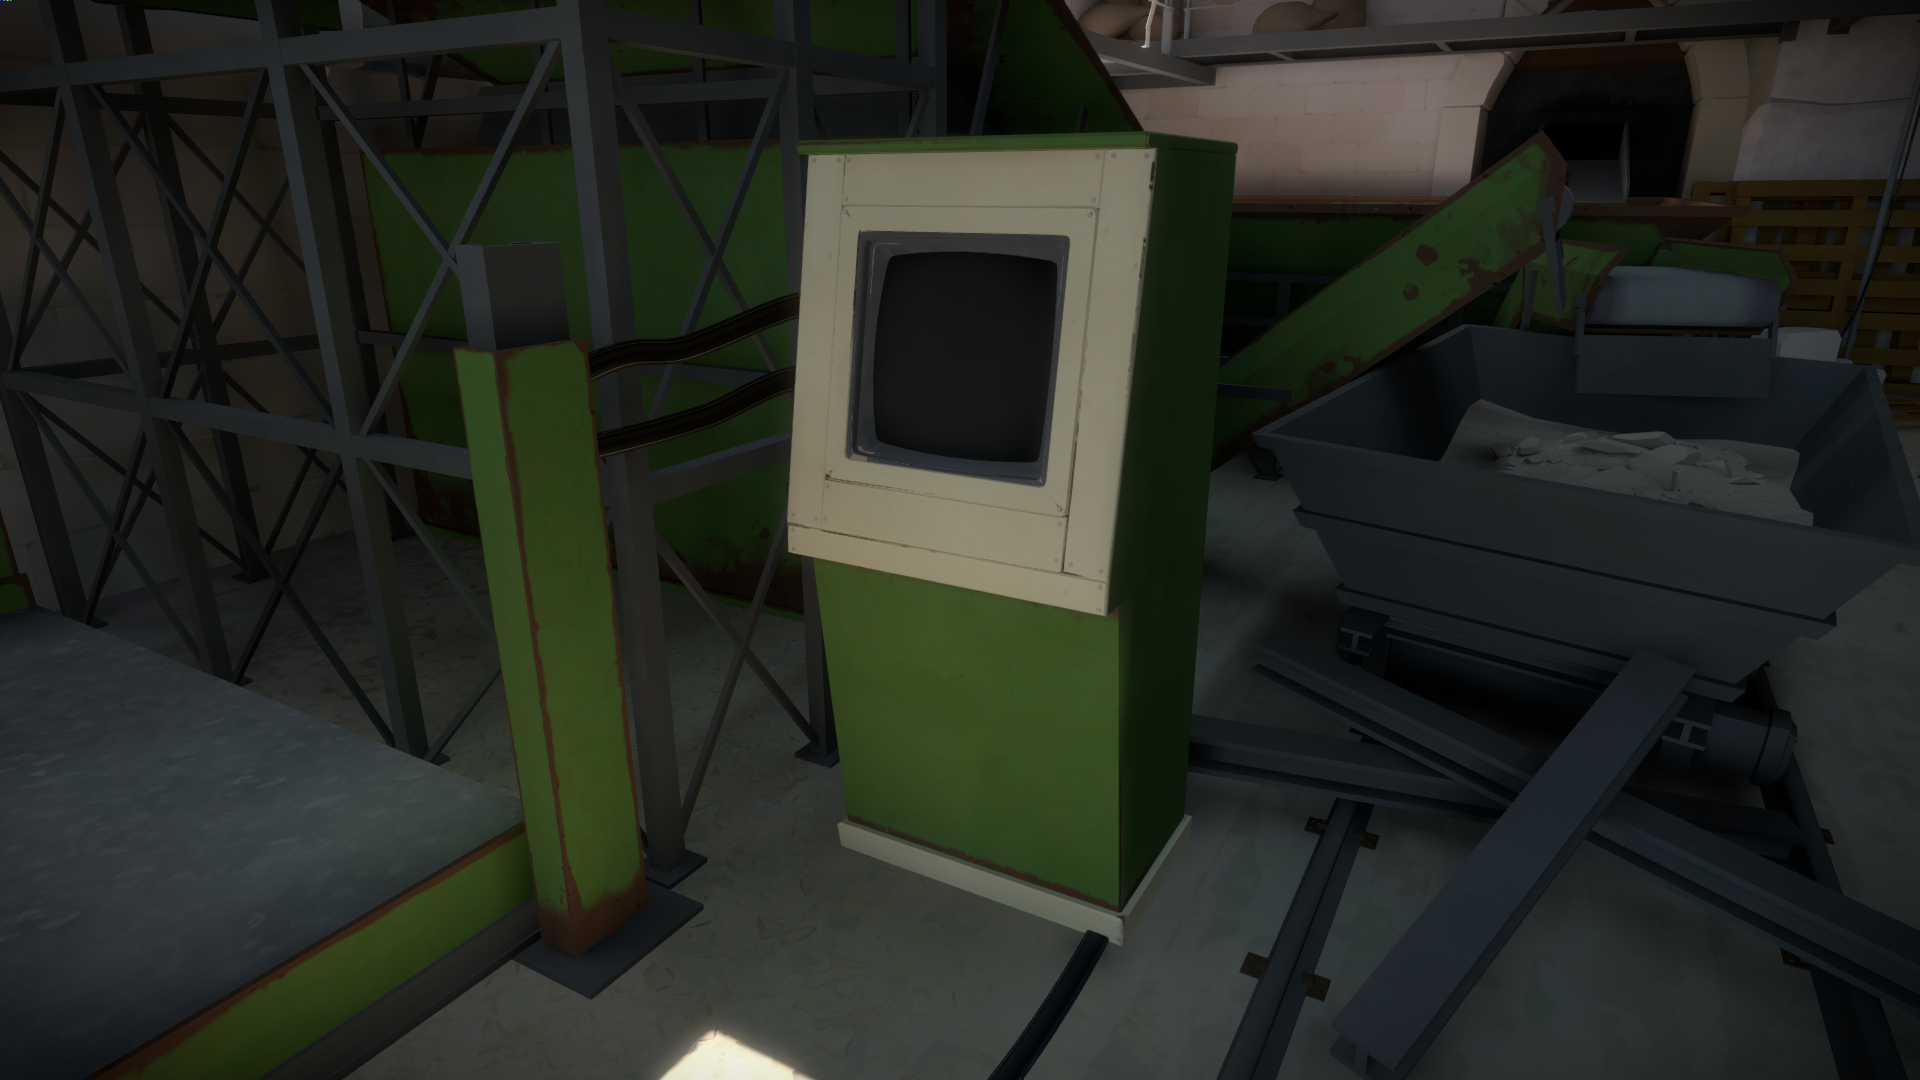
Or here, we have older monitors. Maybe these were designed first?
As you go through the island, the same model has attachments or modifications. In this case, an added side panel:
Or if needed, a complete new type of technology but still using the same support:
Using the same principles when in a row:
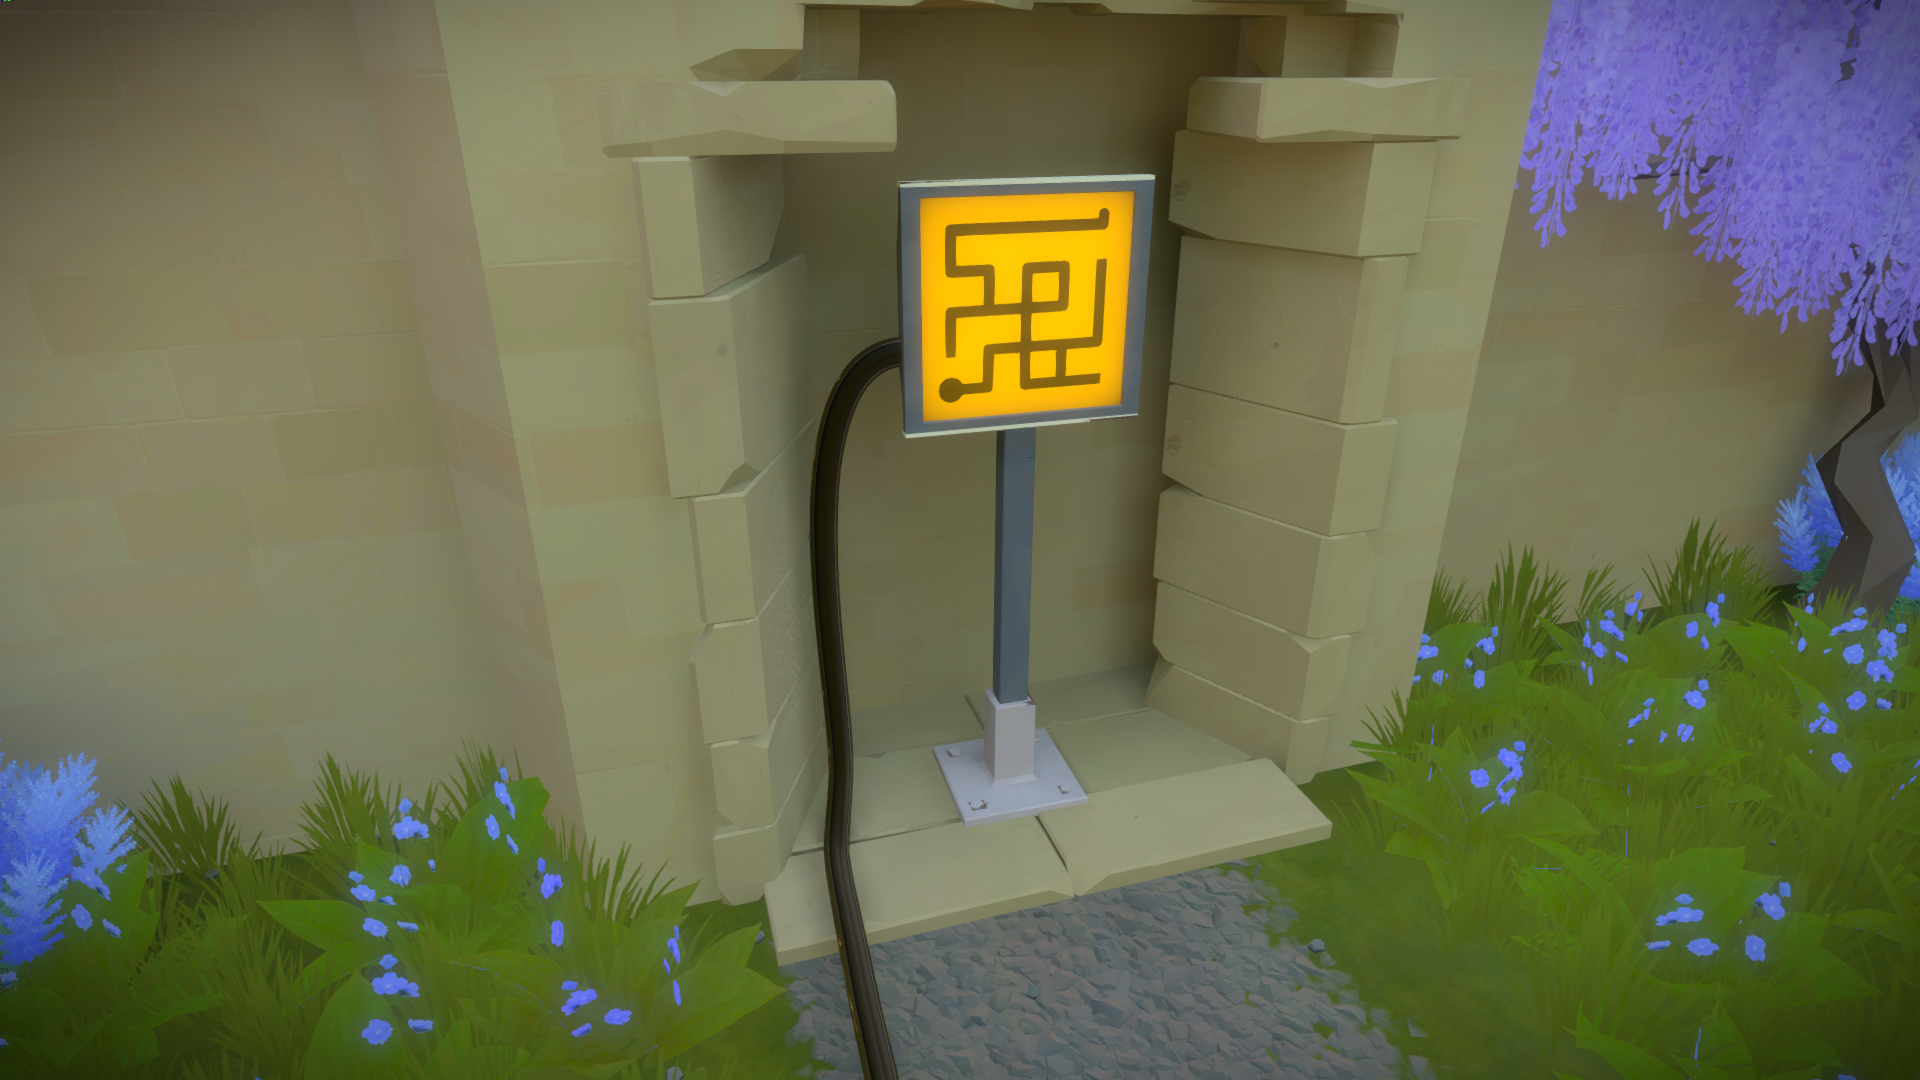
Unique Panels
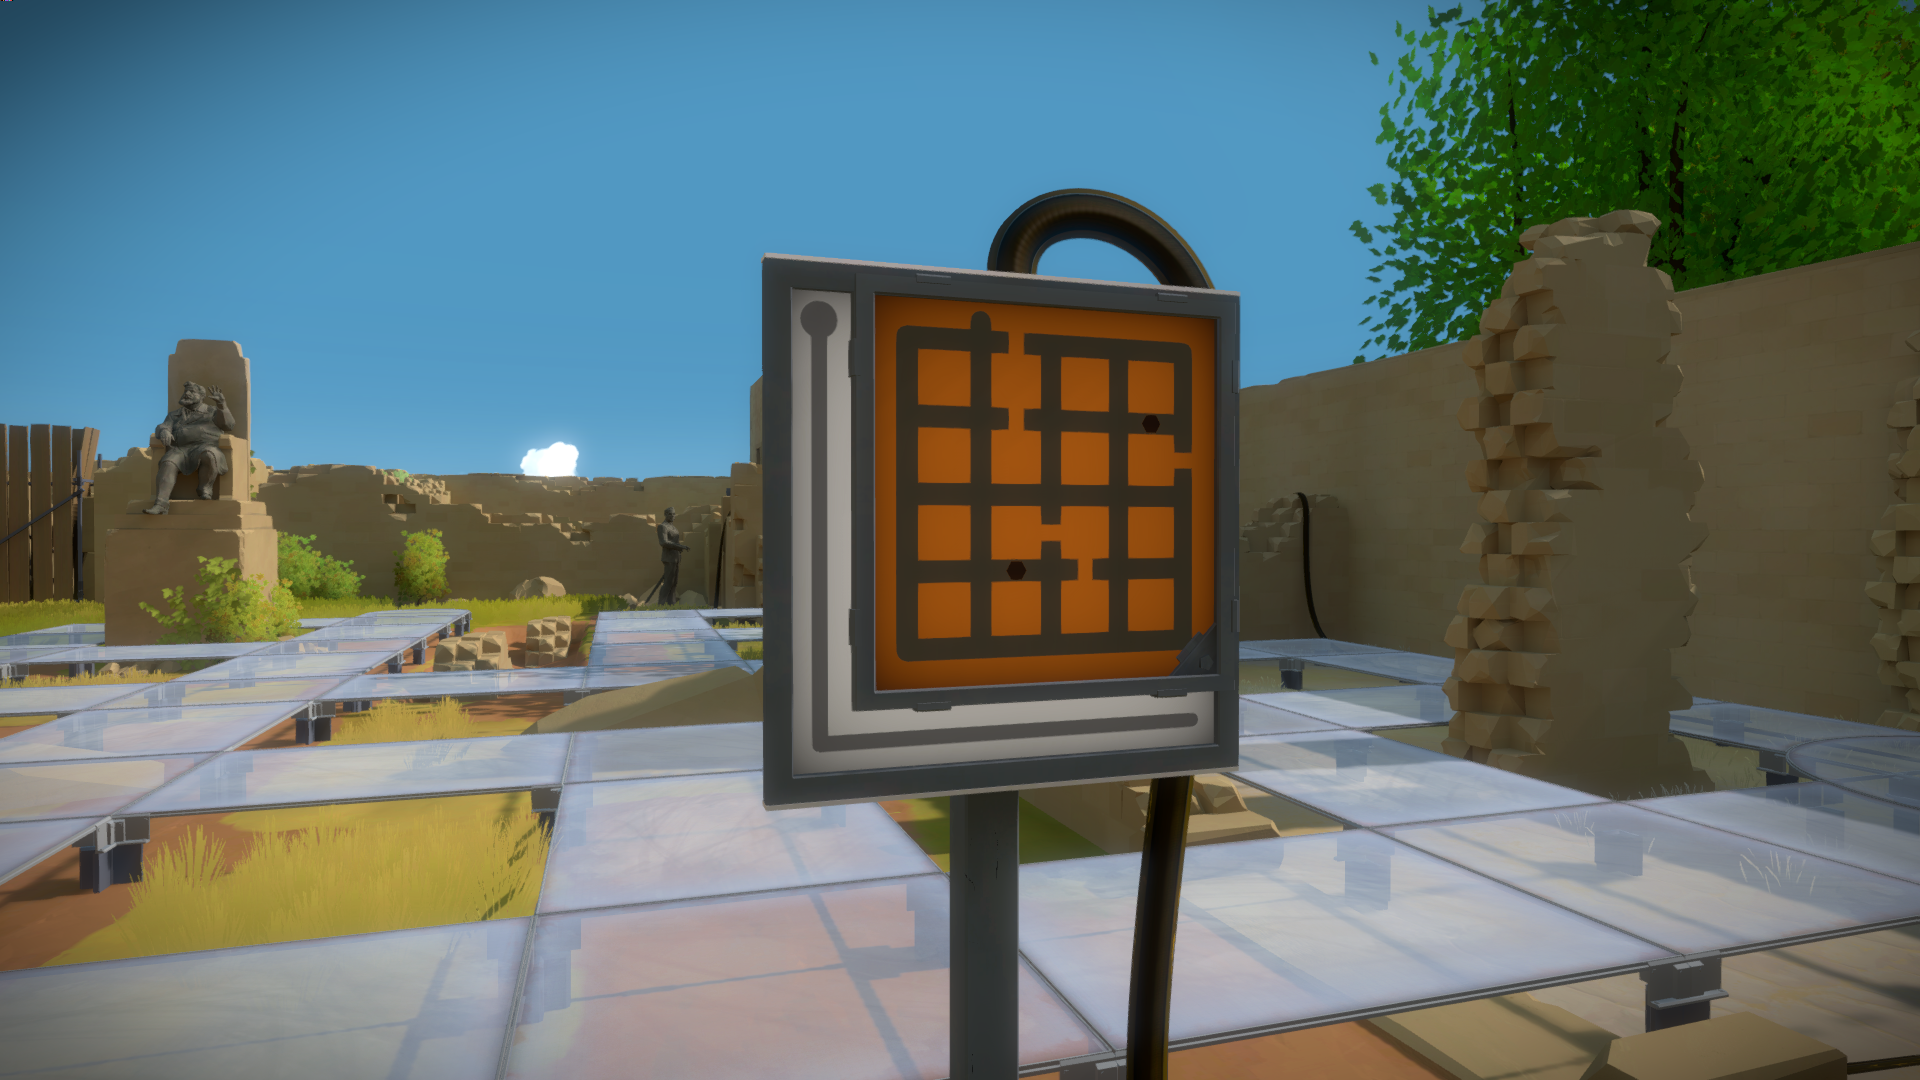
When the puzzle concept changes, it usually required the panels to change too. In the desert ruins for example, they needed to be bigger while still feeling feasible, so the framing became very thin:
The attachment system on the back evolved, to show they can rotate. Eric ended up designing some cool variations for these.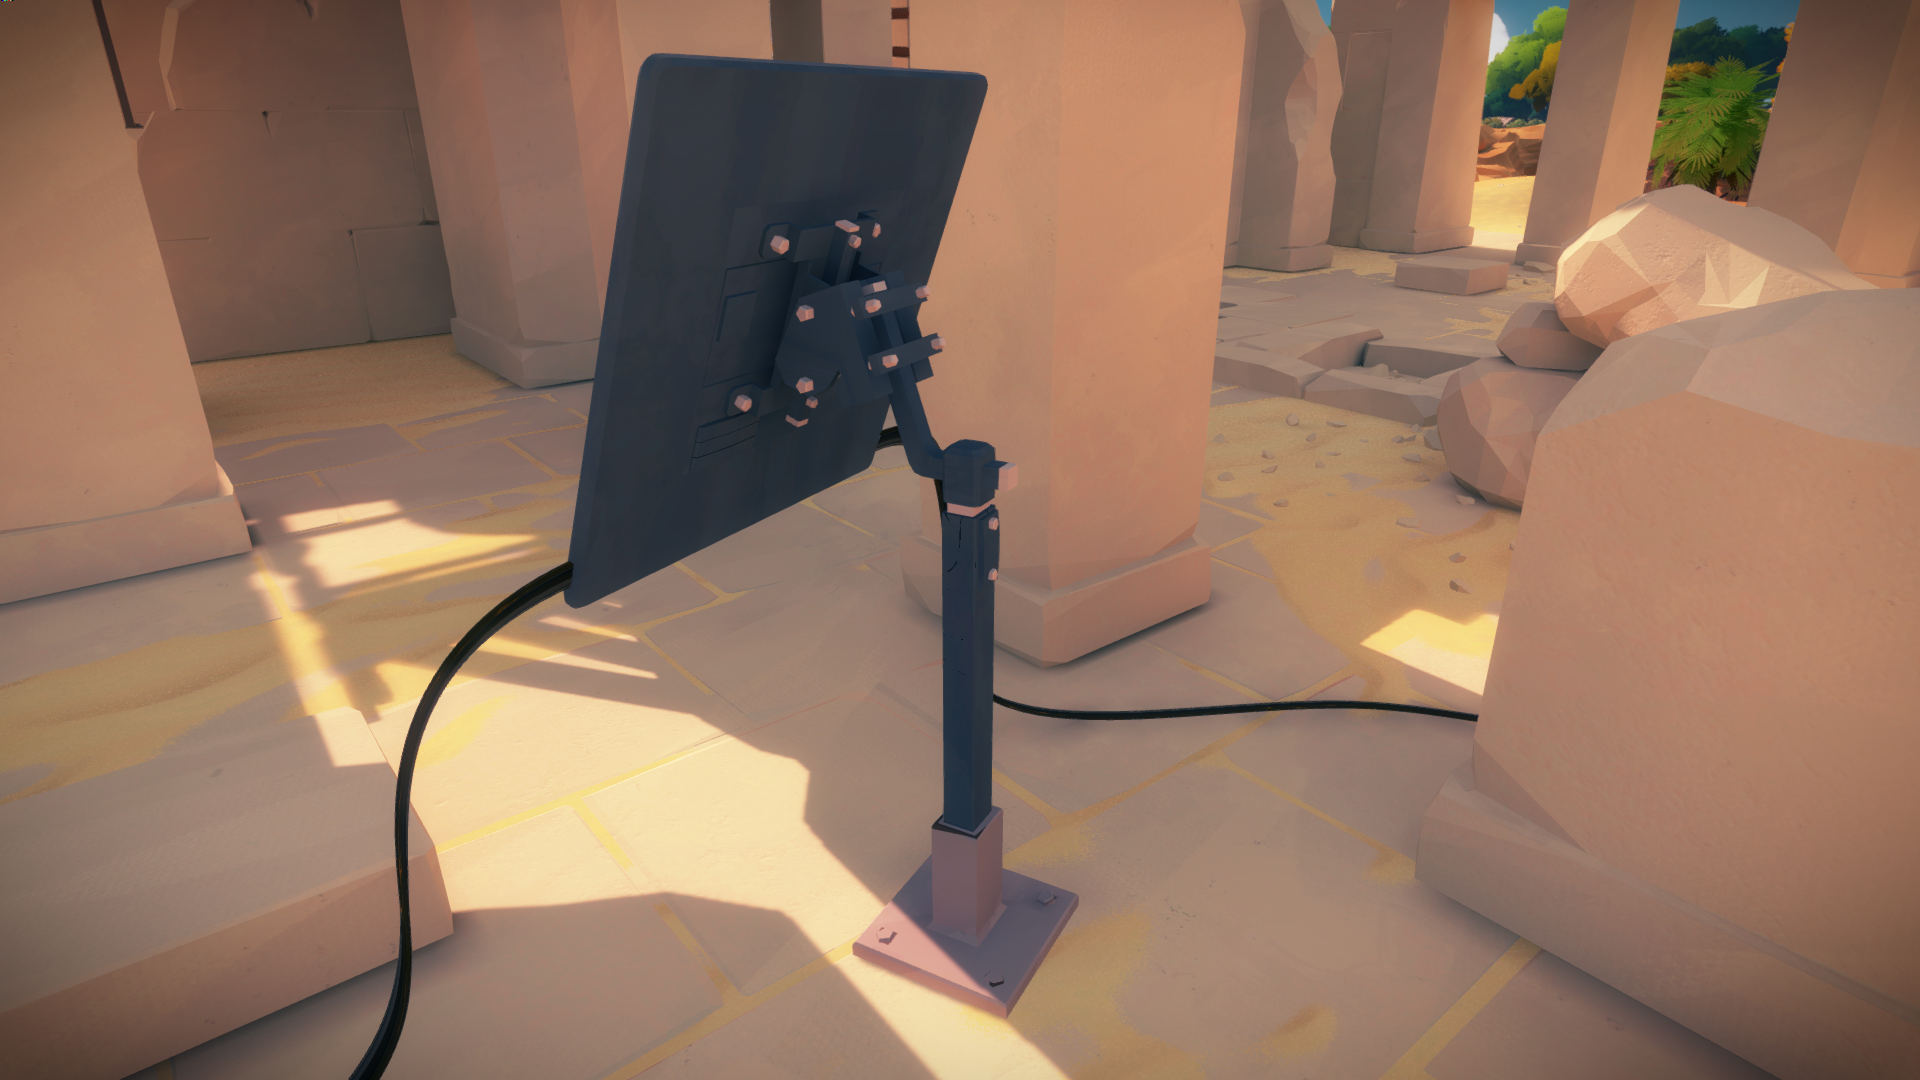
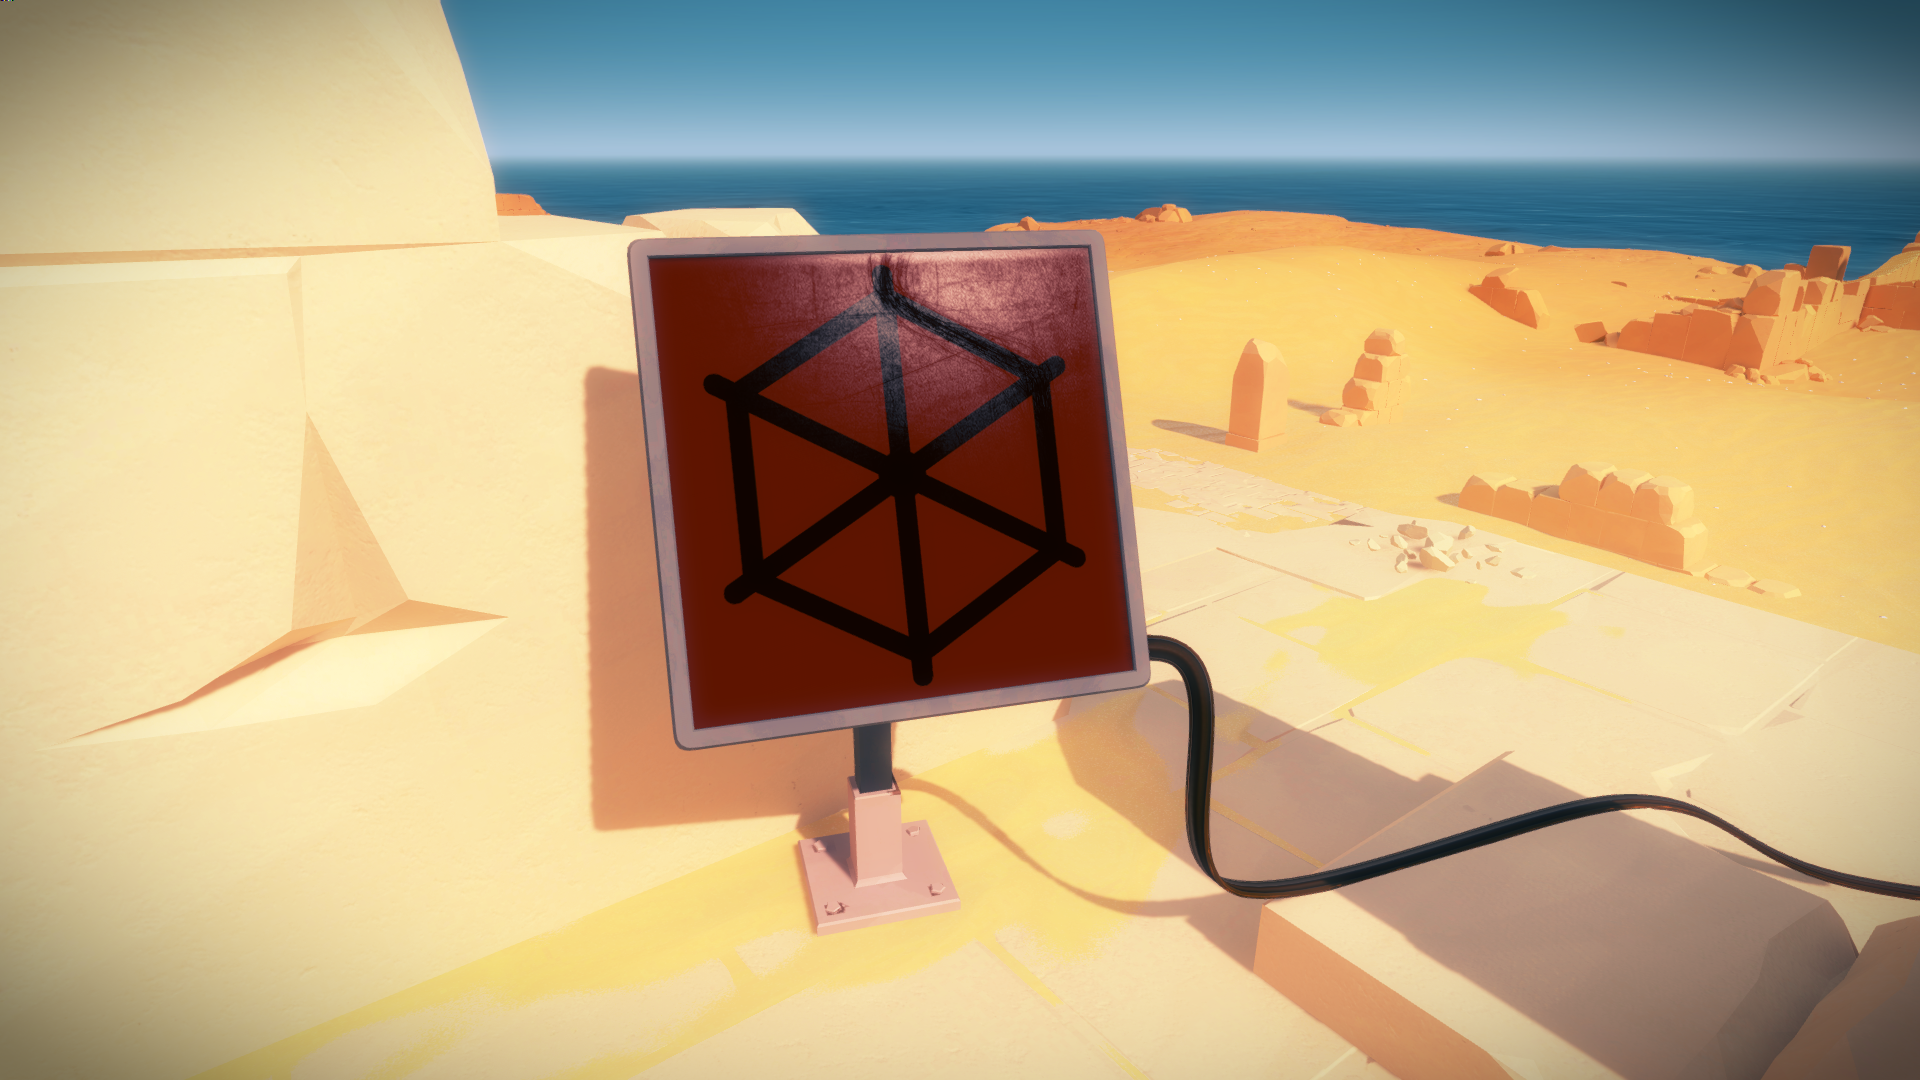
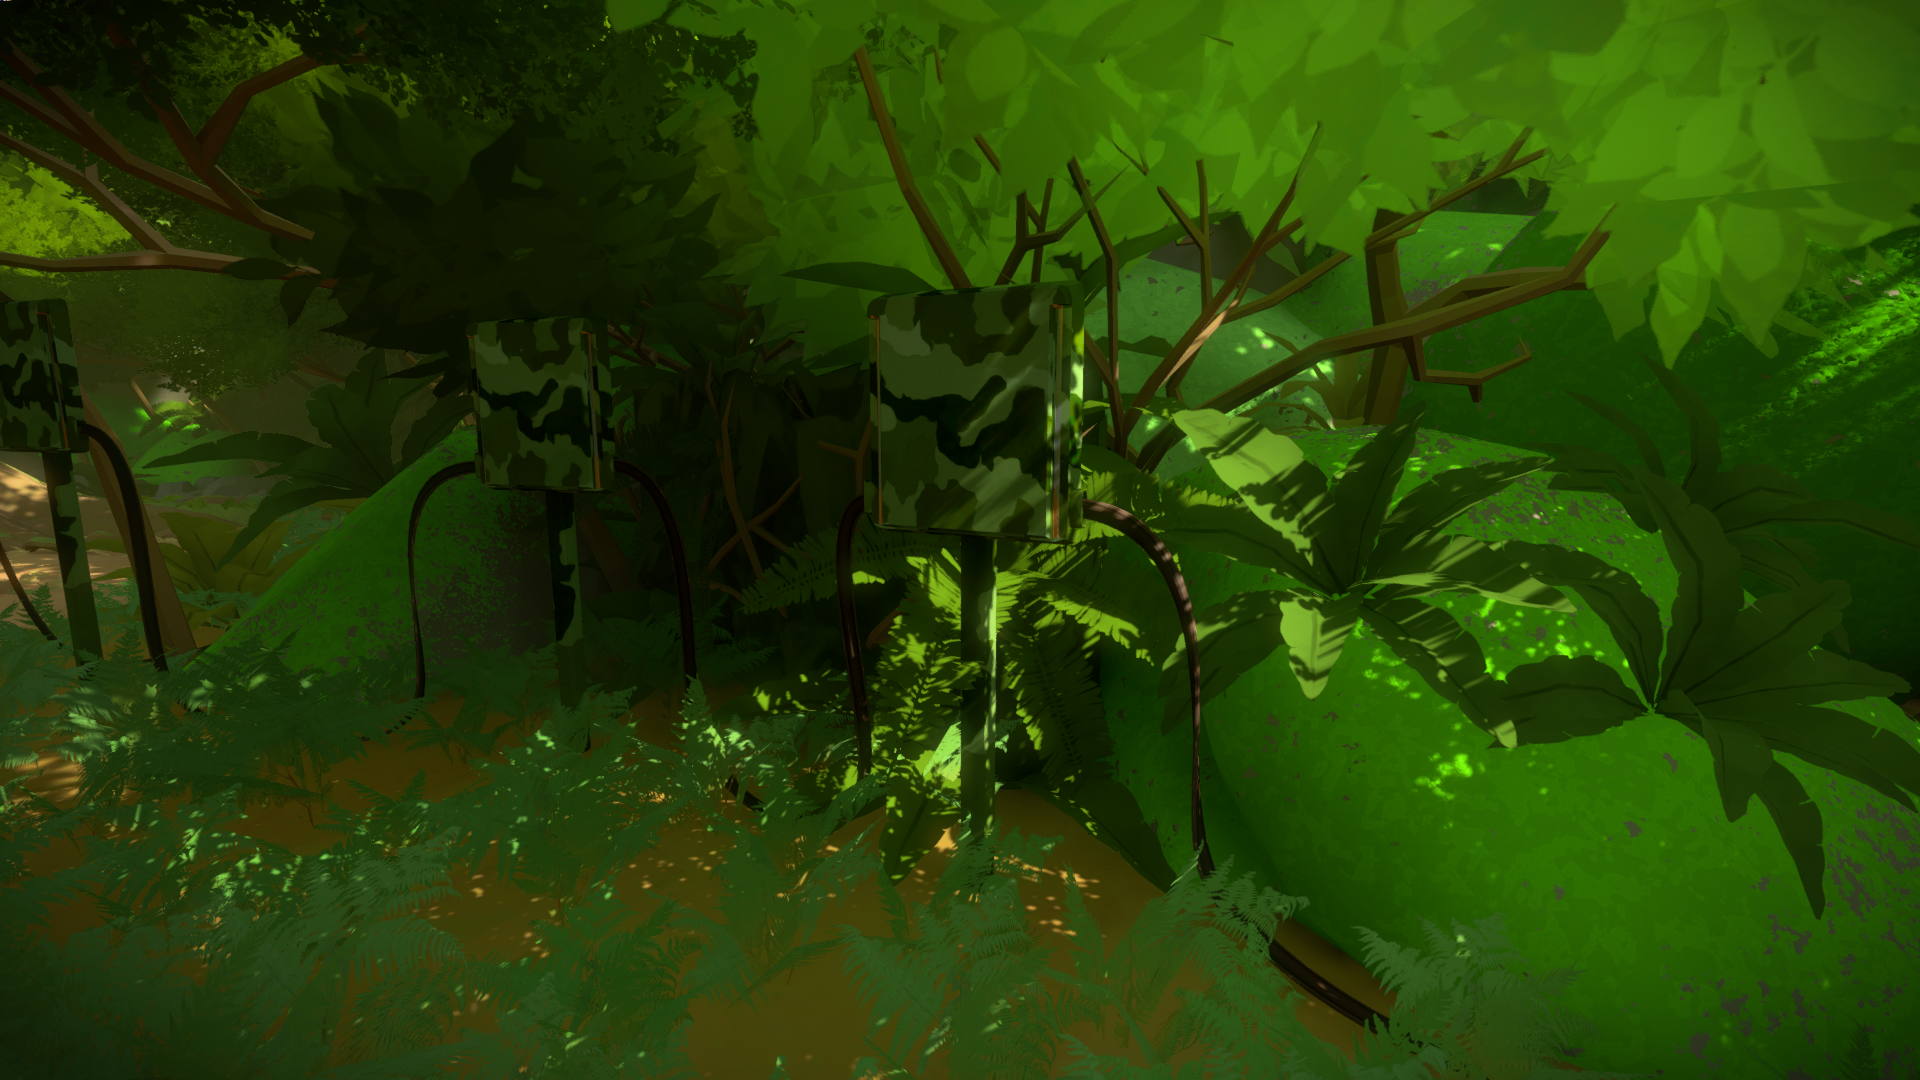
The forest for example required them to be camouflaged:
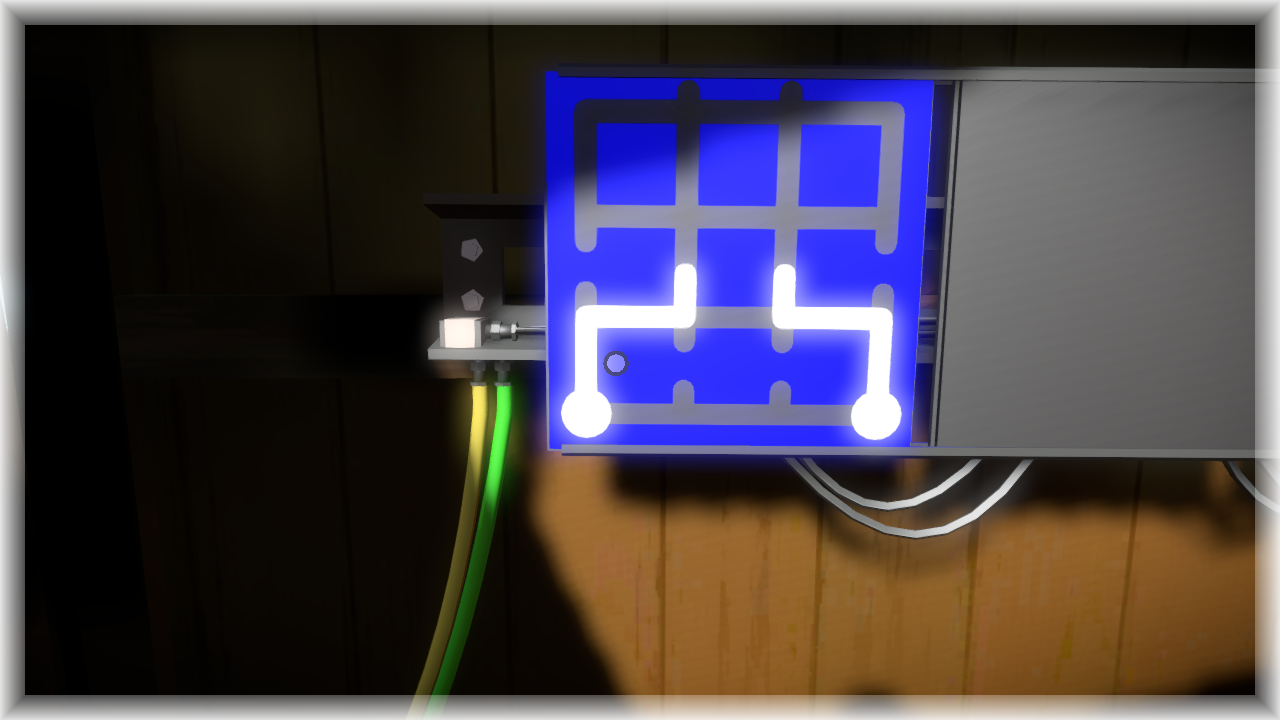
Controllers
Another type of panel, are the controllers. They are puzzle panels, but used to control objects like doors, bridges, etc. Very early on you actually had buttons you would press for certain actions, but Jonathan eventually unified the panel language to also do this.

For the controller I tried to get a feeling of something bulkier, like a refactored factory console that would feel distinct from a puzzle panel:
Just like the normal panels, they can have variations, when hanging to a wall:
Or if they control something specific, like the boat:

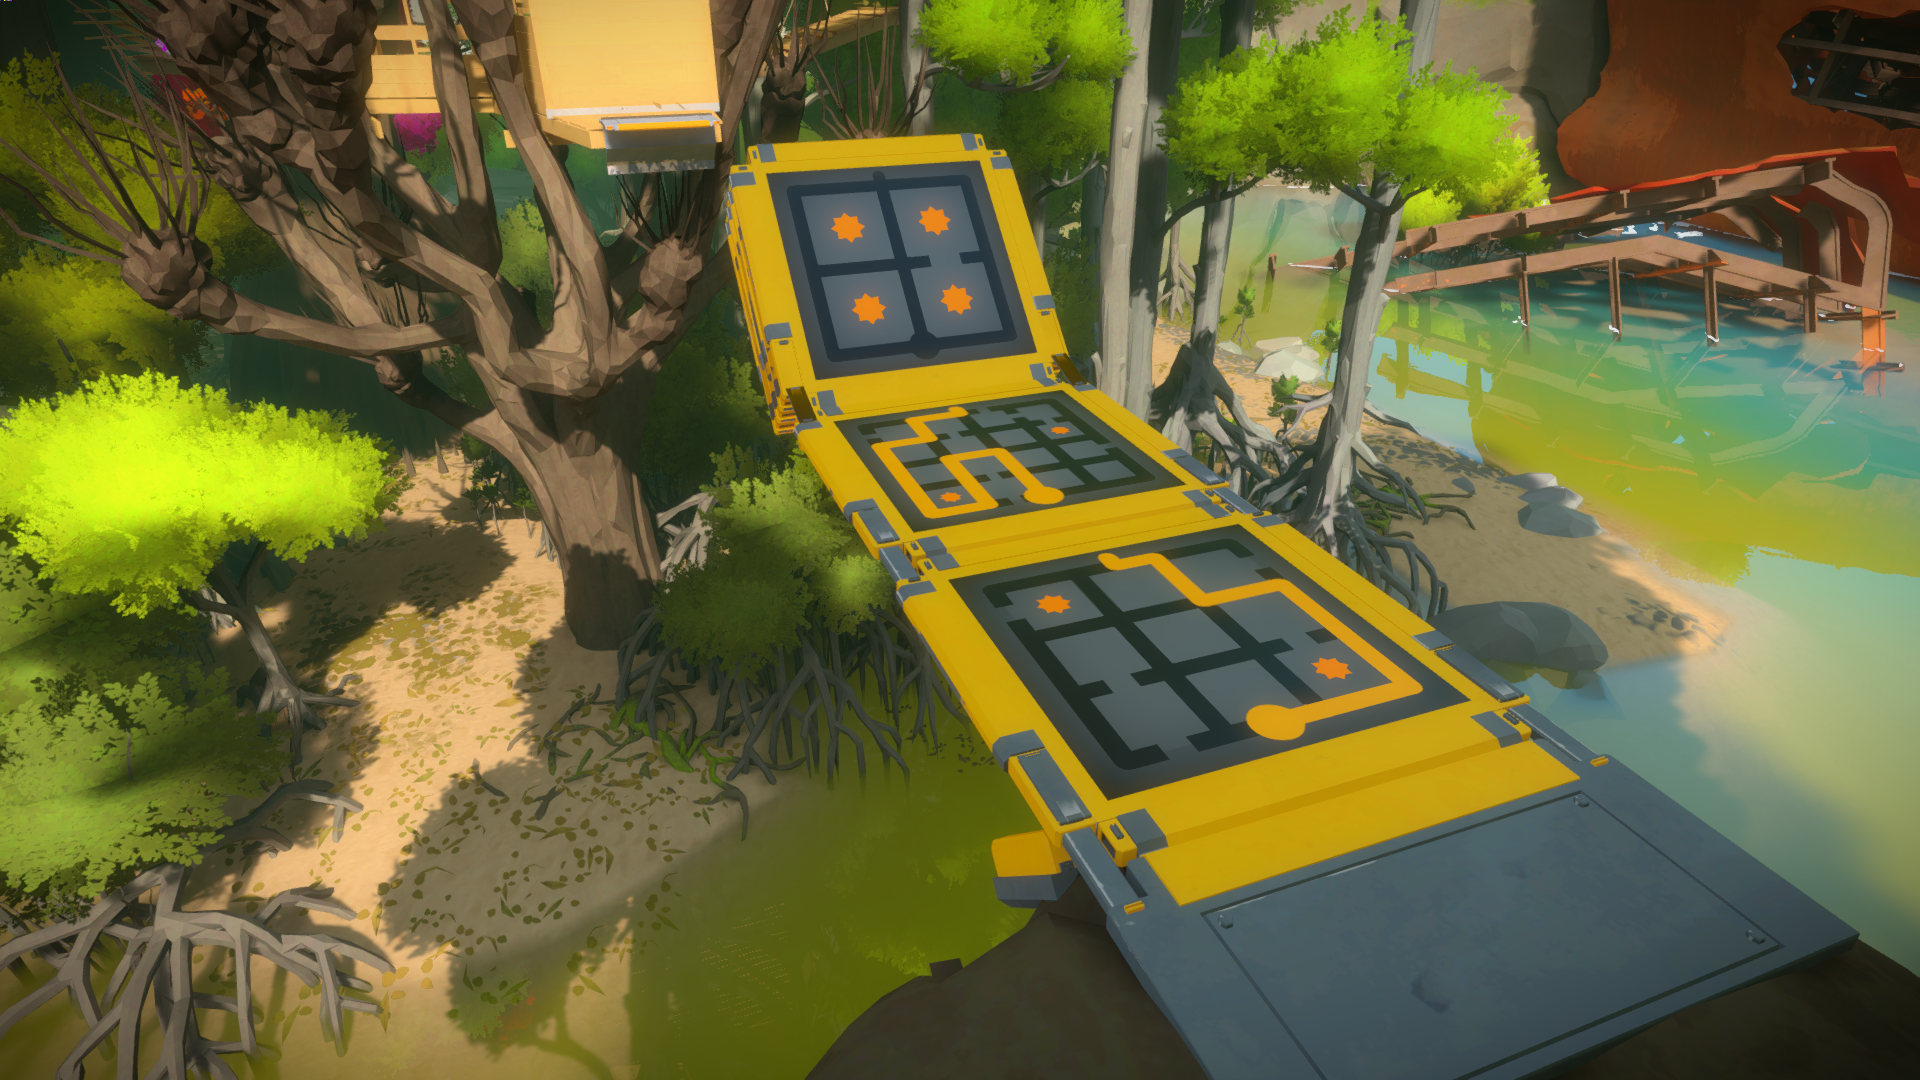
Treehouse Panels
These were a very unique challenge! Not only coming up with a feasible reason for how they would work, but figuring out the folding and unfolding, the bones and the animation system.
There were a lot of diagrams like these:
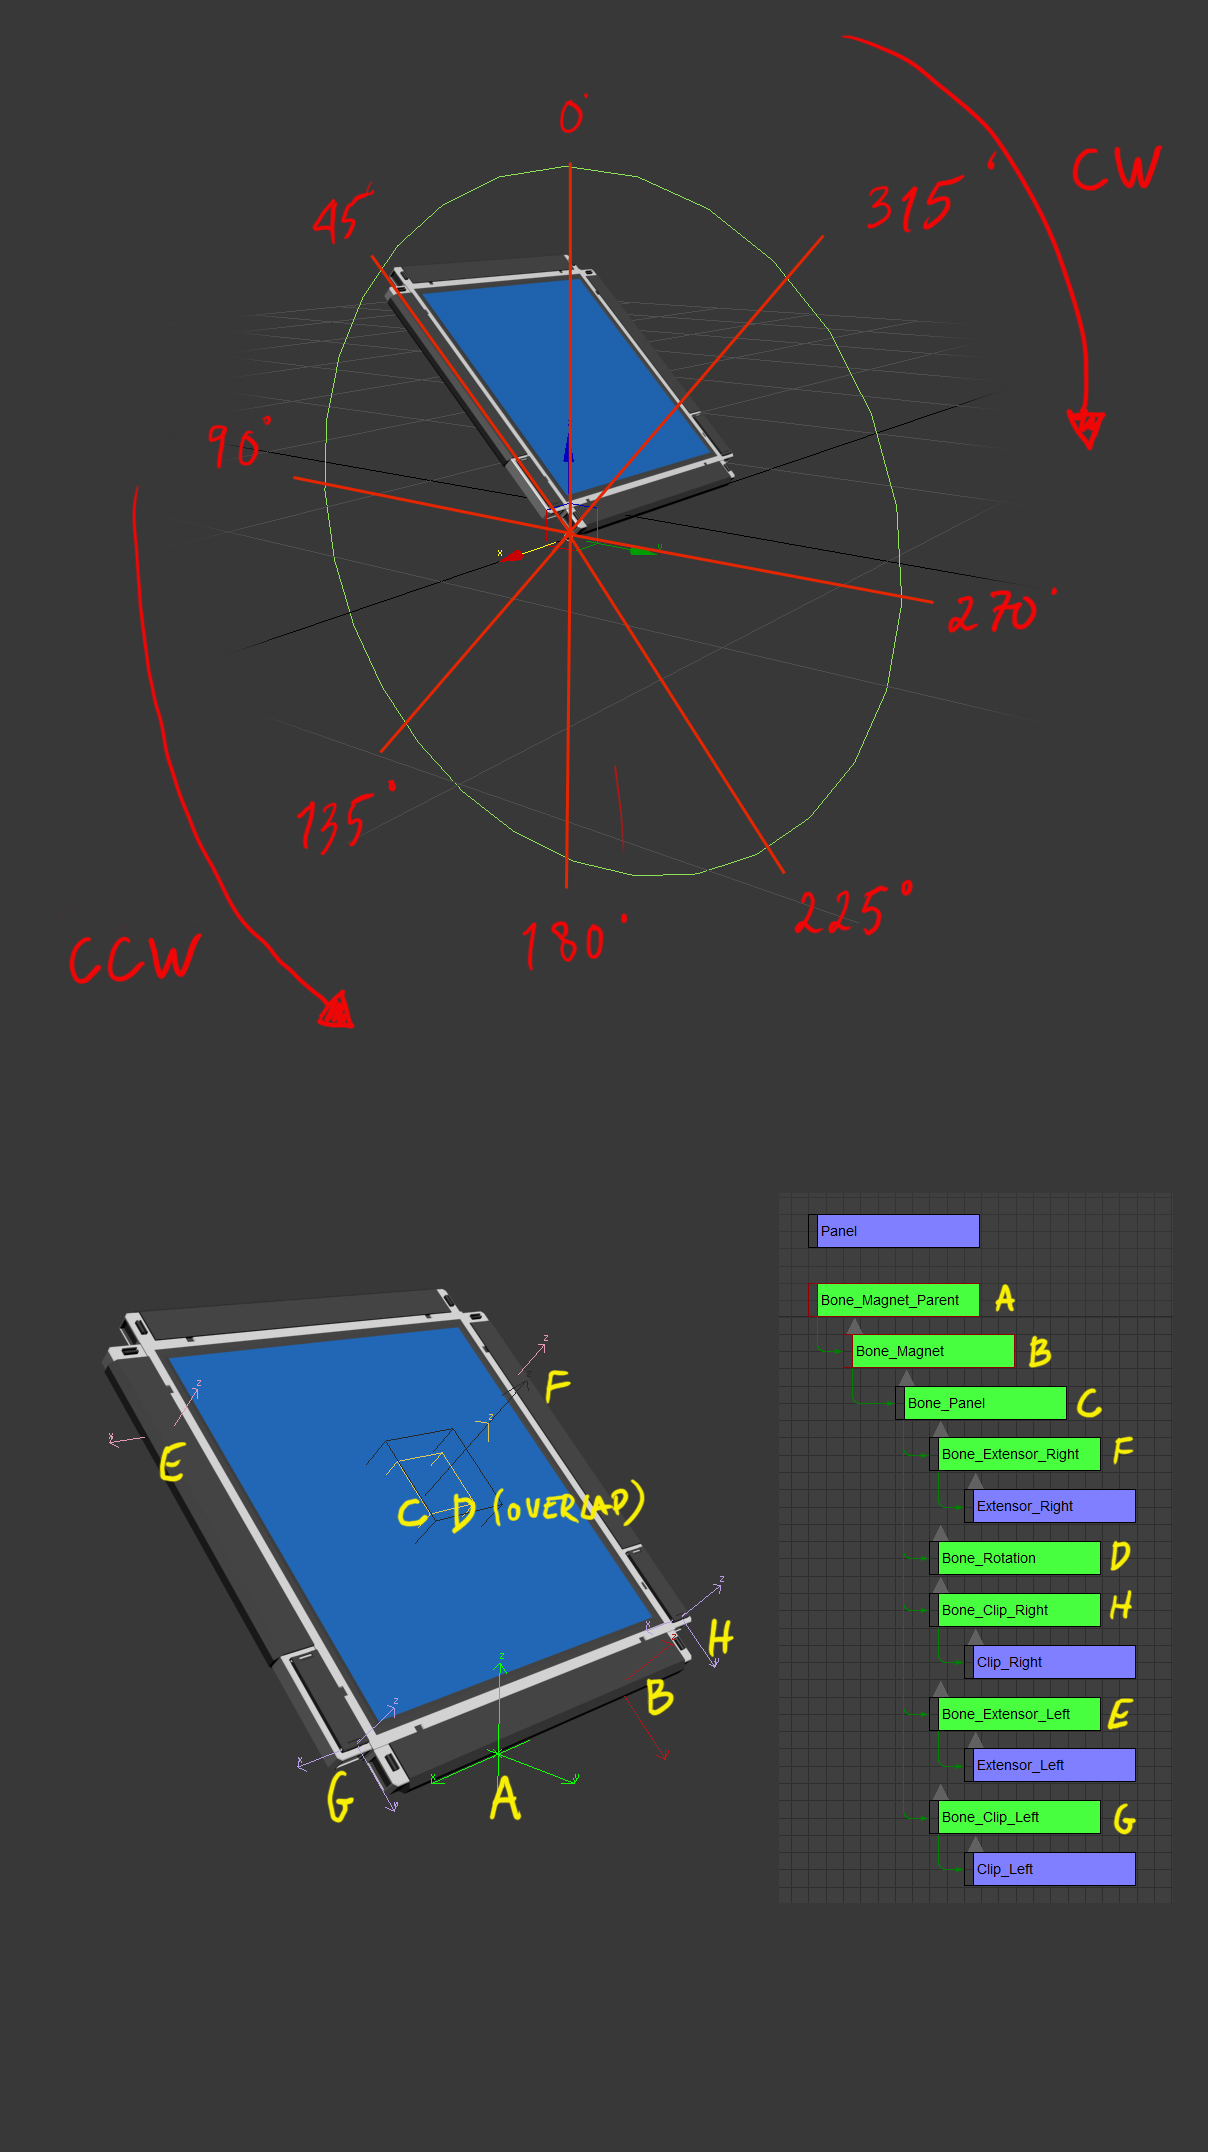
And videos like the one below. Notice that there are actually 2 panel types, A and B, depending in they are back facing or forward facing each other. Also the S (starting panel) as a slightly different set of animations.
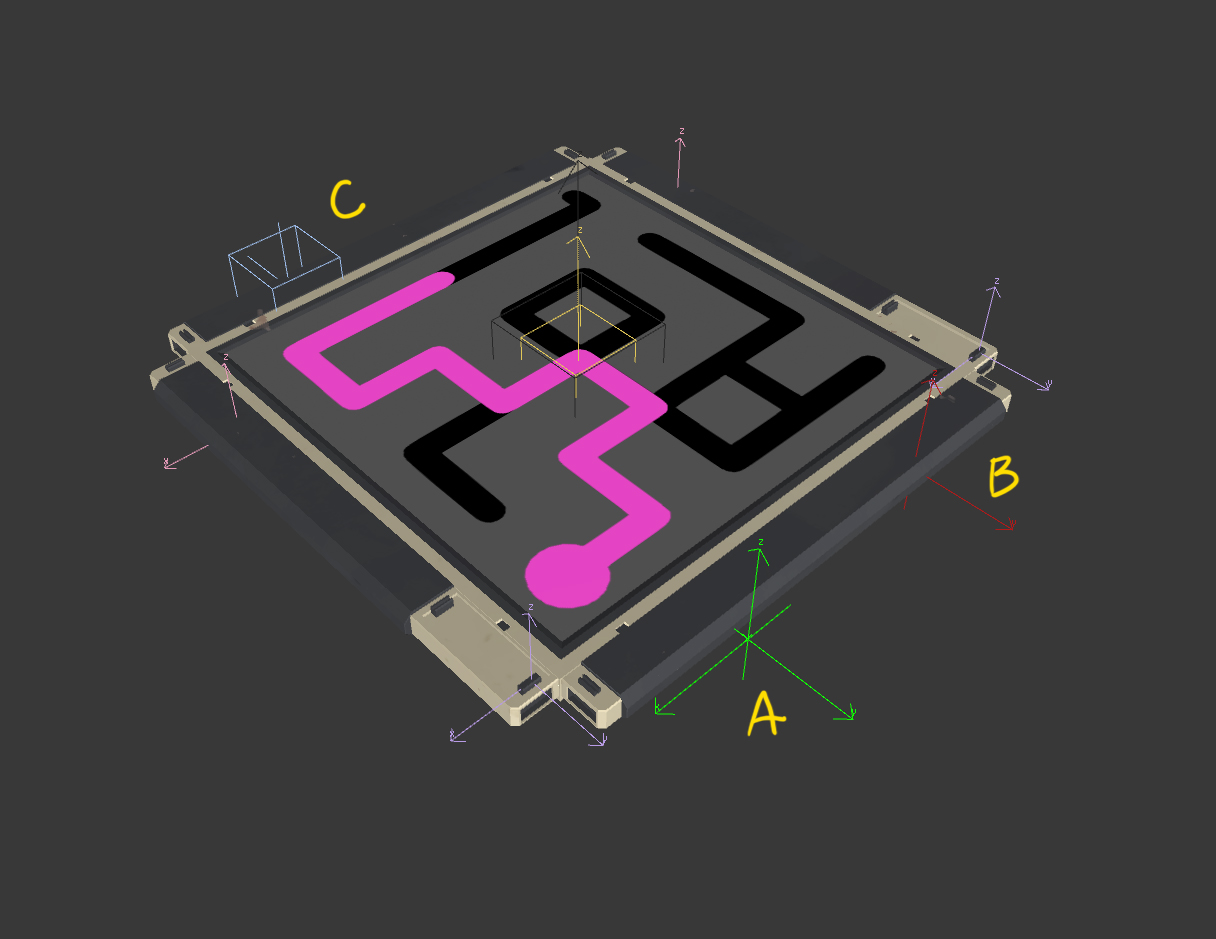
And here is how they look in-game:

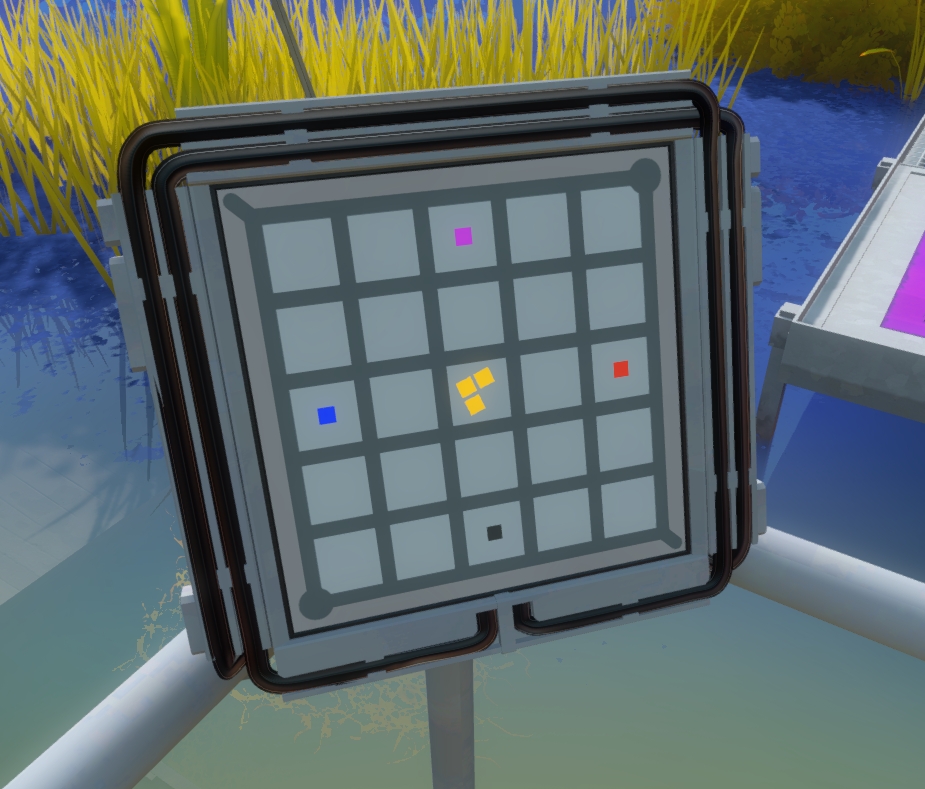
Colored Lights Panels
The ‘Colored Lights Building’, where we have all the funky plants, had to convey the concept that the colors dots were not being projected by the panel, but were painted, and so affected by lighting. The final version was kind of a big metal plate, where you could place graph paper behind a custom metal framed panel. The narrative being that you can just change graph paper, paint new dots, etc.
The initial set is painted blue so the color change, when you look through color filter glass, is more obvious.
You then have variations with white paper and different panel sizes, ending with everyone’s favorite puzzle, the elevator controller:
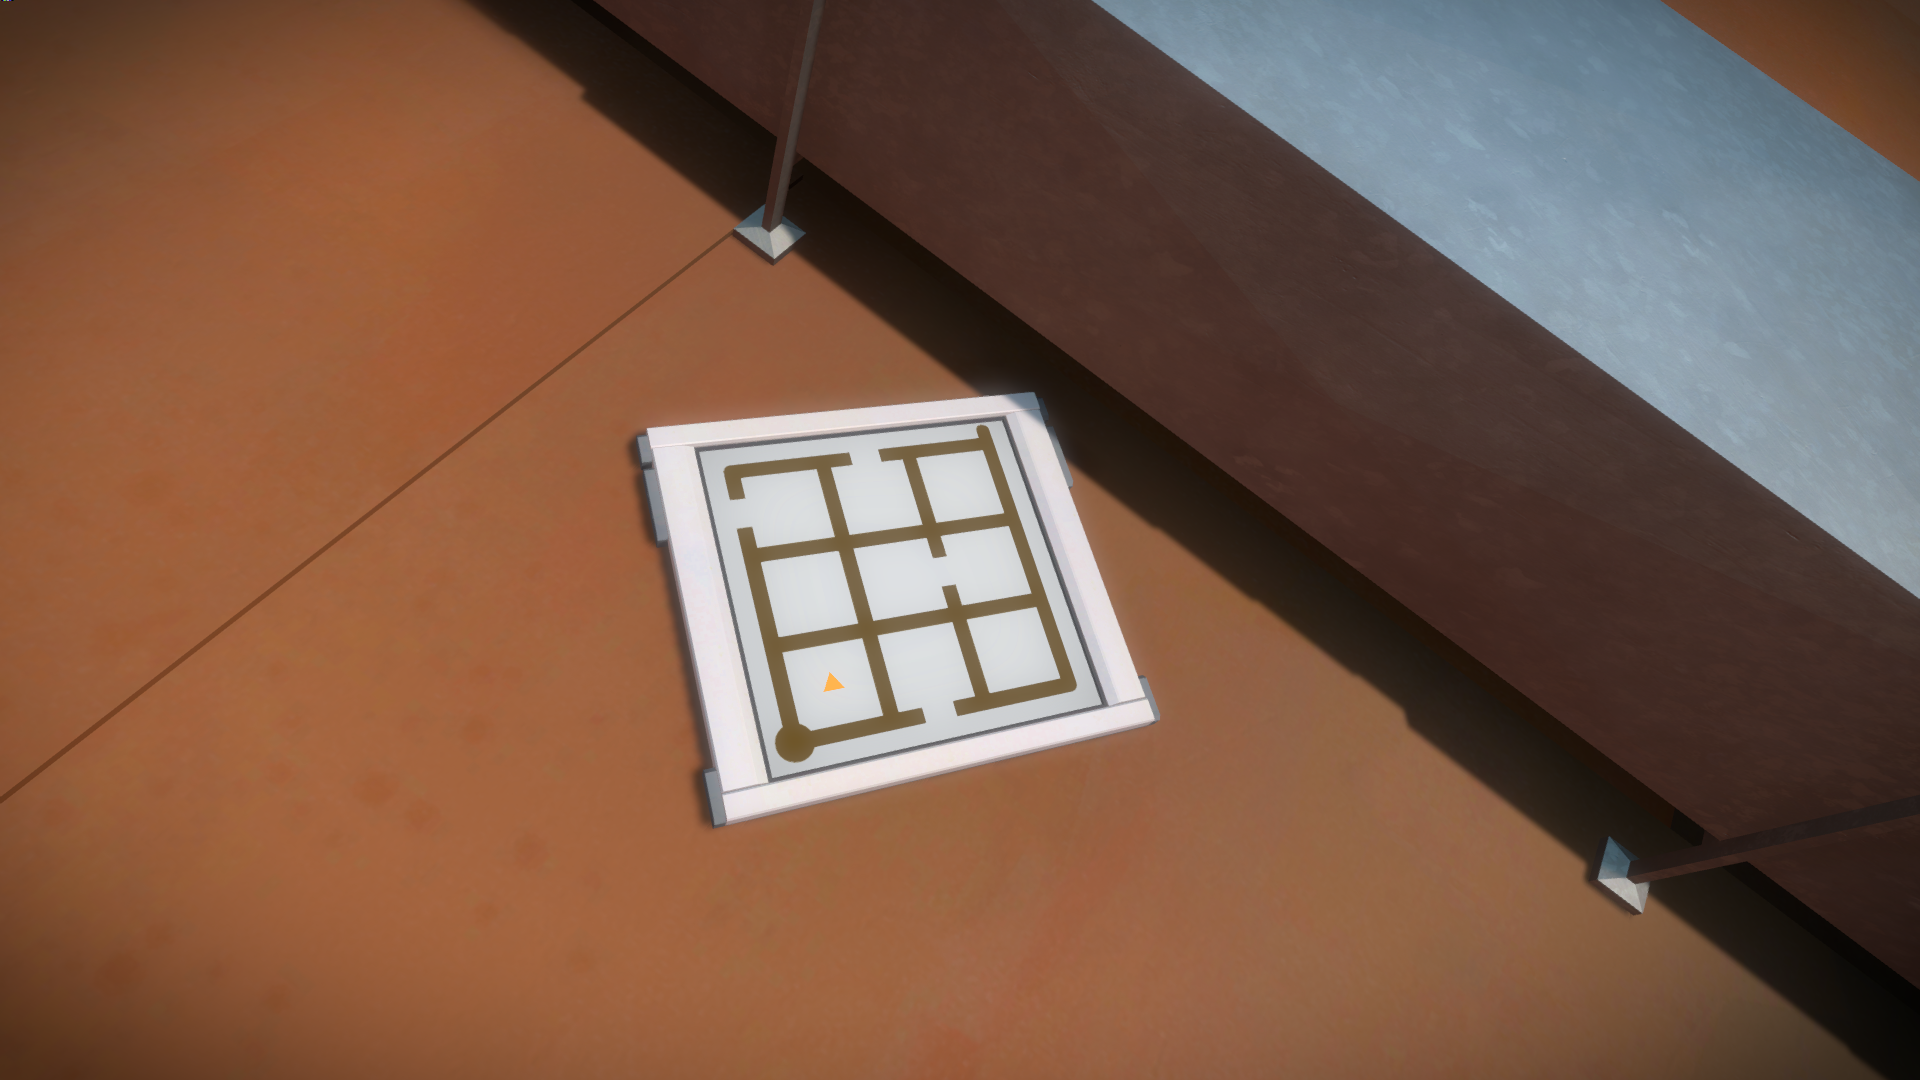
Pressure Plates
The design for these barely changed, so it was more trying to figure out a way for them to feel elegant and integrate nicely with the environment.
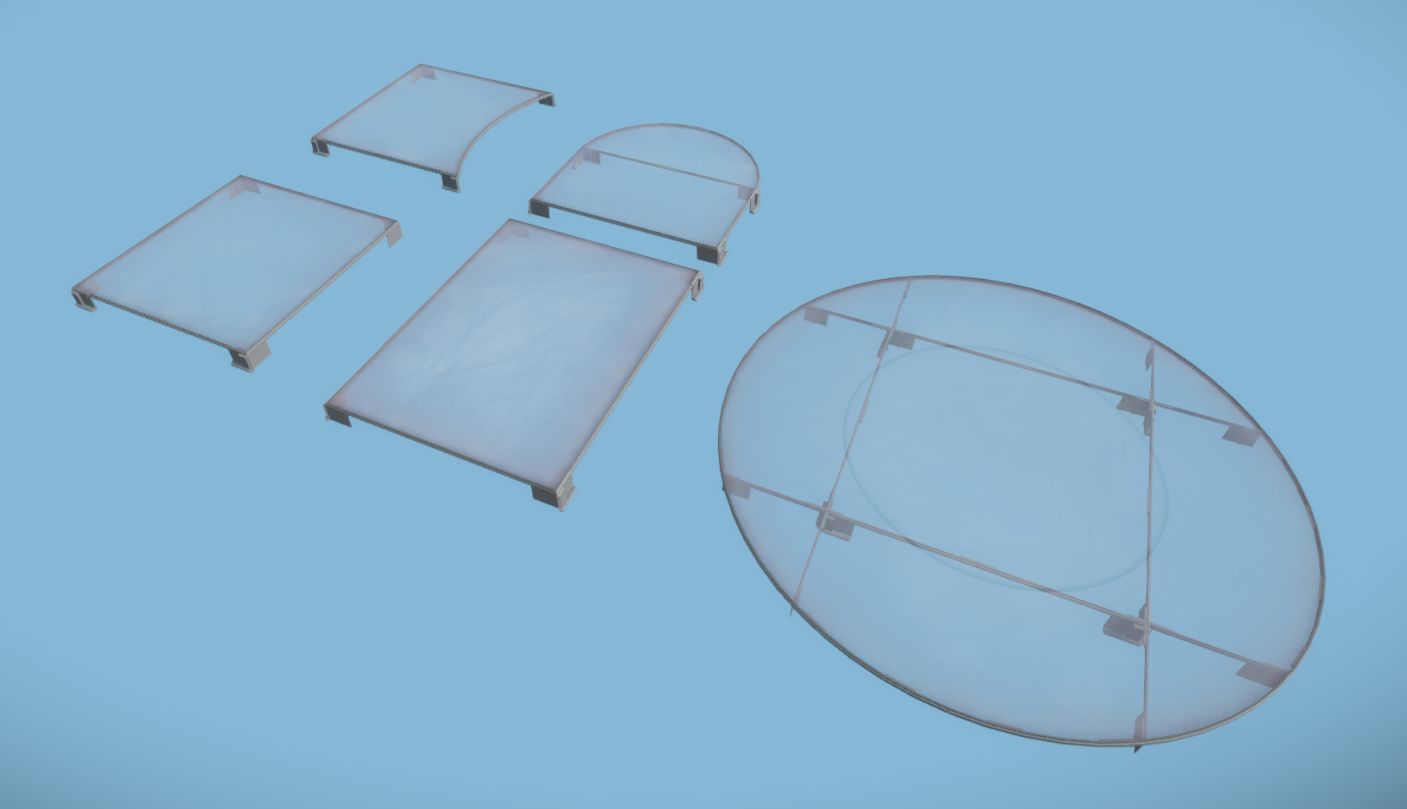
They were build out of a modular set of 5 pieces:
With some added variations for puzzle reasons, like the broken panel, or the loose metal frames on te back, adding to the narrative:
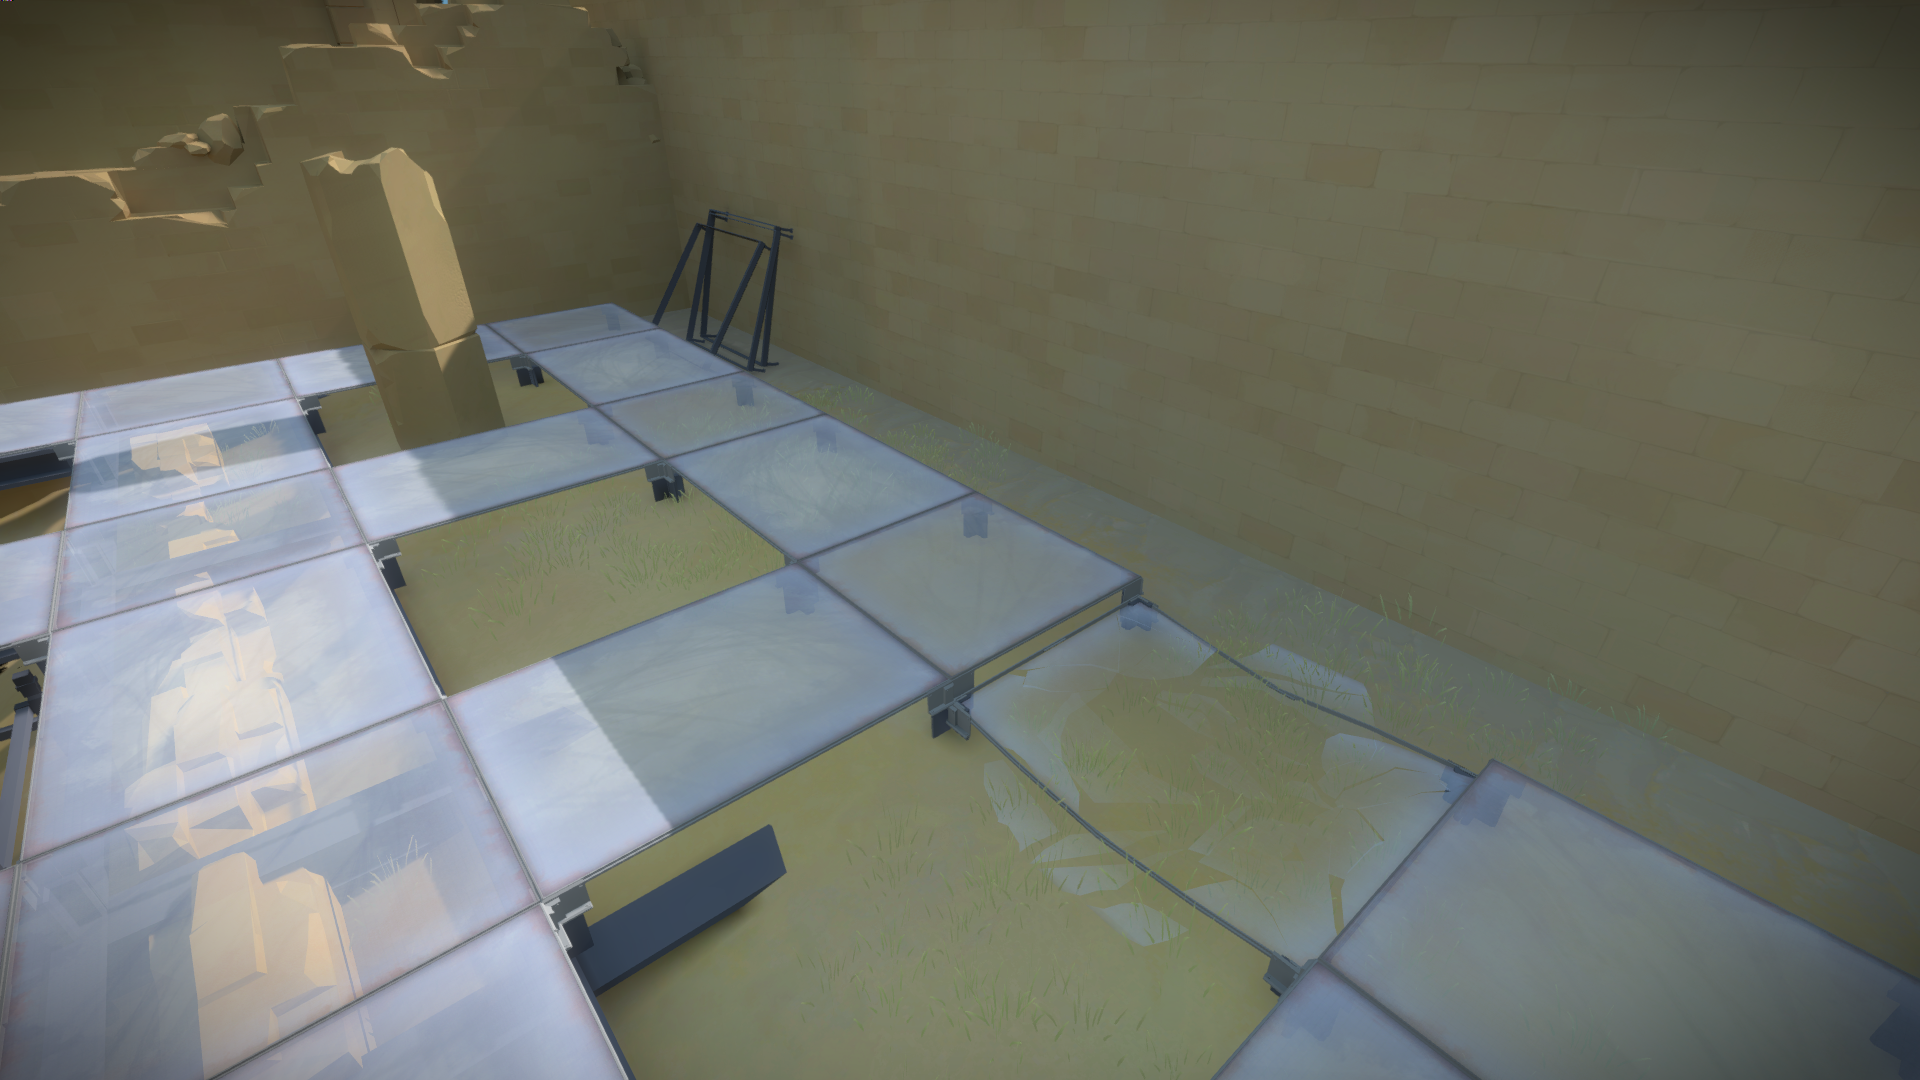 Here is the final result in one of the four areas:
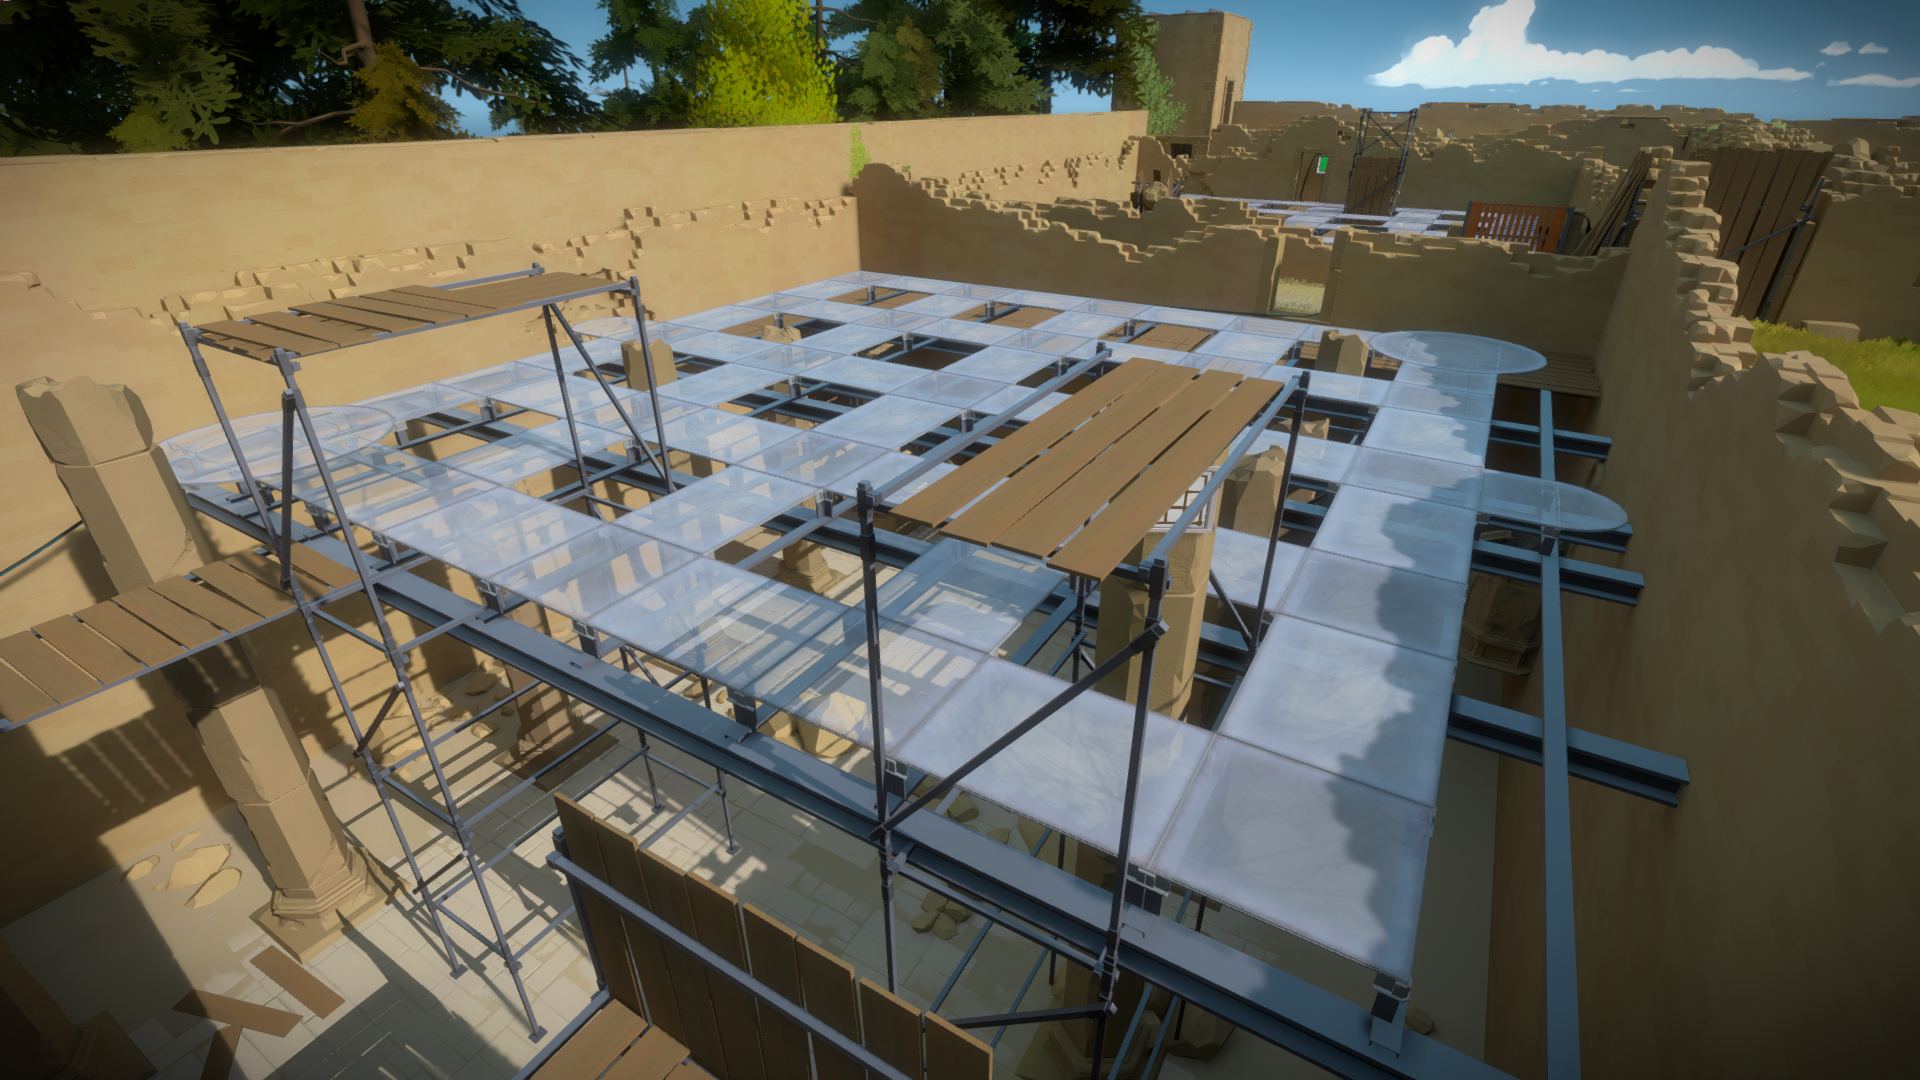
And here you can see how we had to figure out a logical way for the panels to be correctly supported: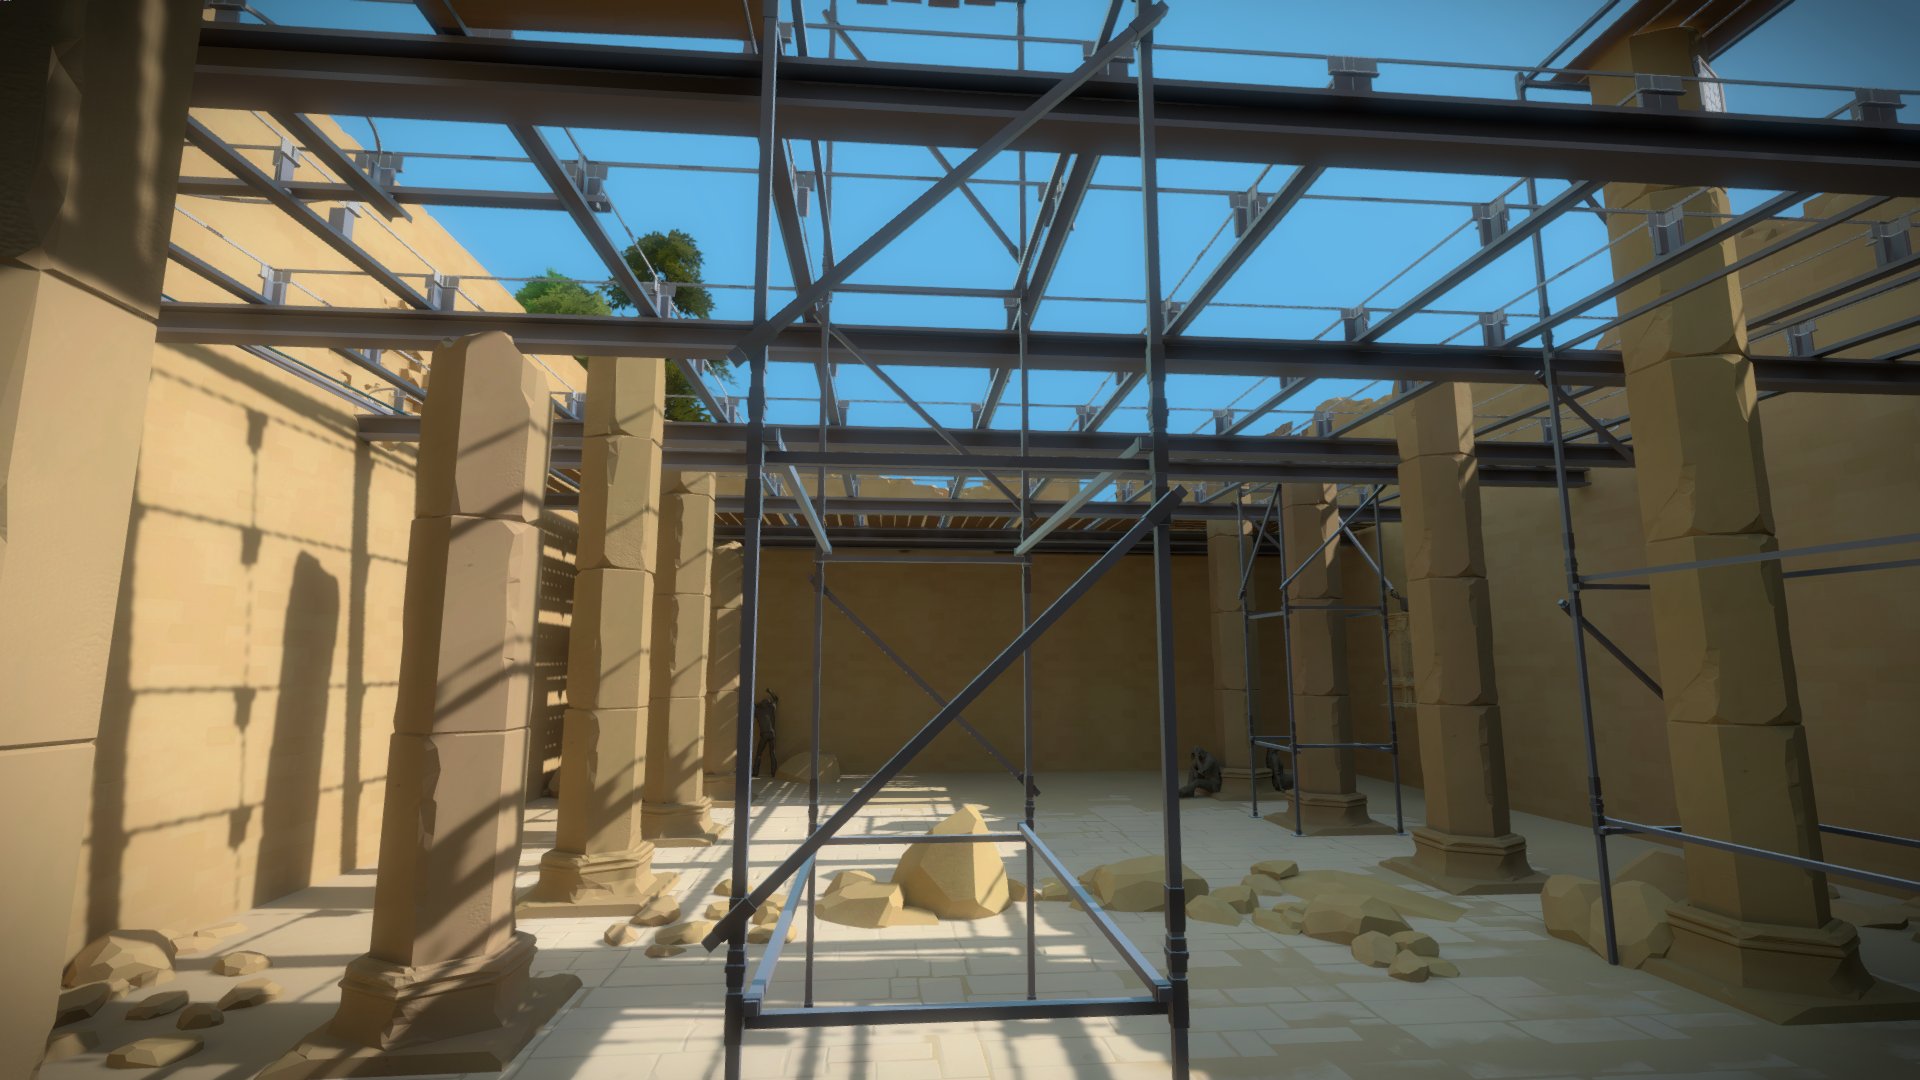
Trivia bit: We tried as much as possible to show the relationship between the different areas. All the glass in the island was made in the Glass Factory, so if you are observant, you can see the metal frames for the pressure panels in this area.
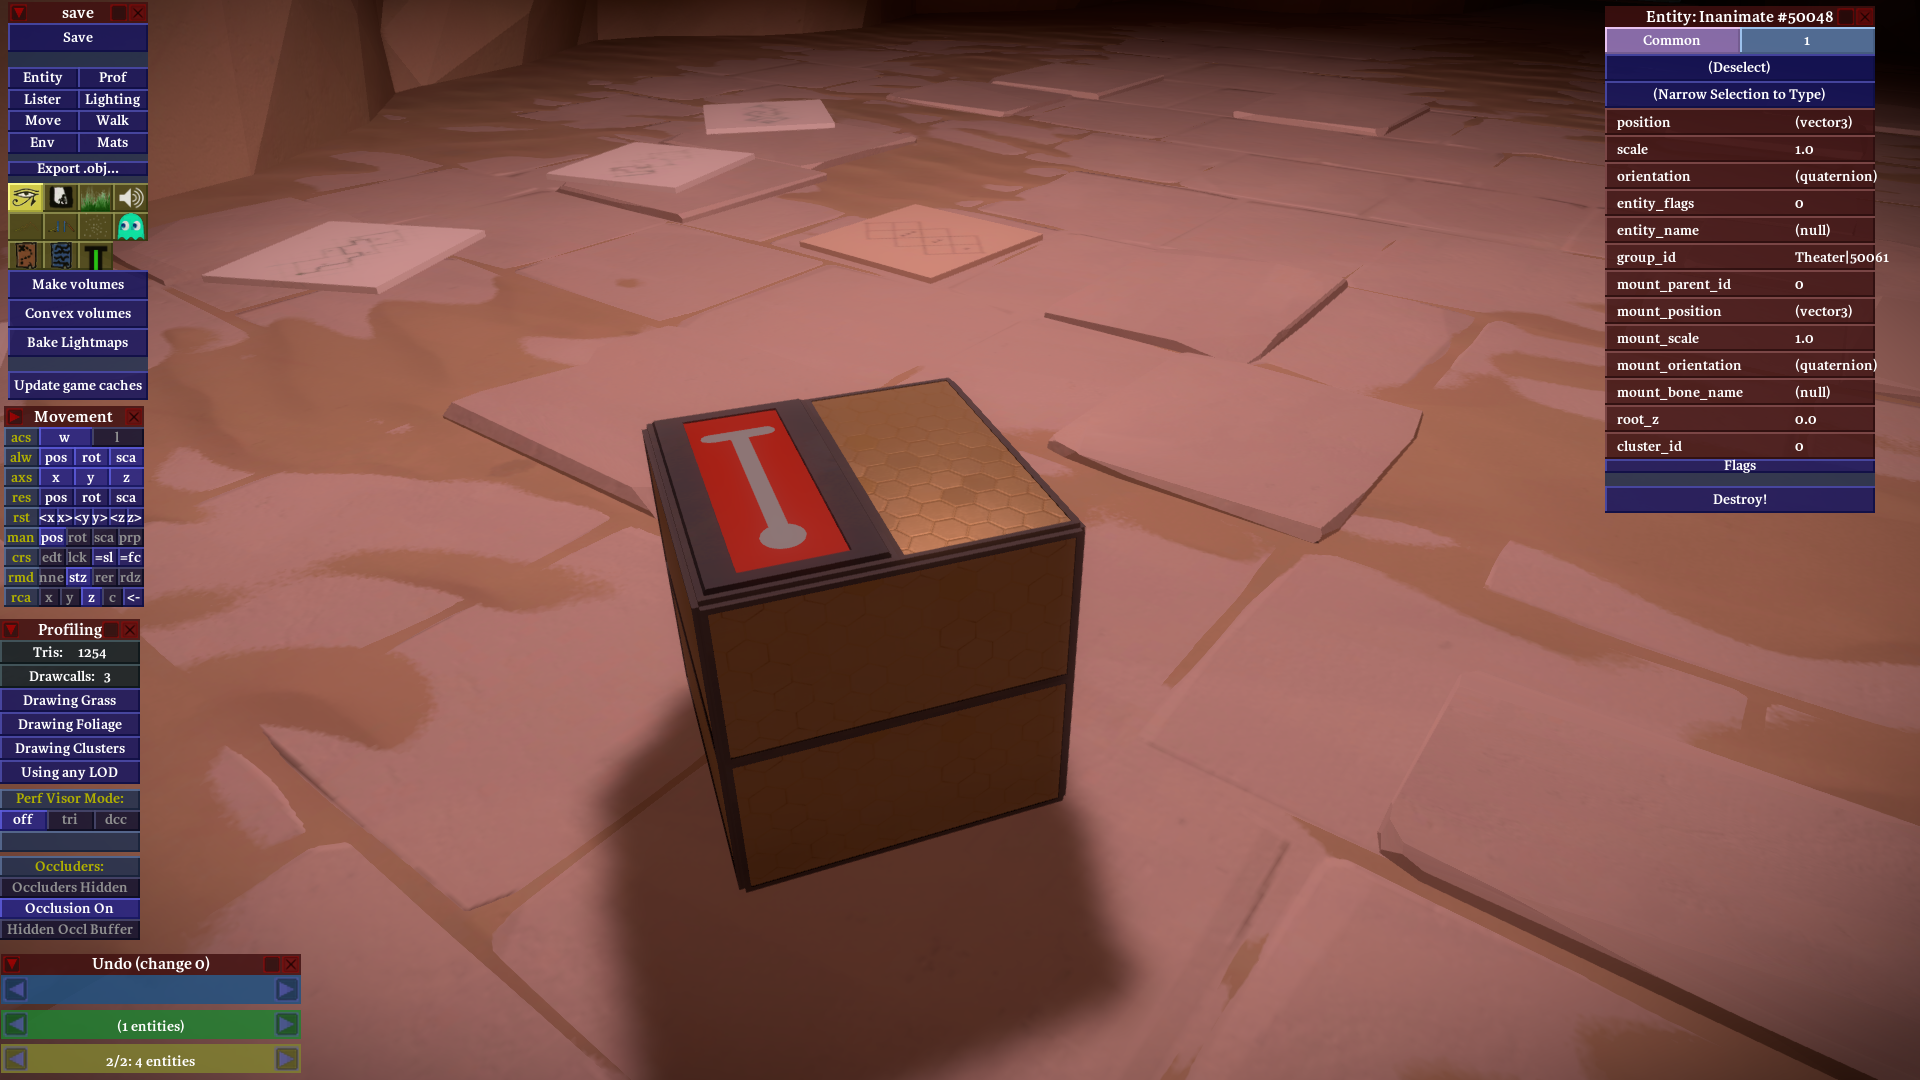
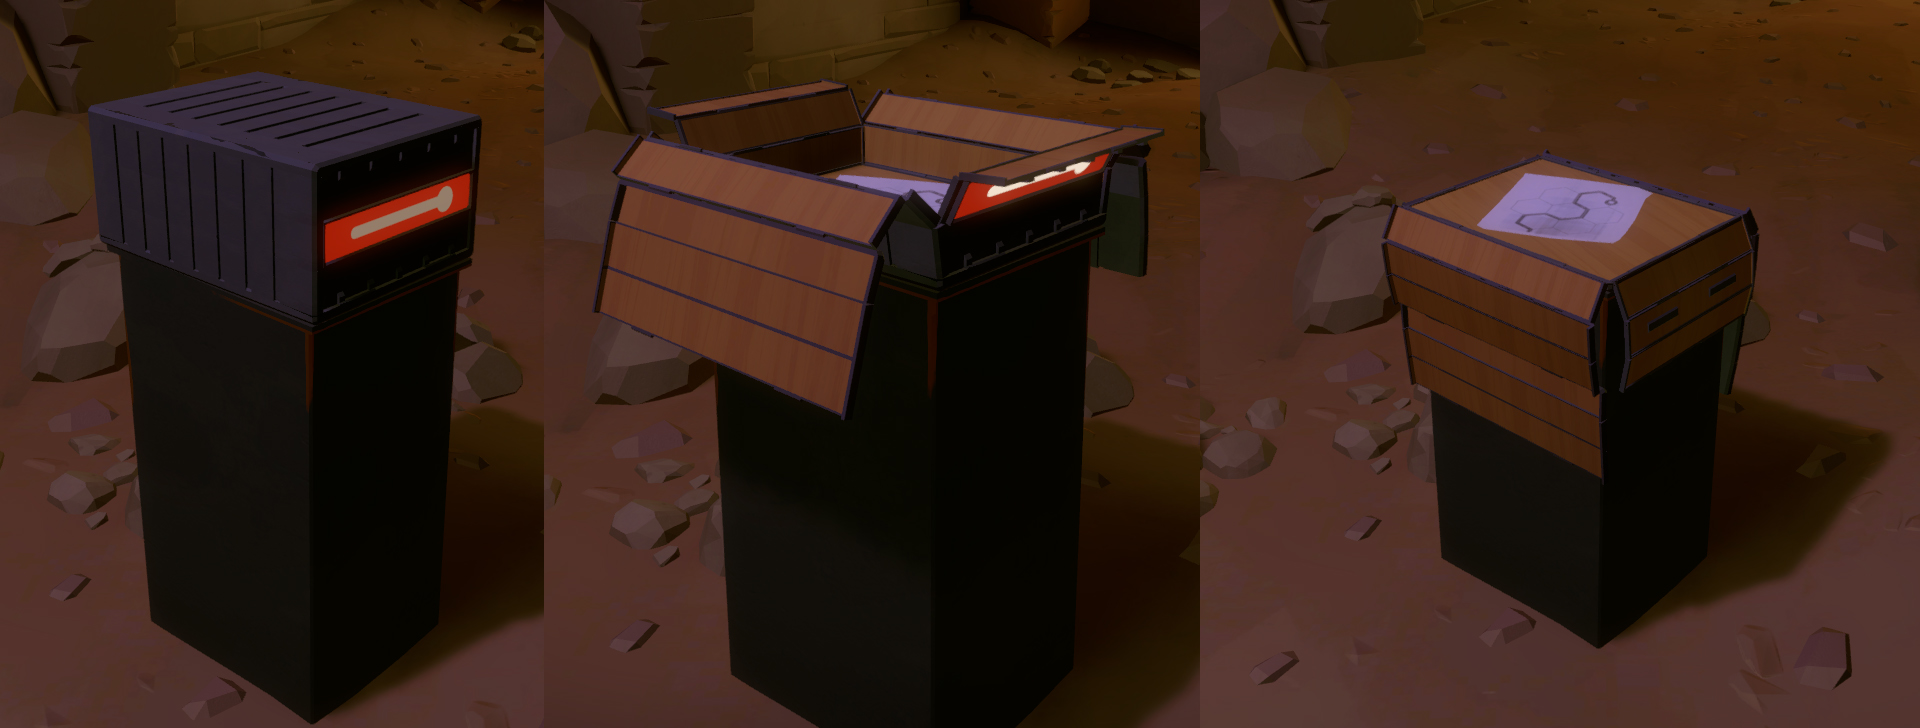
Vault Box
I’m always surprised how elegant this one ended up being. The goal was for them to look like heavy and bulky, hard to open safe boxes, but once activated, to open gently, almost like a flower, showing it’s actually light and delicate inside.
At one point, it looked like this (and definitely not showing you how terrible the open animation was):
And the much more pleasant final result:
Mountain Top
This area had several drastically different revisions and for the longest time, and what you see in the first released trailer, it was a set of bulky doors made by a previous artist, connected by cables to a panel:
As the design evolved, the door and panel became one structure:
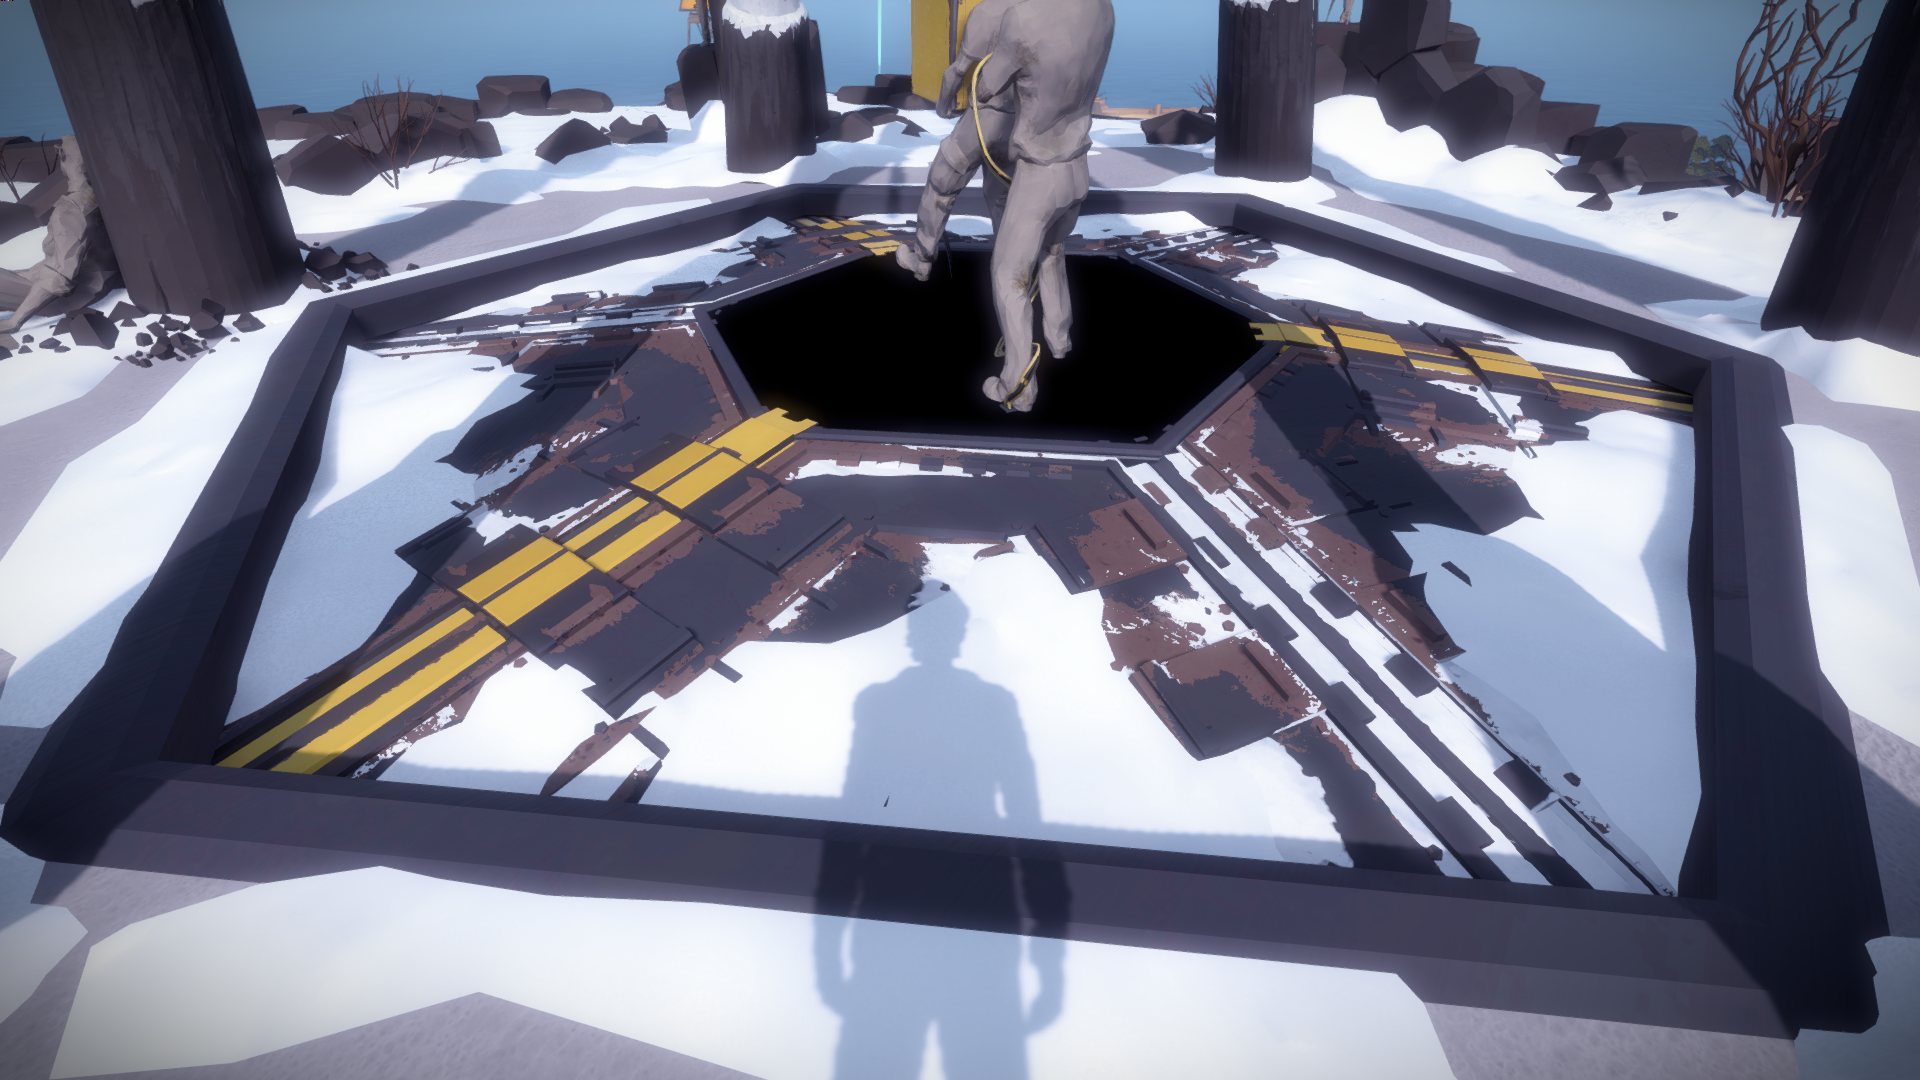
And as you progressively solve it, it opens different doors until you can access the mountain inside:

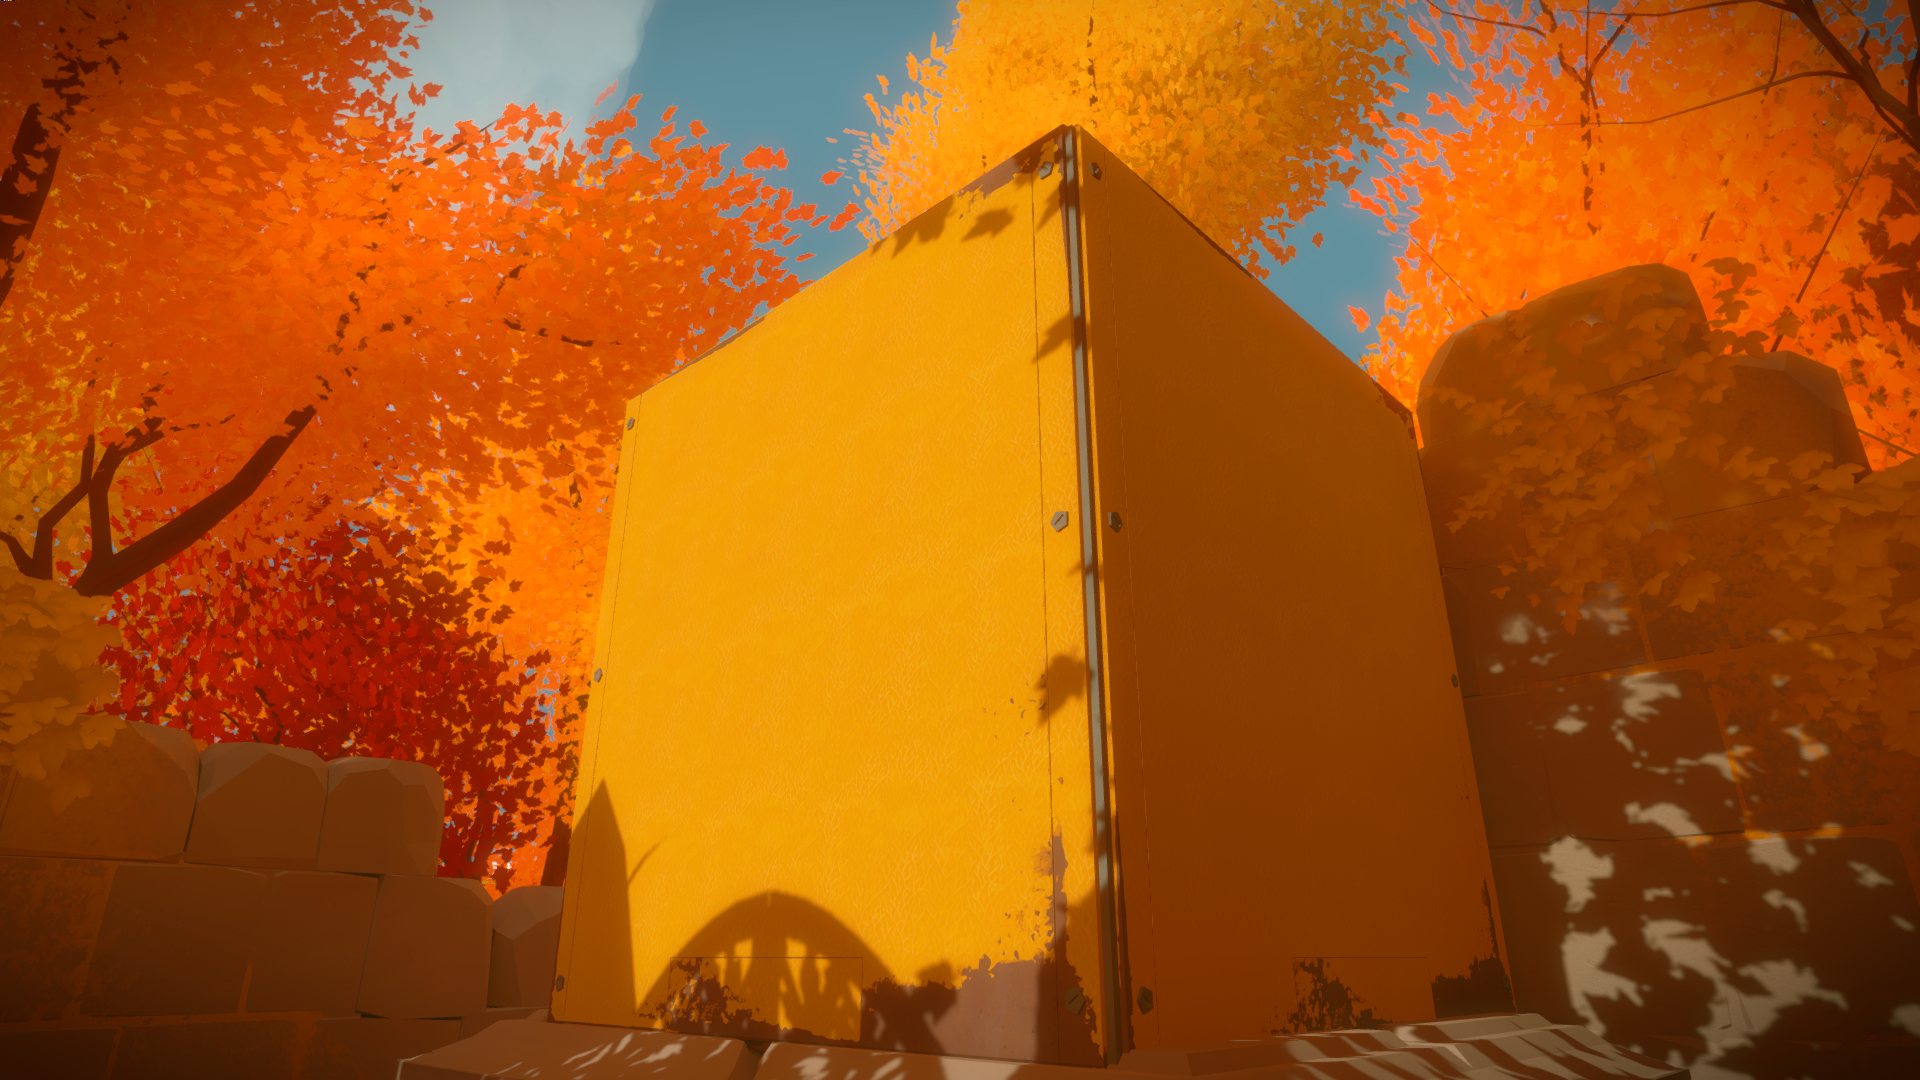
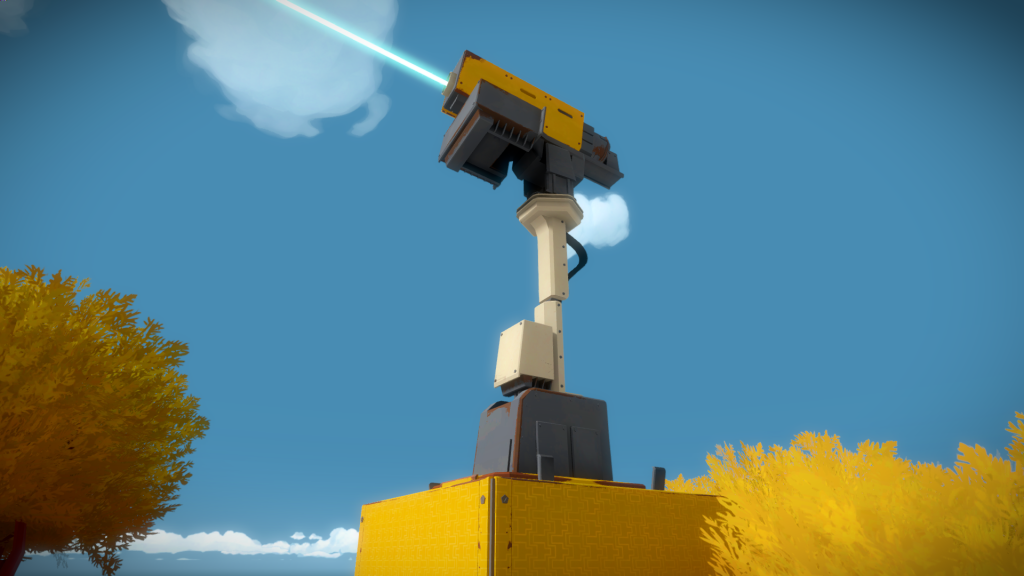
Lasers
Since I joined, the laser concept was always of golden boxes. If I remember correctly, they are supposed to read as attractive, like a ‘candy’, a sort of reward.
In the final design I wanted to convey the scale of the box (they are huge) while still keeping the big clean yellow sides. Talking with the architects, there were great suggestions on how to achieve this, by having smaller logical details on the sides where the plaques would attach:
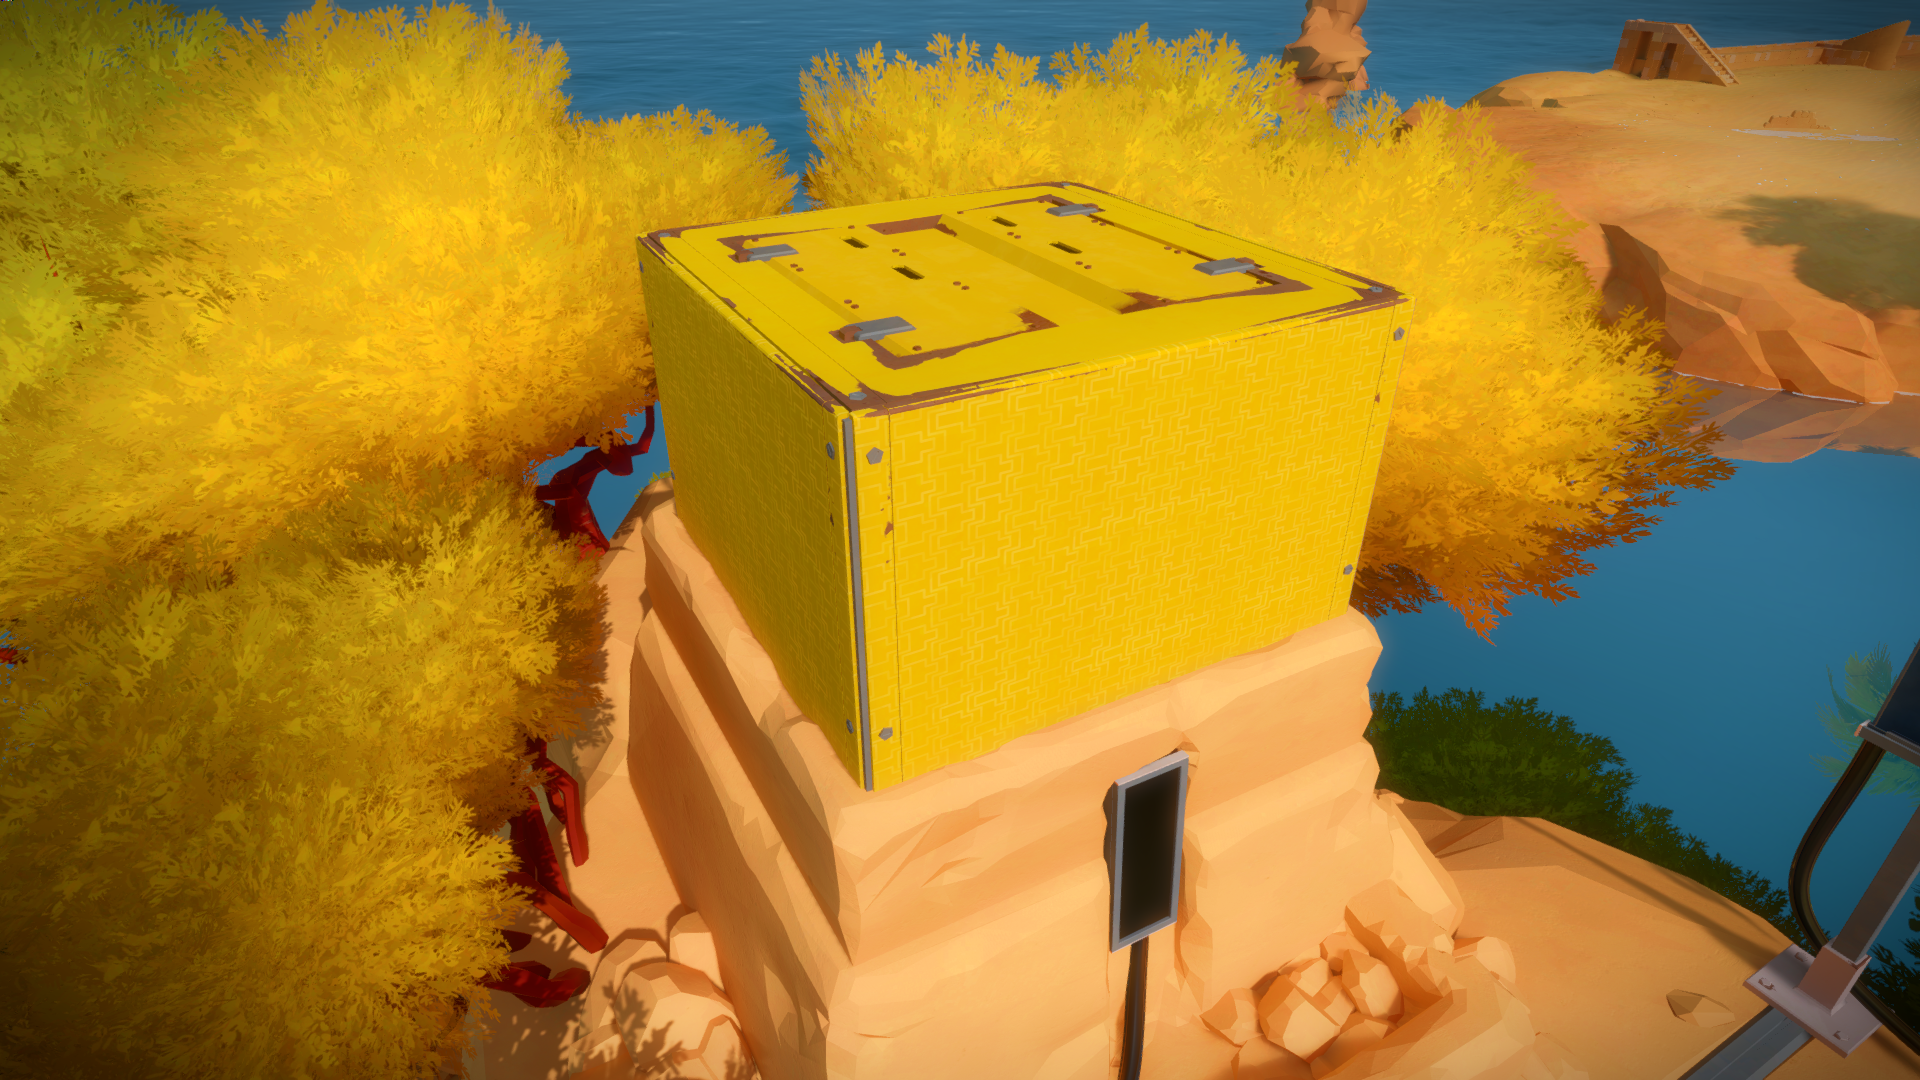
Also, even though they are the same model, I wanted to make them somehow unique, so if you look close up, each one has a different pattern, depending on what area you are in. It’s a very subtle pattern that only glints against the sun:

And at the top of the mountain, the box that is slowly opened as you turn each laser on, has all the patterns together:
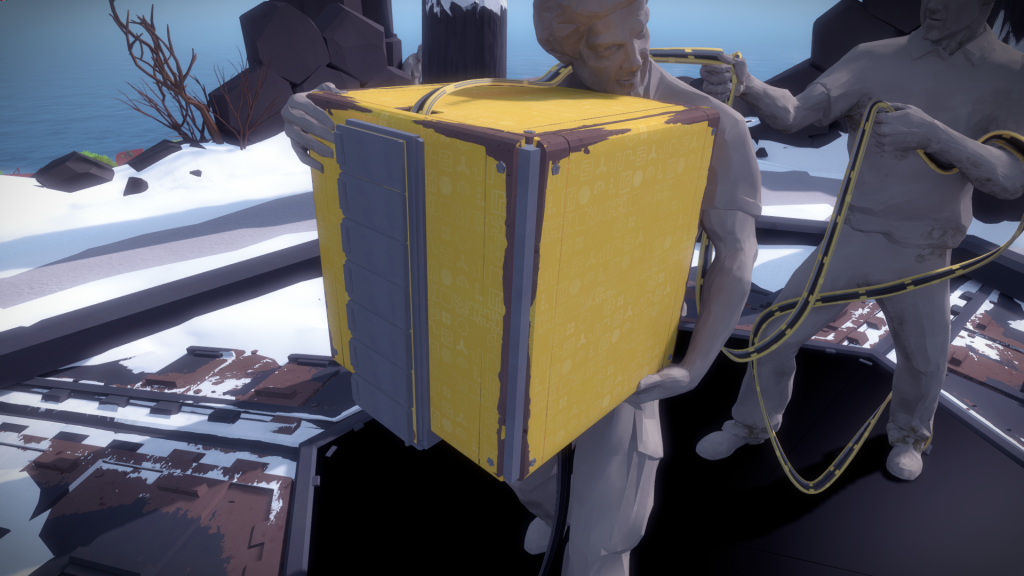
Once you solve an area, the box opens and the laser slowly assembles itself. Jonathan wanted something very slow, where I guess you can contemplate on what you did to achieve it.
For me the challenge was to show something that can logically fit inside the box but surprised you as it unravels itself, and is pleasant to look at as it does so.
Apart from the player character, this is the mesh with the biggest amount of bones.
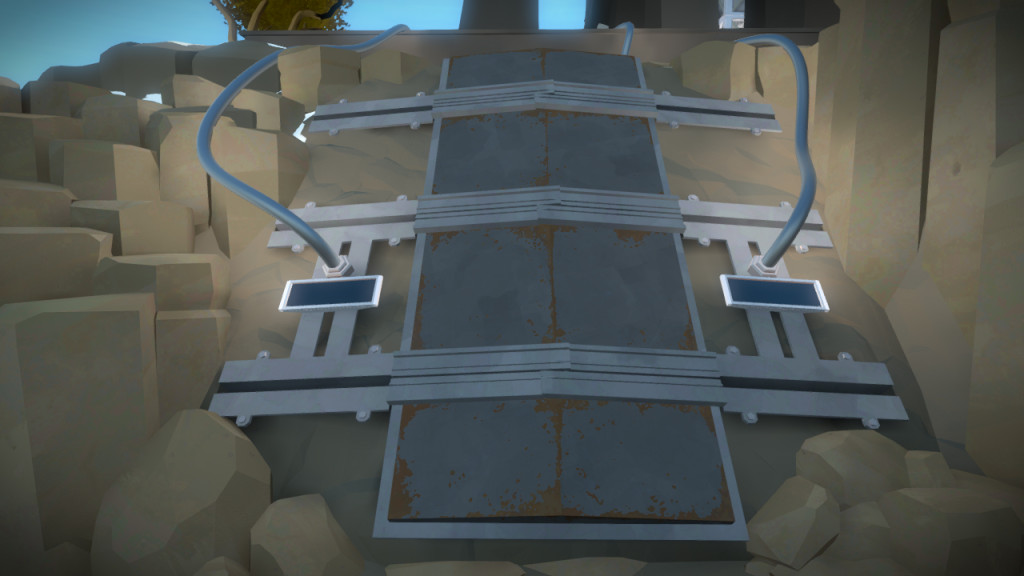
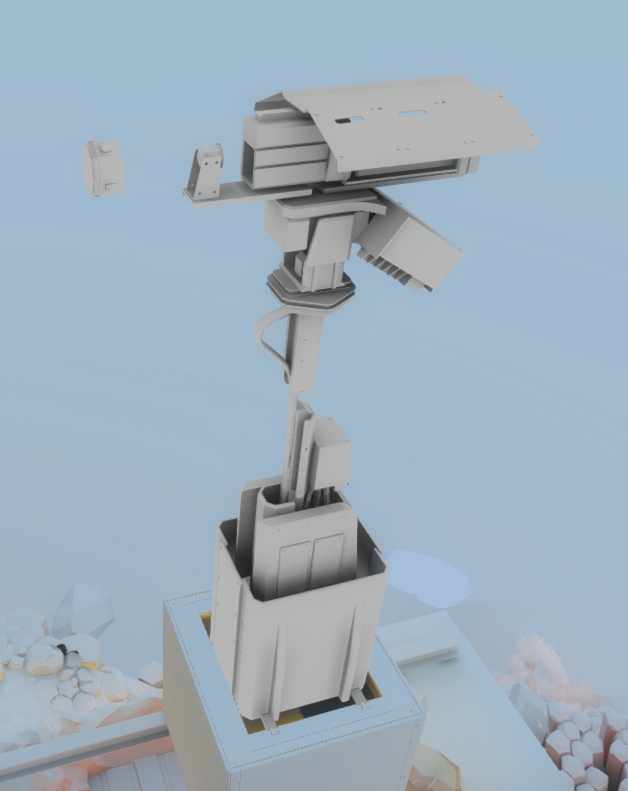
Interesting trivia: All objects are lightmapped based on the state they are in. In certain cases, like doors, we bake two states (e.g. open and close), and might also have to bake those two states on anything that is close to it, so we don’t get lightmap splotches. With the laser though…since its initial and end states are so different, we couldn’t just have one lightmap for each, otherwise it would go from mostly black lightmap to normally lit. Instead, one of our super programmers Ignacio, suggested we define a ‘lightmap baking position’ where all the parts are split and we bake only the ambient occlusion. You can see it below:
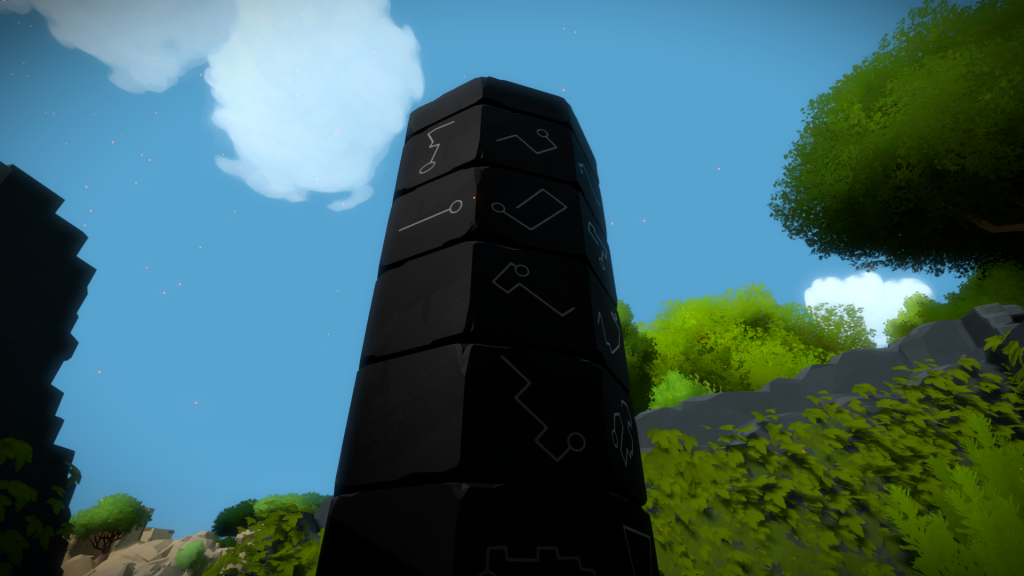
Obelisk
This one was good fun and one of my favorite island objects. Jonathan had very clear ideas of what it needed to do and how it was supposed to feel like, which made it a breeze to design.
It was also a great opportunity to justify doing some Zbrush work again. In the image below are some suggestions of how the shapes could be represented, from very sketchy to more elegant.
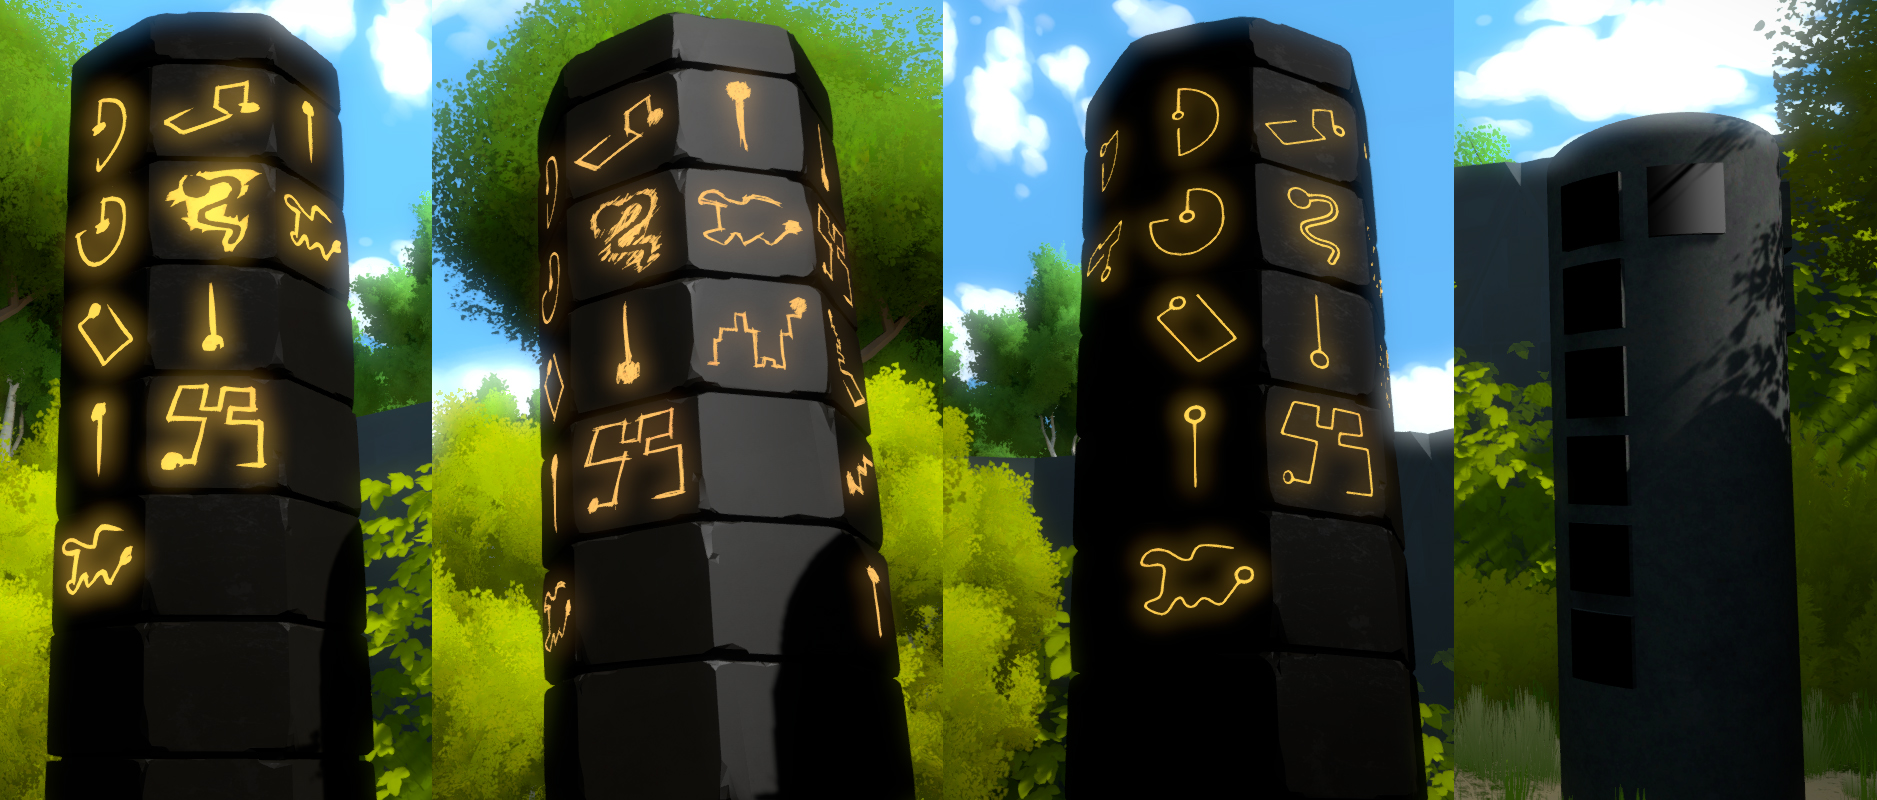
And here is the final result:
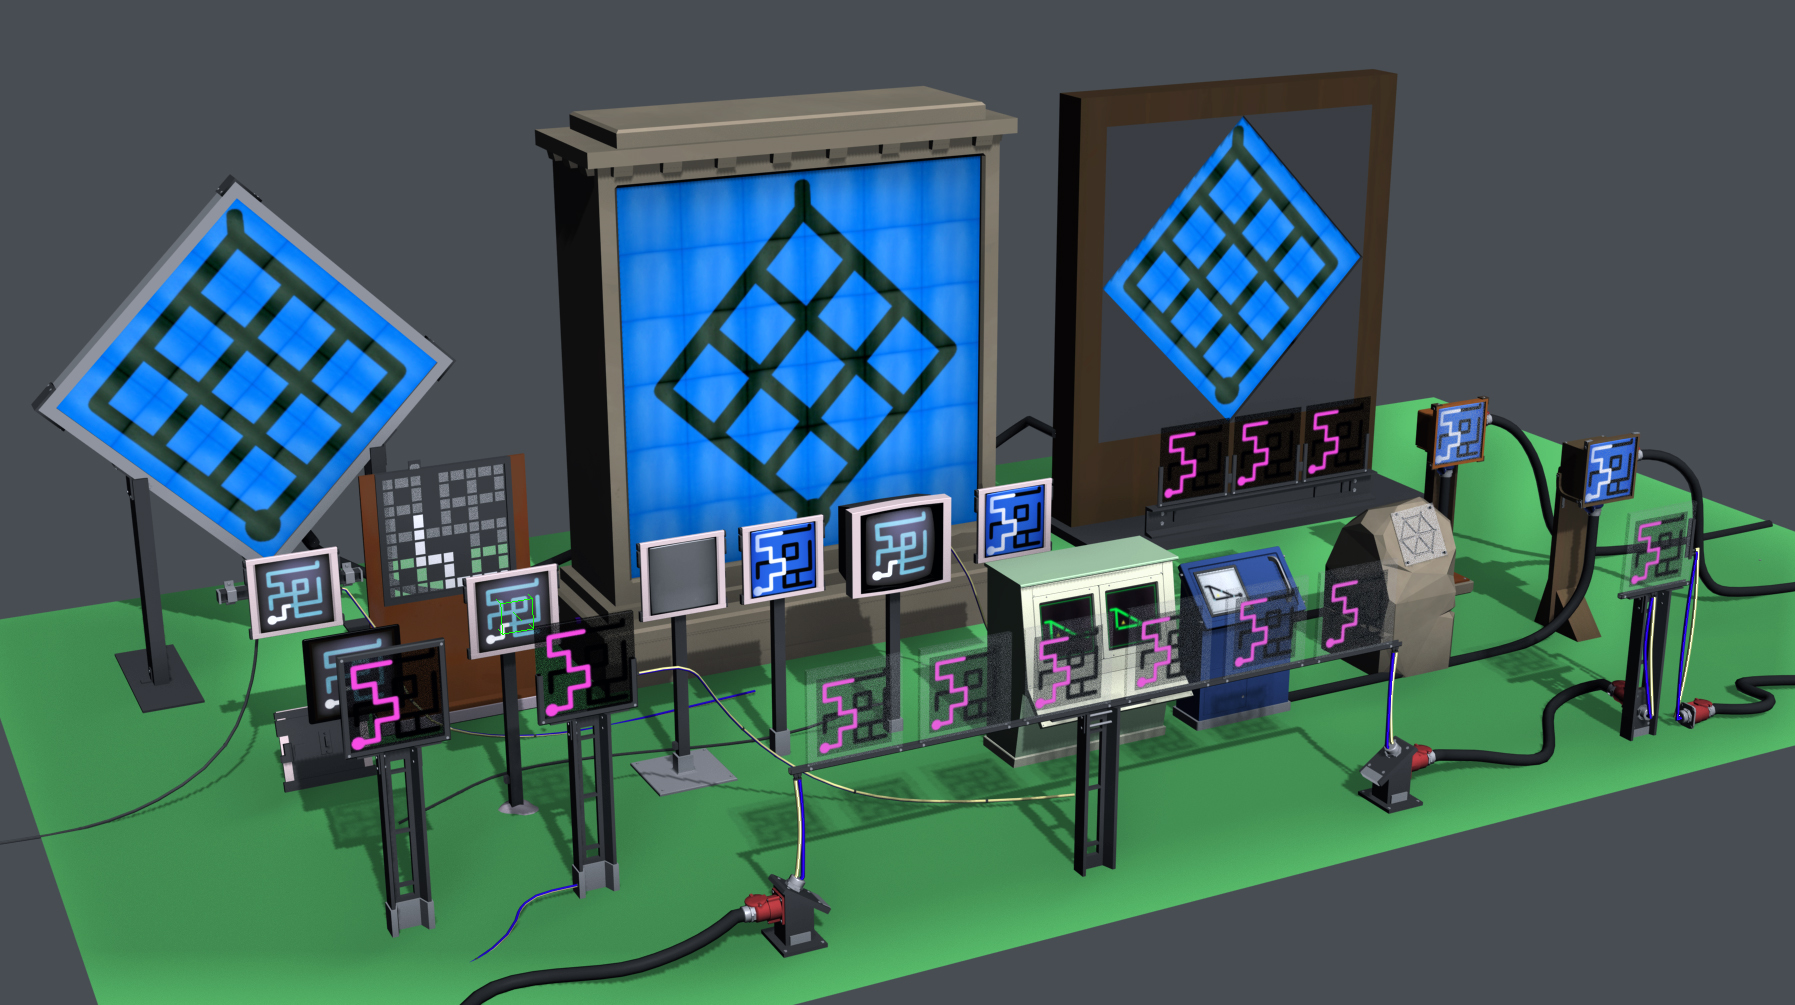
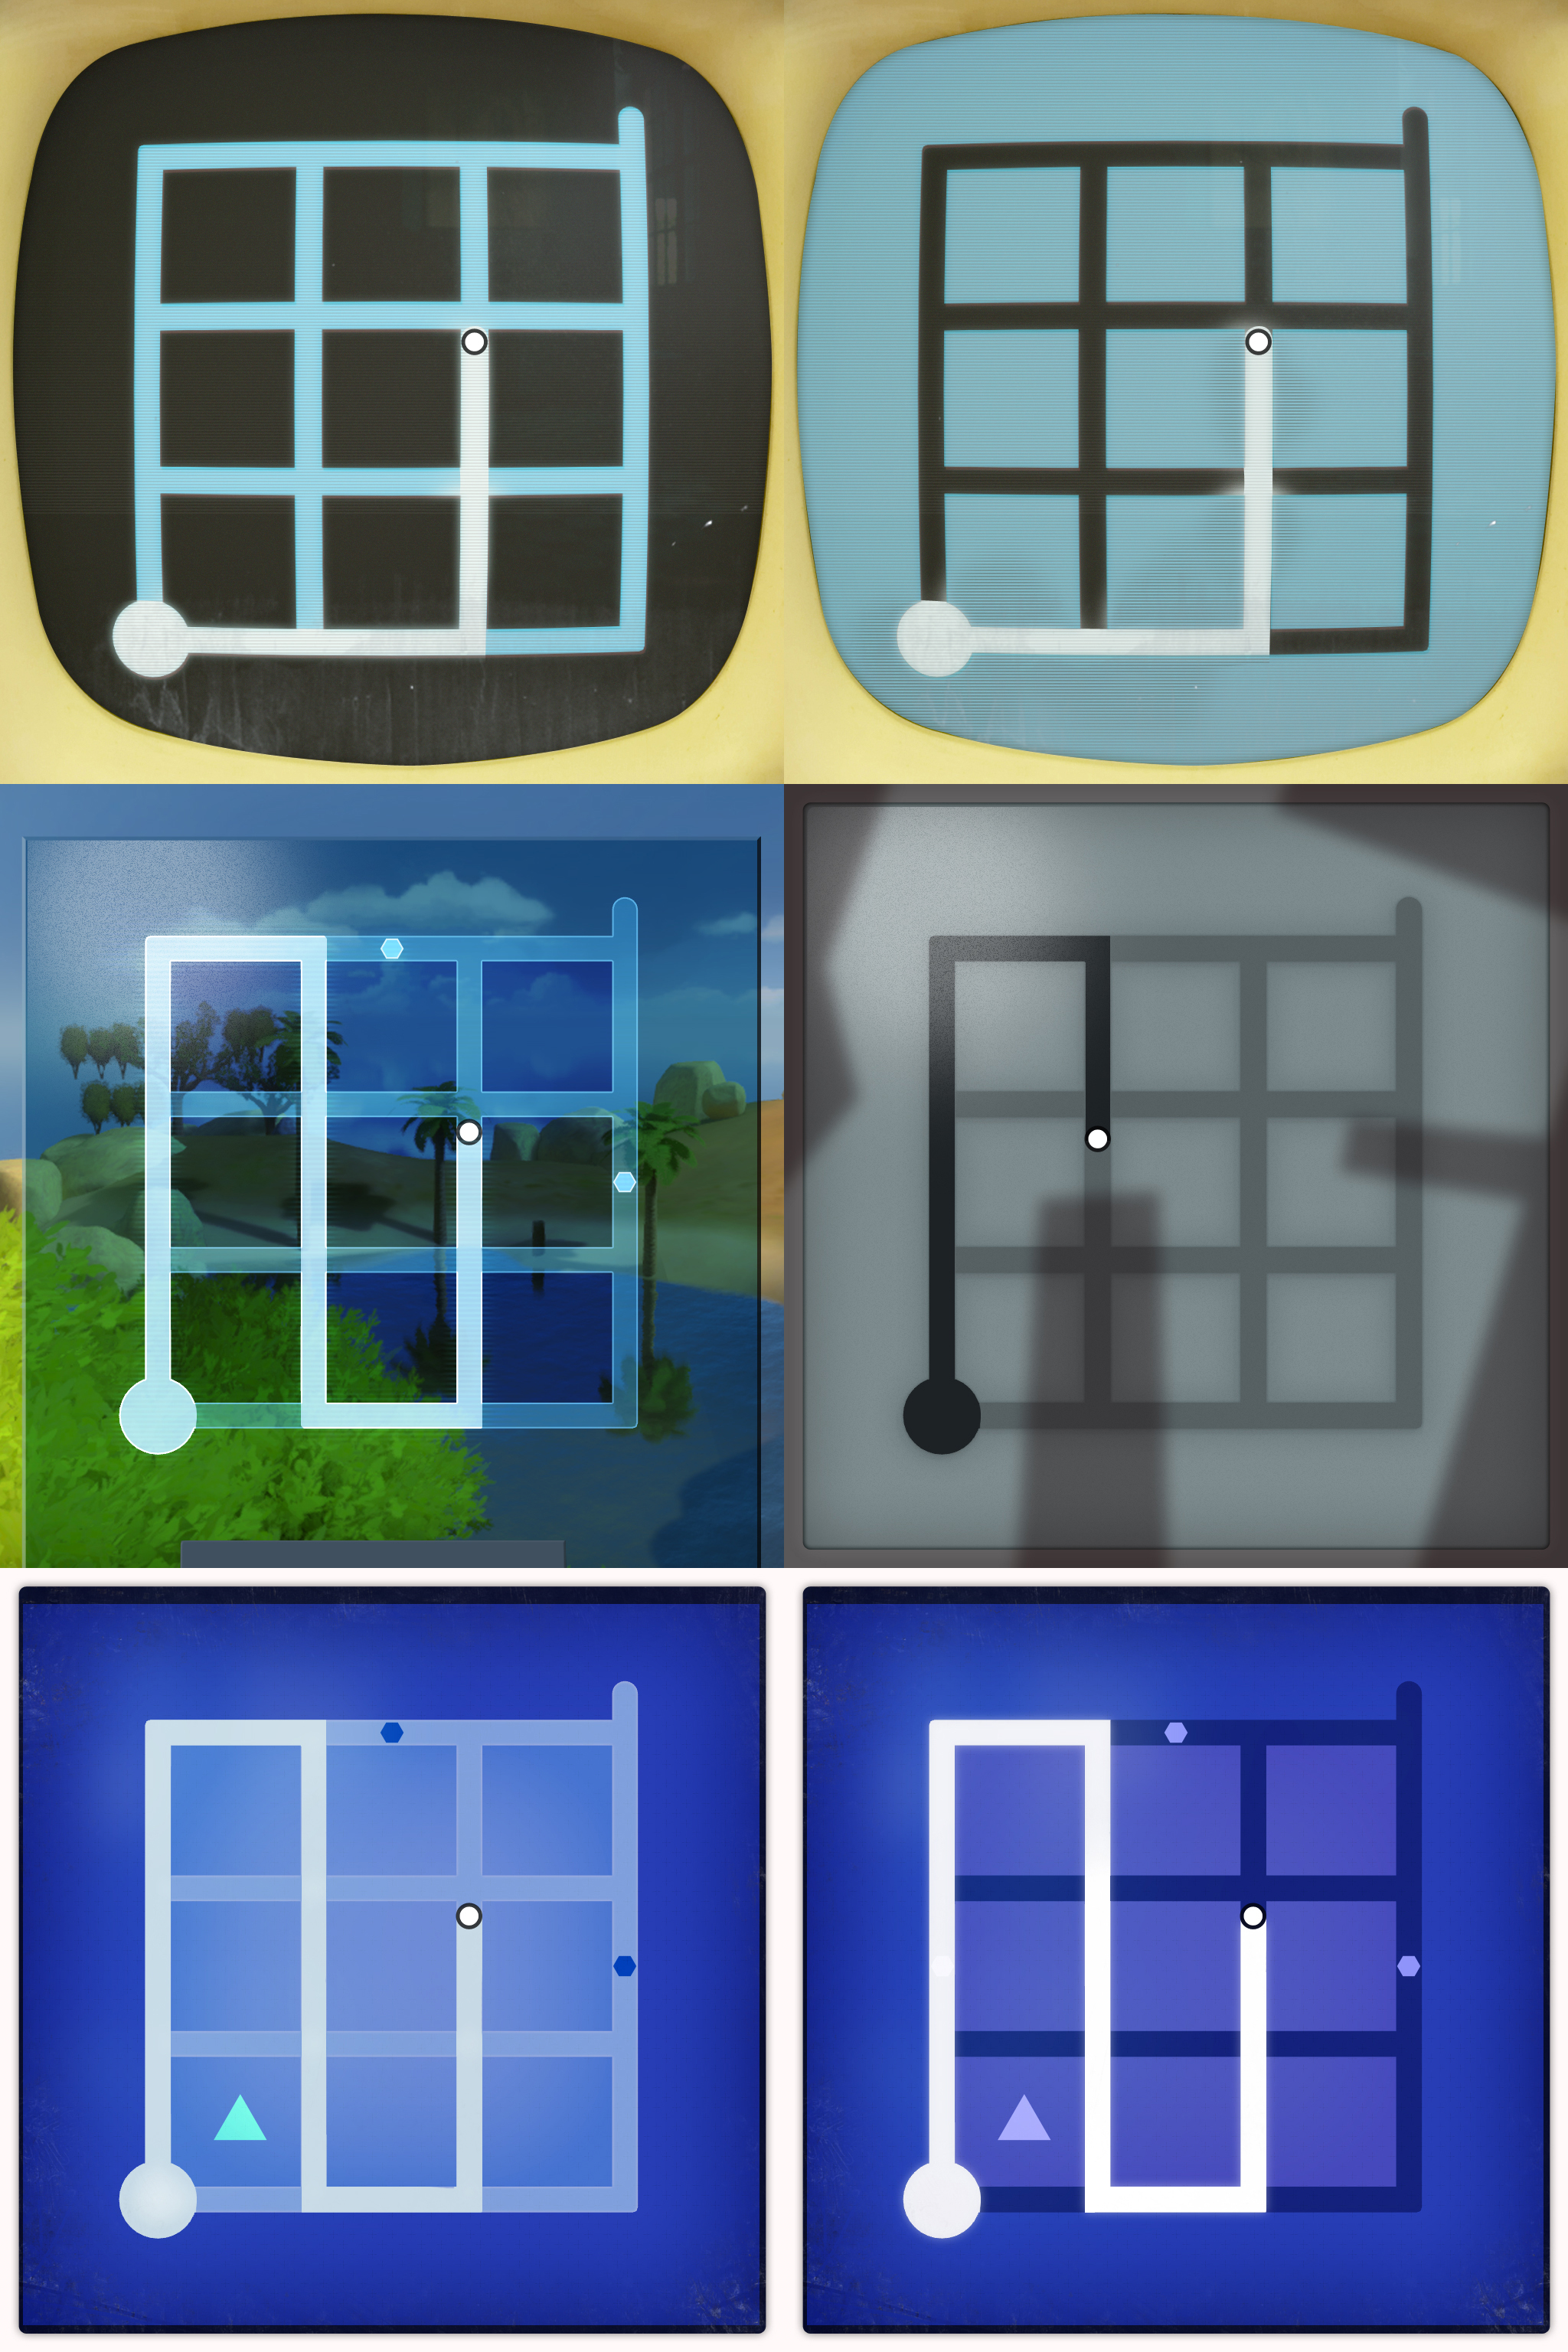
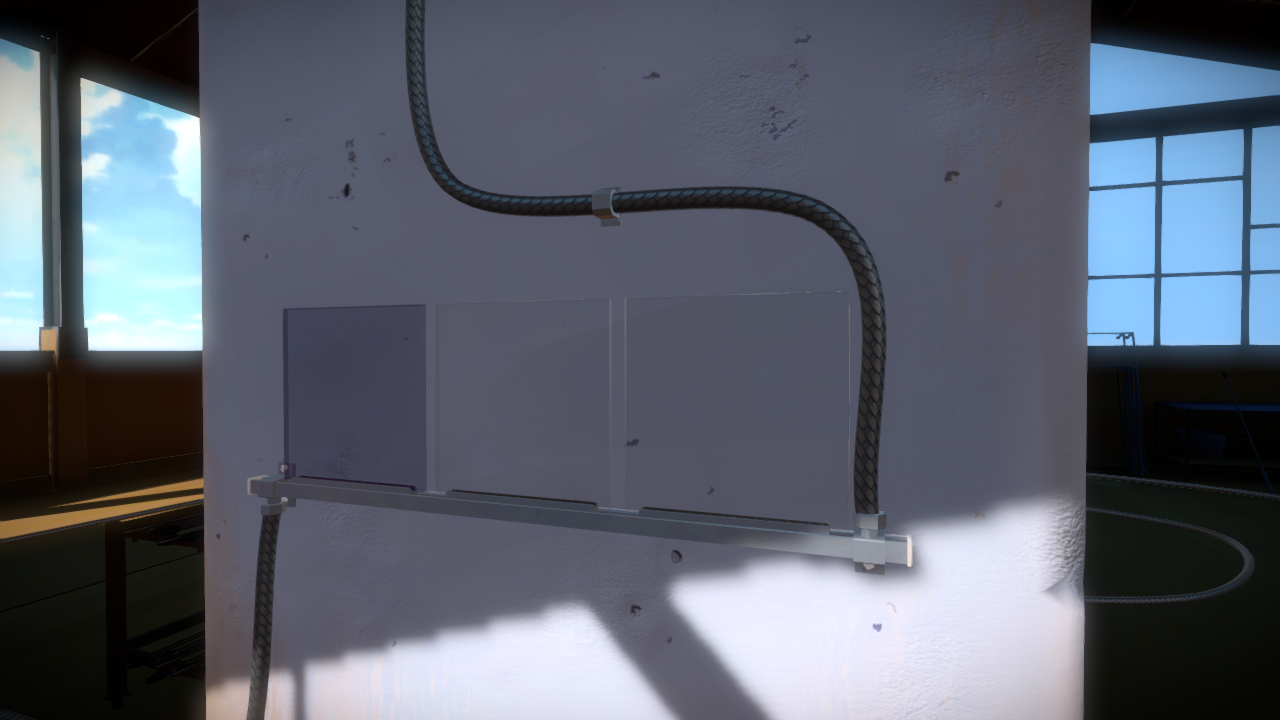
Cables
The cables in the island didn’t change that much throughout production. They were re-worked once we figured the style of the panels, going from a round tube to something less circular and more elegant. Here are some of the initial proposals:
And how they currently look like: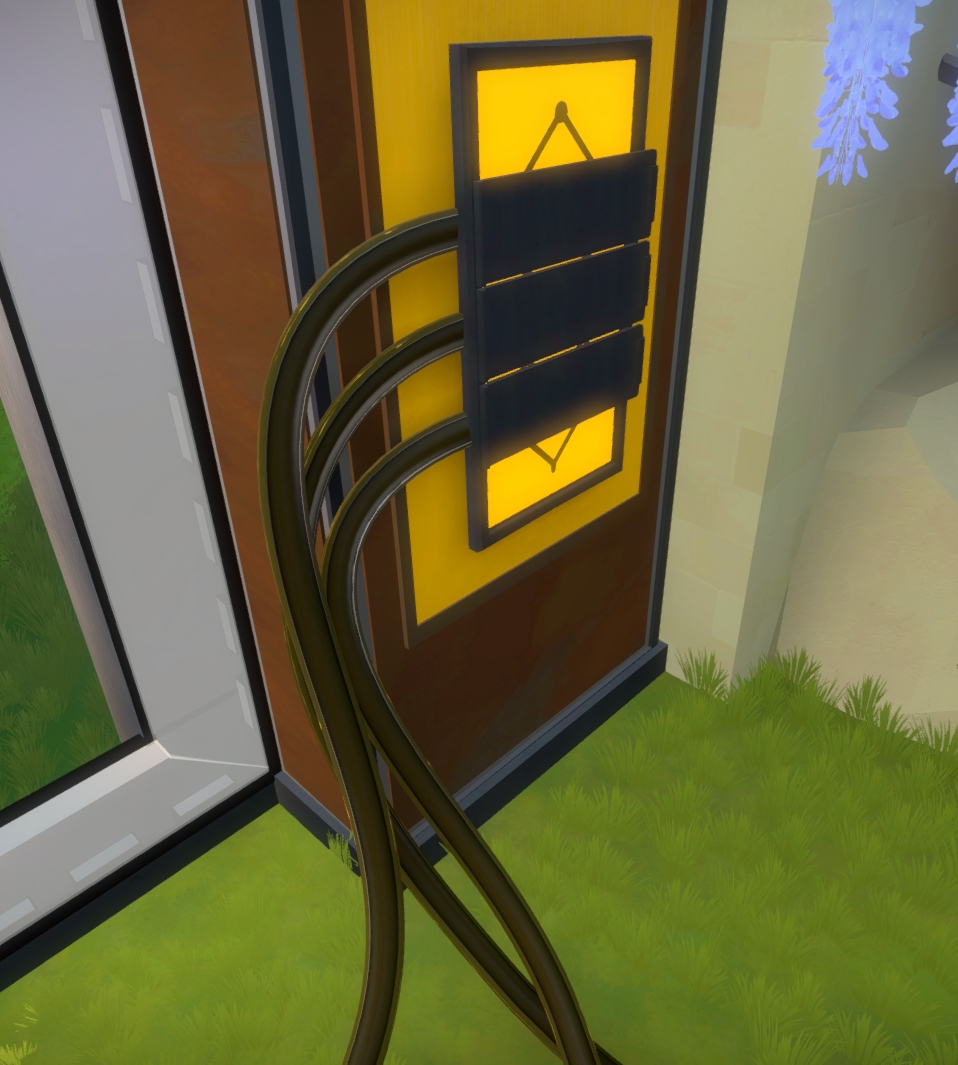
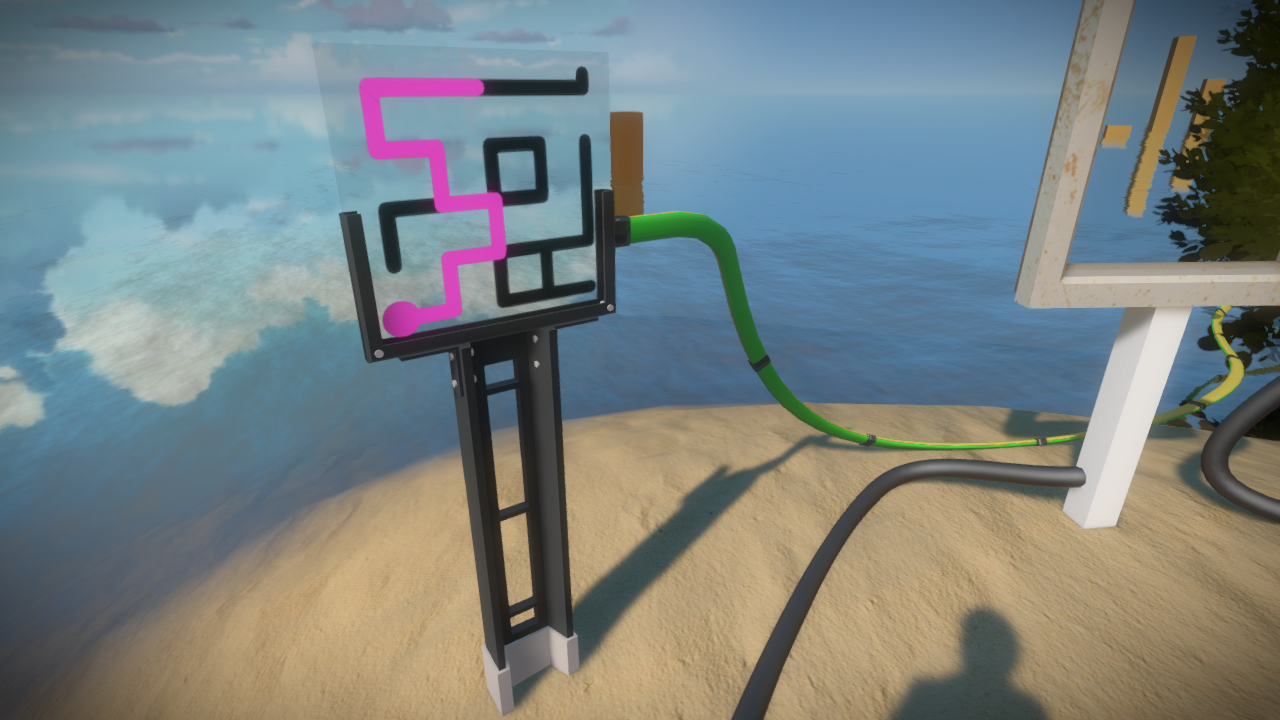
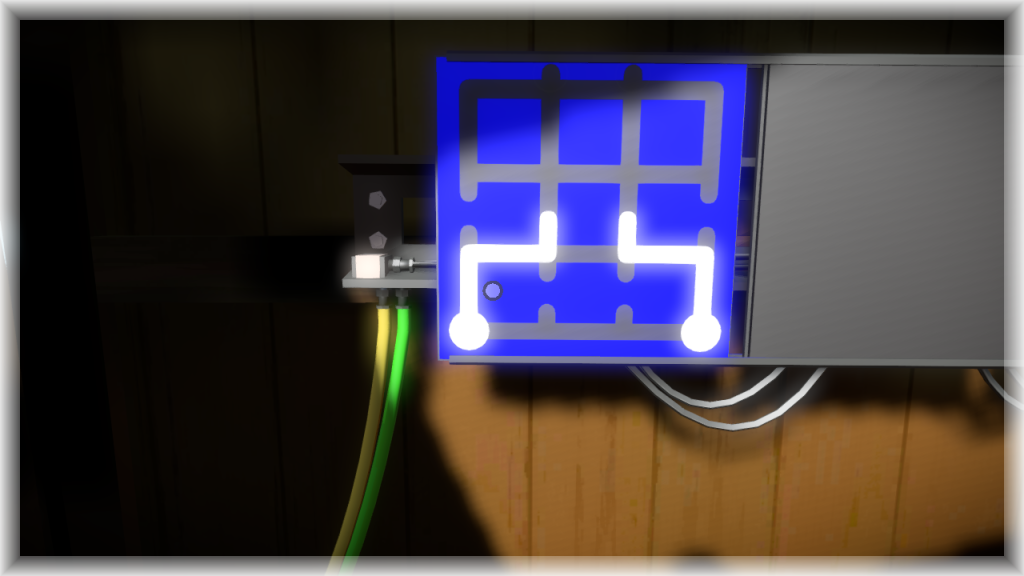
In the Symmetry Island, we needed a custom cable with 2 different colors to represent the two lines you can trace. Here is a eventually discarded idea, since it was hard to see both colors at the same time (you can also see an early proposal for the glass panel frames and base):
 Another proposal, this one was just too small to see from the distance, with too much unnecessary detail:
As usual, we ended up going with the simplest solution:

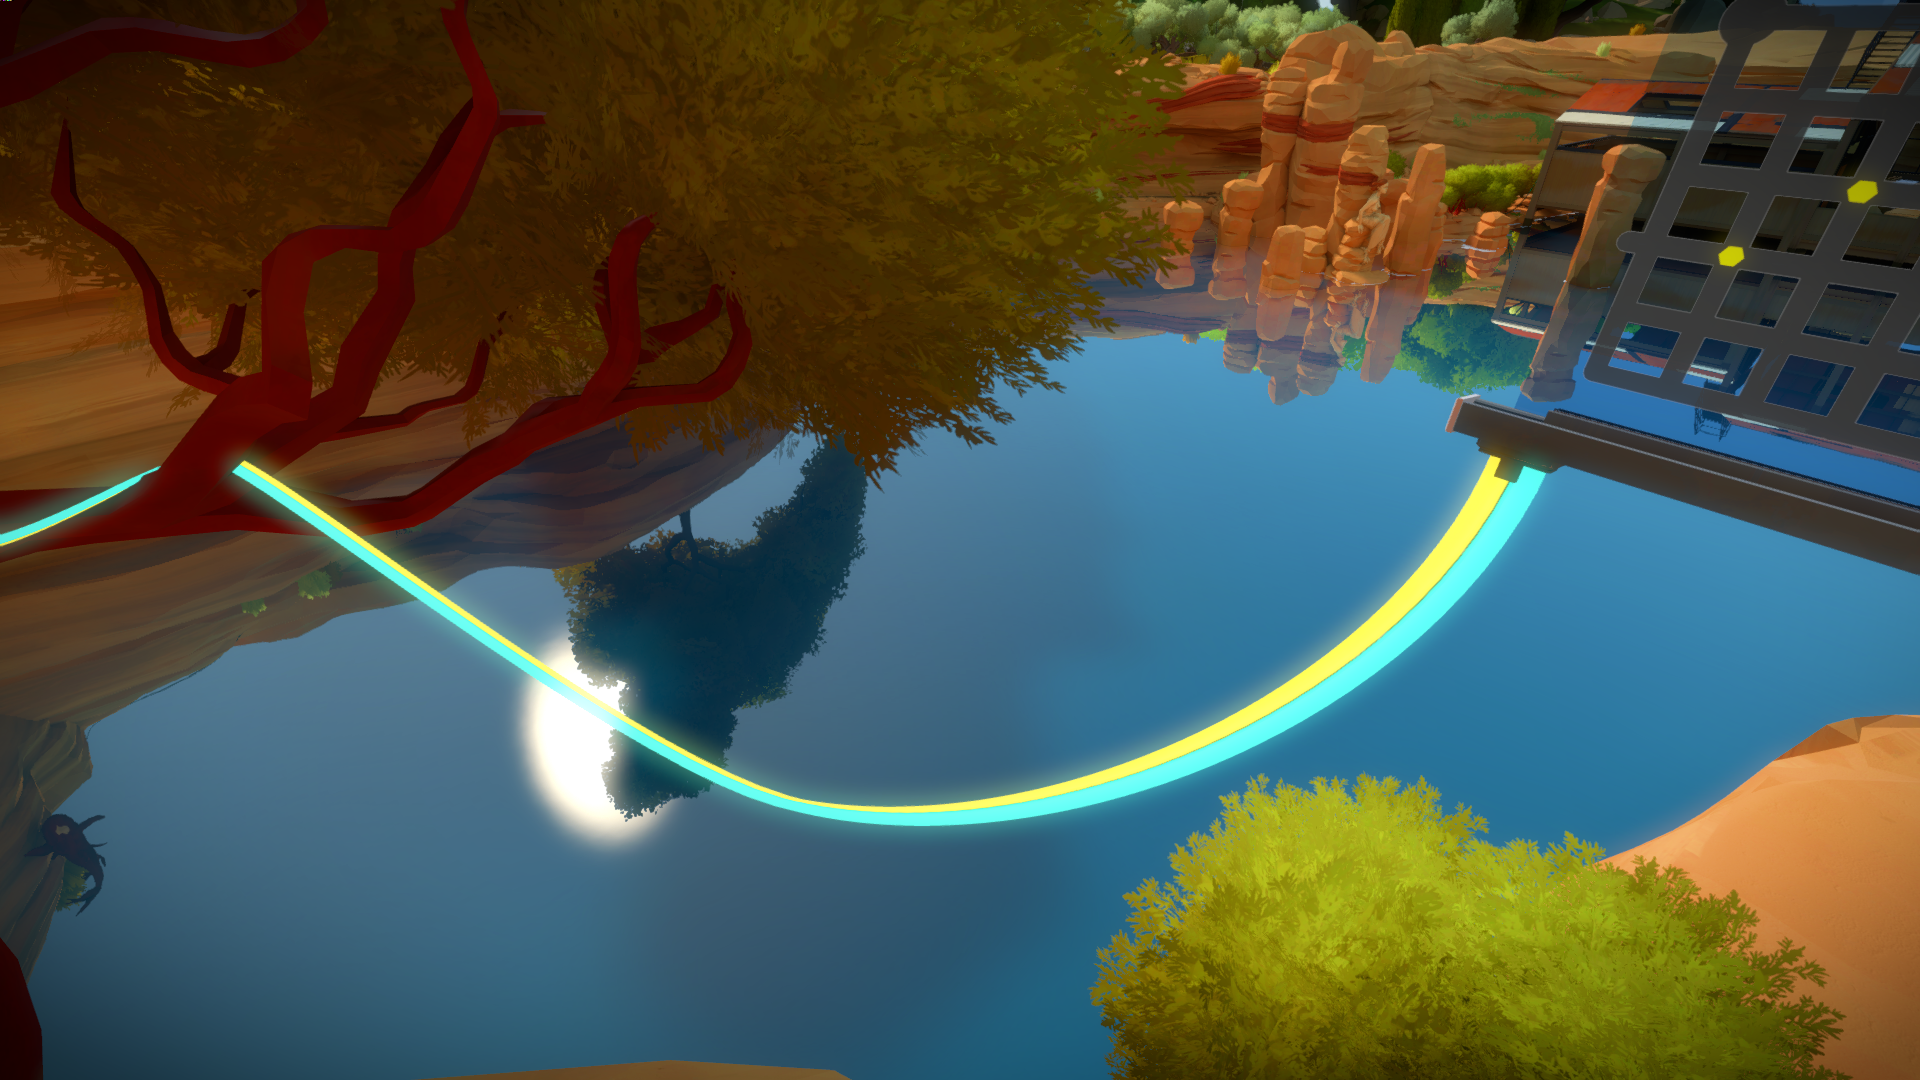
Another custom cable was the special yellow one in the mountain:
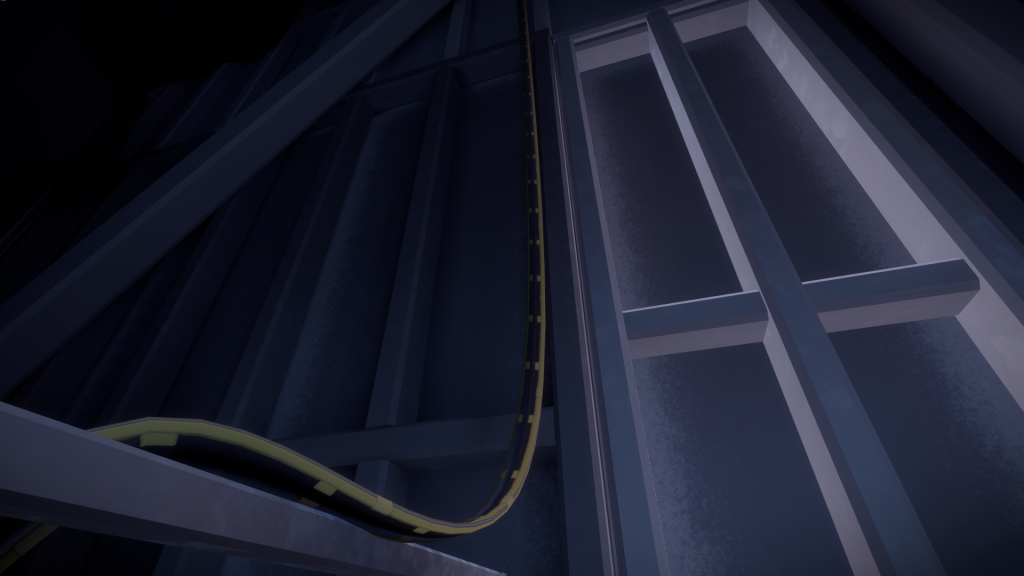
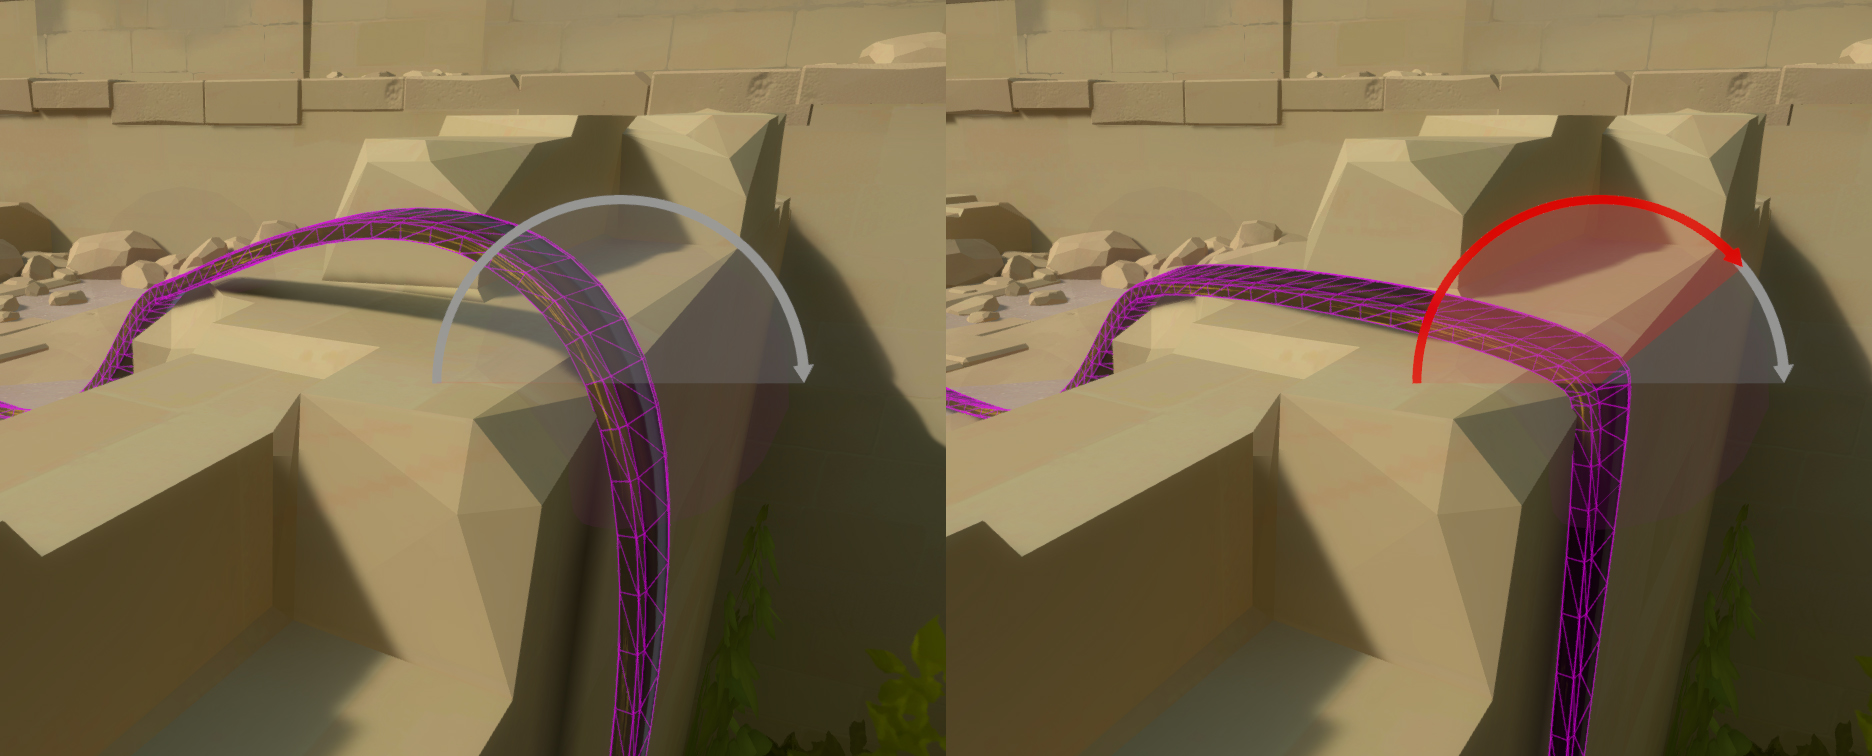
The biggest amount of work was actually placing the cables. Since it’s a custom engine, we only have the tools we need, and it was almost impossible to edit the cables precisely. It was a great back and forth with Andy, figuring out the features we needed to better edit the cables. Some worth mentioning are; the end point automatic snap-to-surface key (that secondary floating point allowed us to define the strength of the cable curvature, kinda like a spline handle):
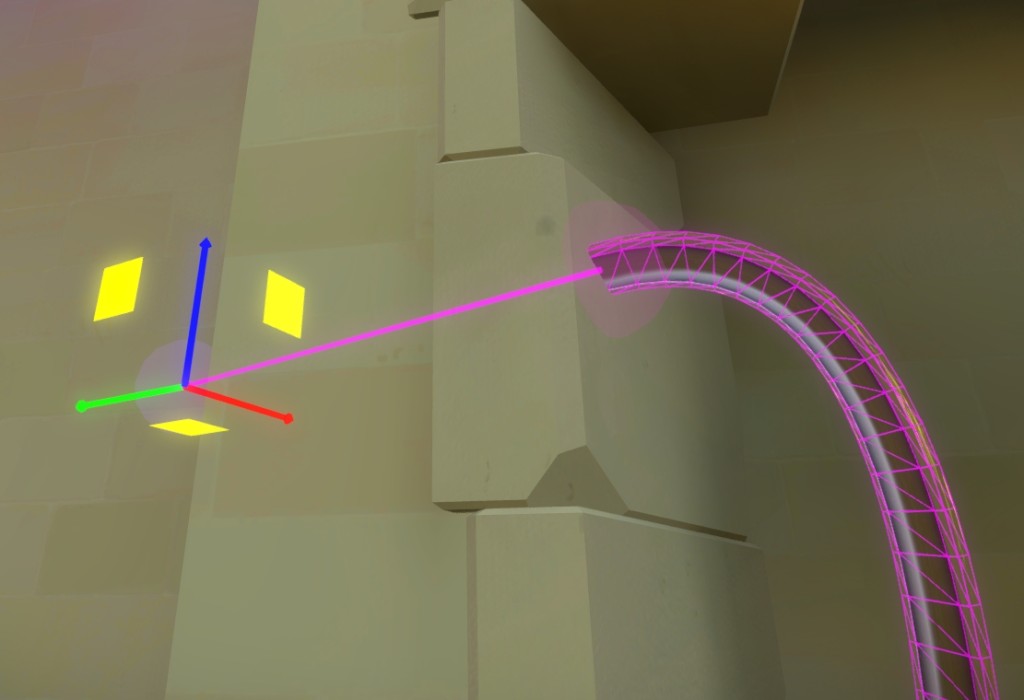
And per-point tension control, allowing for cables to curve or be sharply bent around surfaces:
Allowing us in the end, to do something as precise as this: