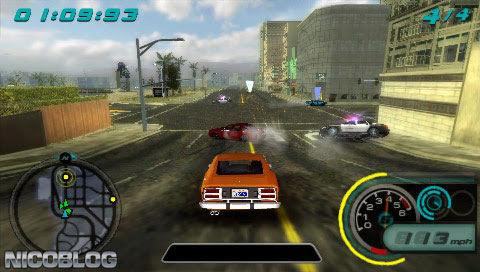
About 9 years ago, while working at Rockstar Games on Midnight Club L.A. Remix, I ended up doing the skydomes. I was surprised at how different of a challenge it was, compared to the usual world building. Being responsible for the clouds and sky on The Witness was a big flashback to the past.
The first step was trying to figure out how they were supposed to look and feel. There were some design constraints that meant they had to be puffy and easy to assemble into shapes and so I went into research and references, but this time, rather than photography, I focused on interpretations. Here are some of my favorite that capture the feeling we were going for:
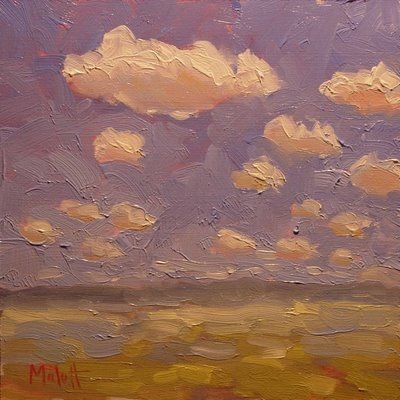
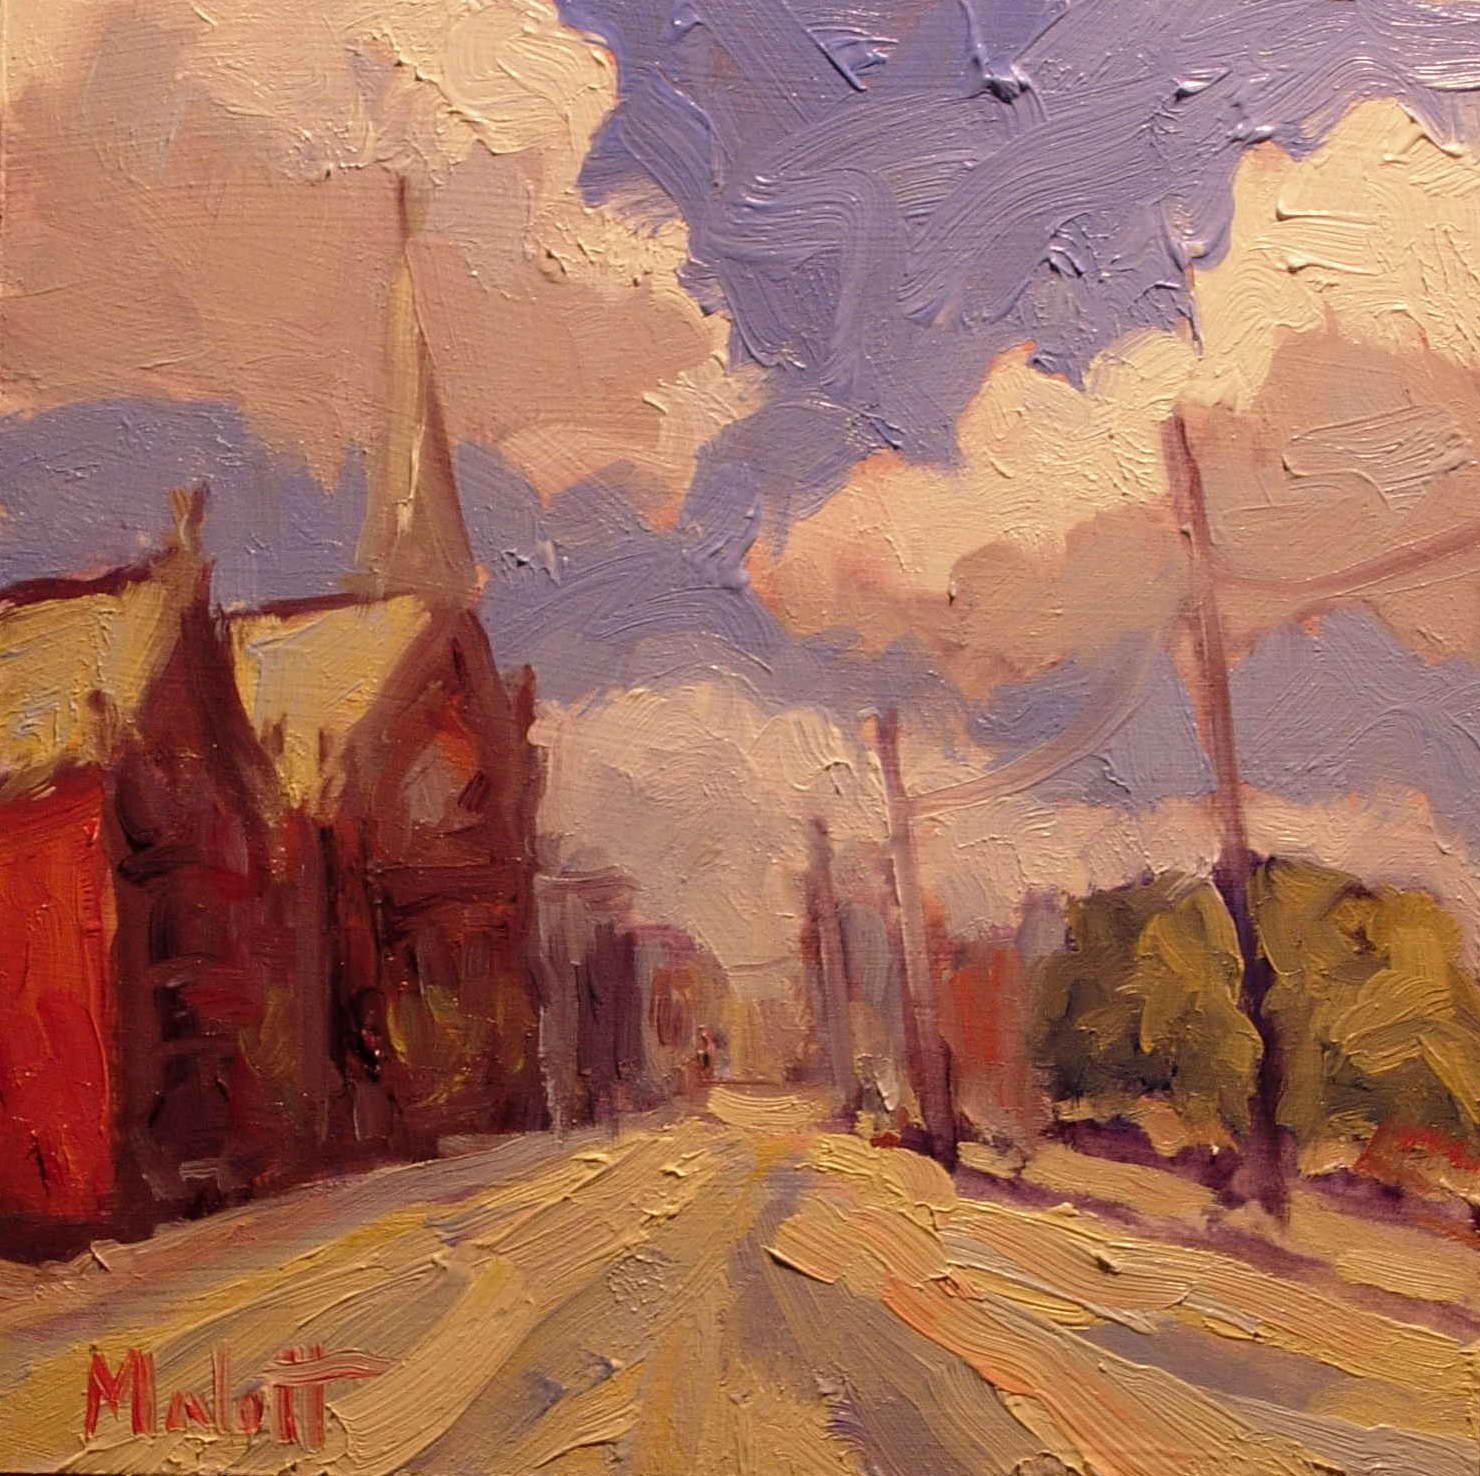
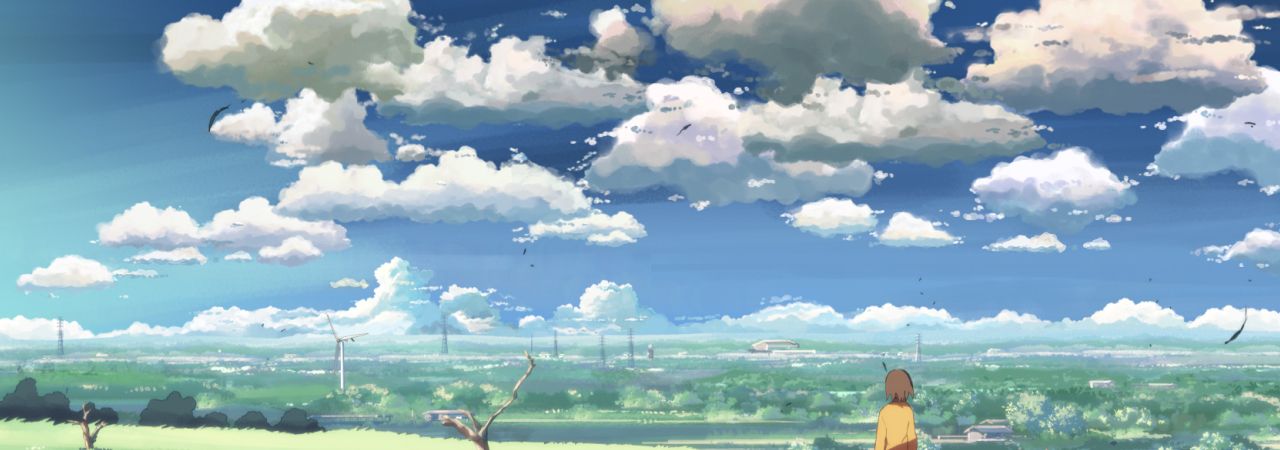
And the image below was probably the more influential one. The way japanese animation deals with painted backgrounds, specially far away vegetation, was a big reference for how we made our trees and foliage. And so it was no surprise that the way they tackle clouds was also a good reference. They are clean, expressive and at the same time realistic.
Foreground Clouds
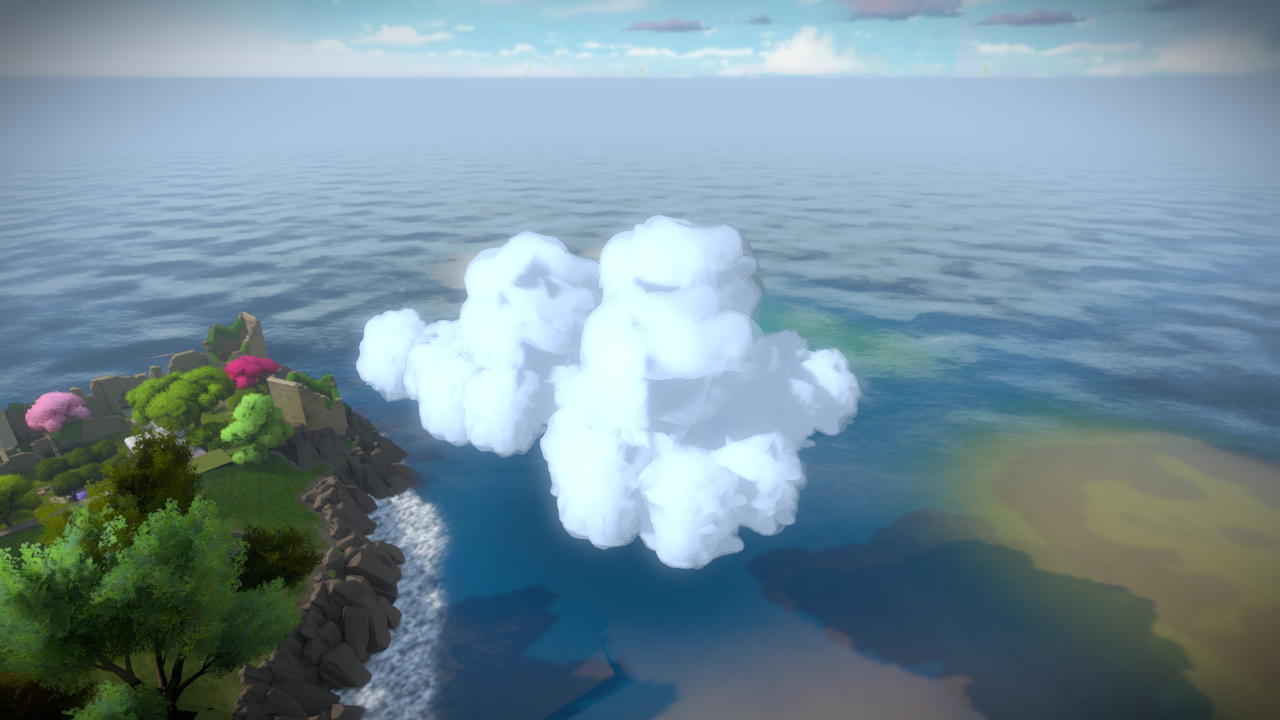
I initially tried to see if we could get away with a solid mesh to represent them, and that didn’t really work:
There was something interesting to the result when in a group, but they were too restrictive for design and just felt too out of place:
To capture the puffiness of clouds, I decided to model them like vegetation,creating several intersecting geometry planes:
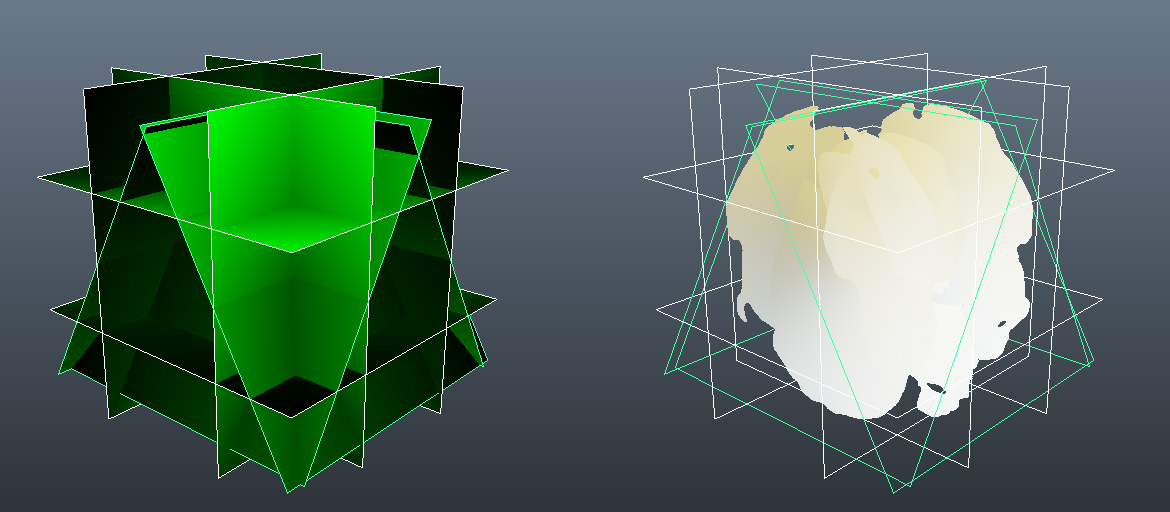
and then group them together:
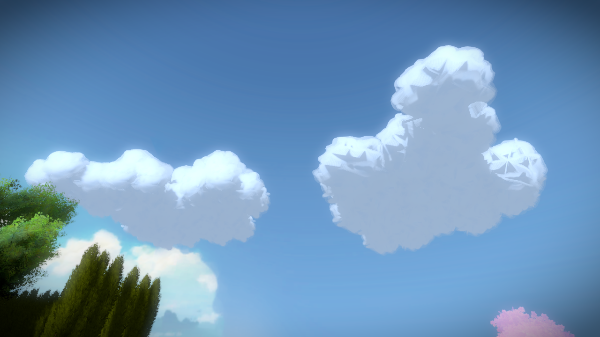 It felt better and being modular meant I had more control of the shapes, but due to their gigantic scale, we would have all sorts of problems with lighting and shading:
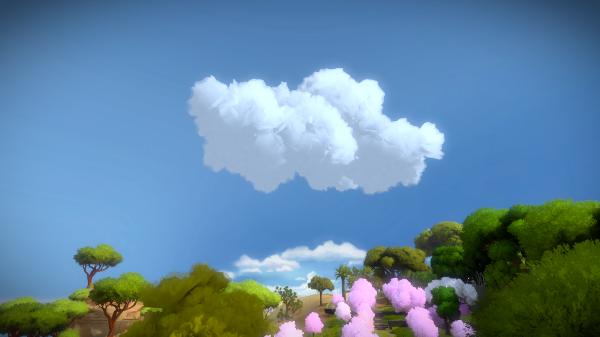
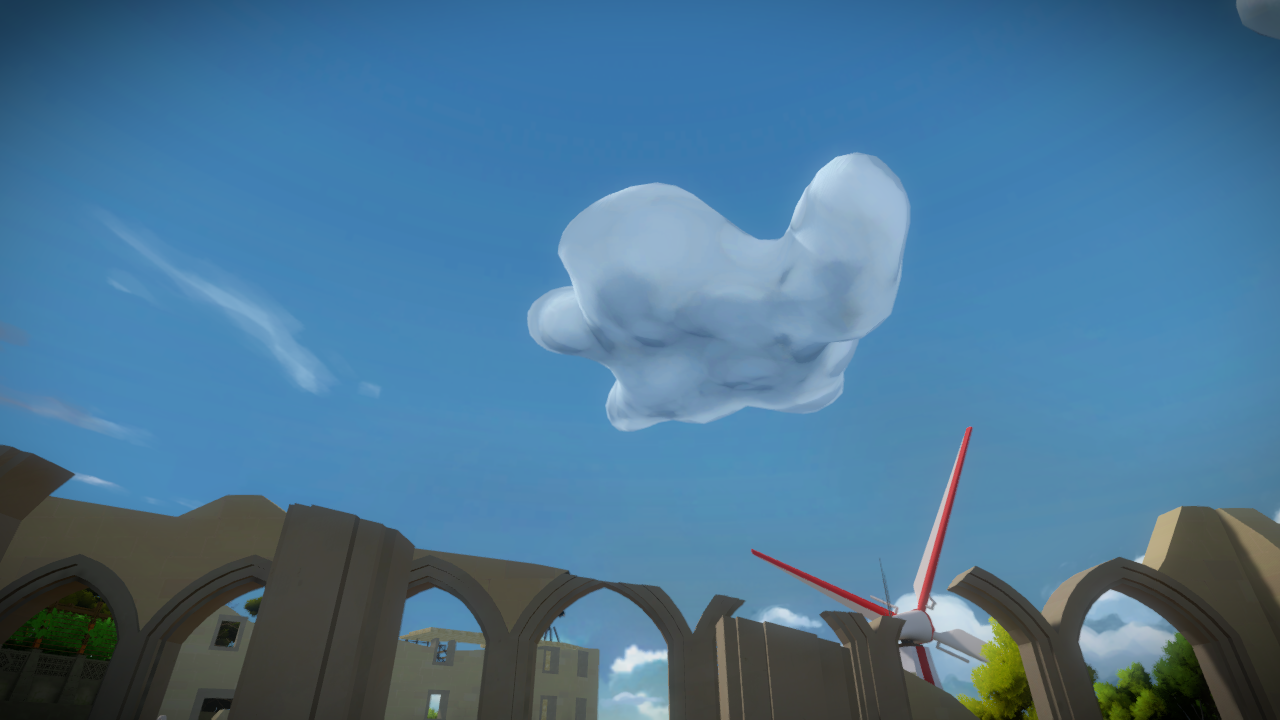
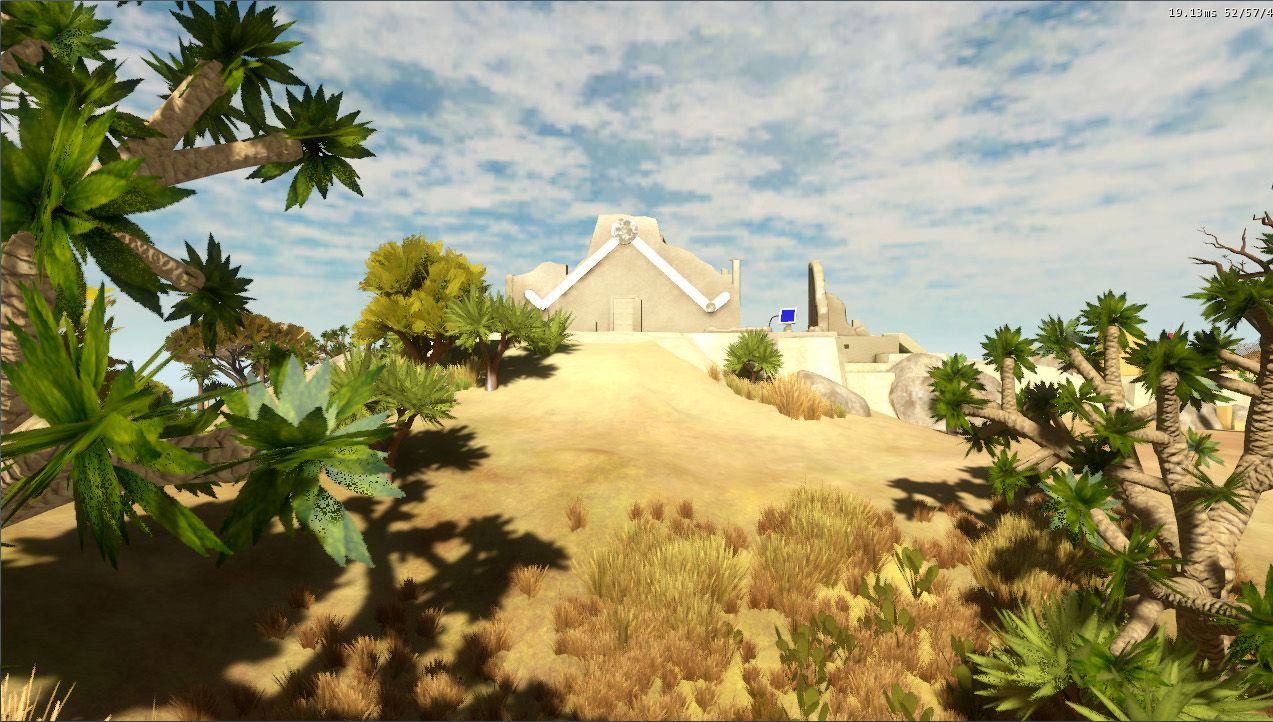
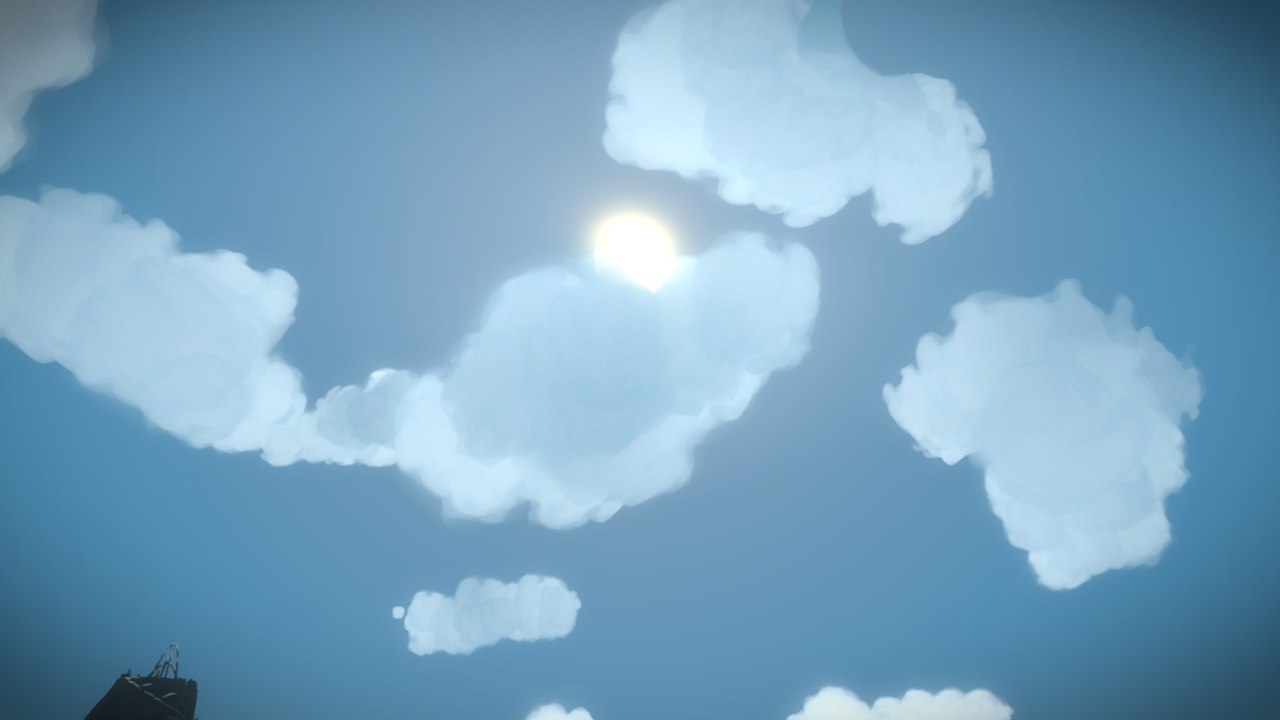
But sometimes, from the right angle and some tweaks on the textures, we could see the potential:
 It then became more of a technical issue. The current shaders just weren’t designed to render these massive objects nor scatter light correctly. You can read about the technical process below, under the section “The Technical Bits” by the wizard Ignacio Castaño. Once the shaders were working correctly, I could then focus on creating more good looking clouds that hopefully don’t feel too suspicious.
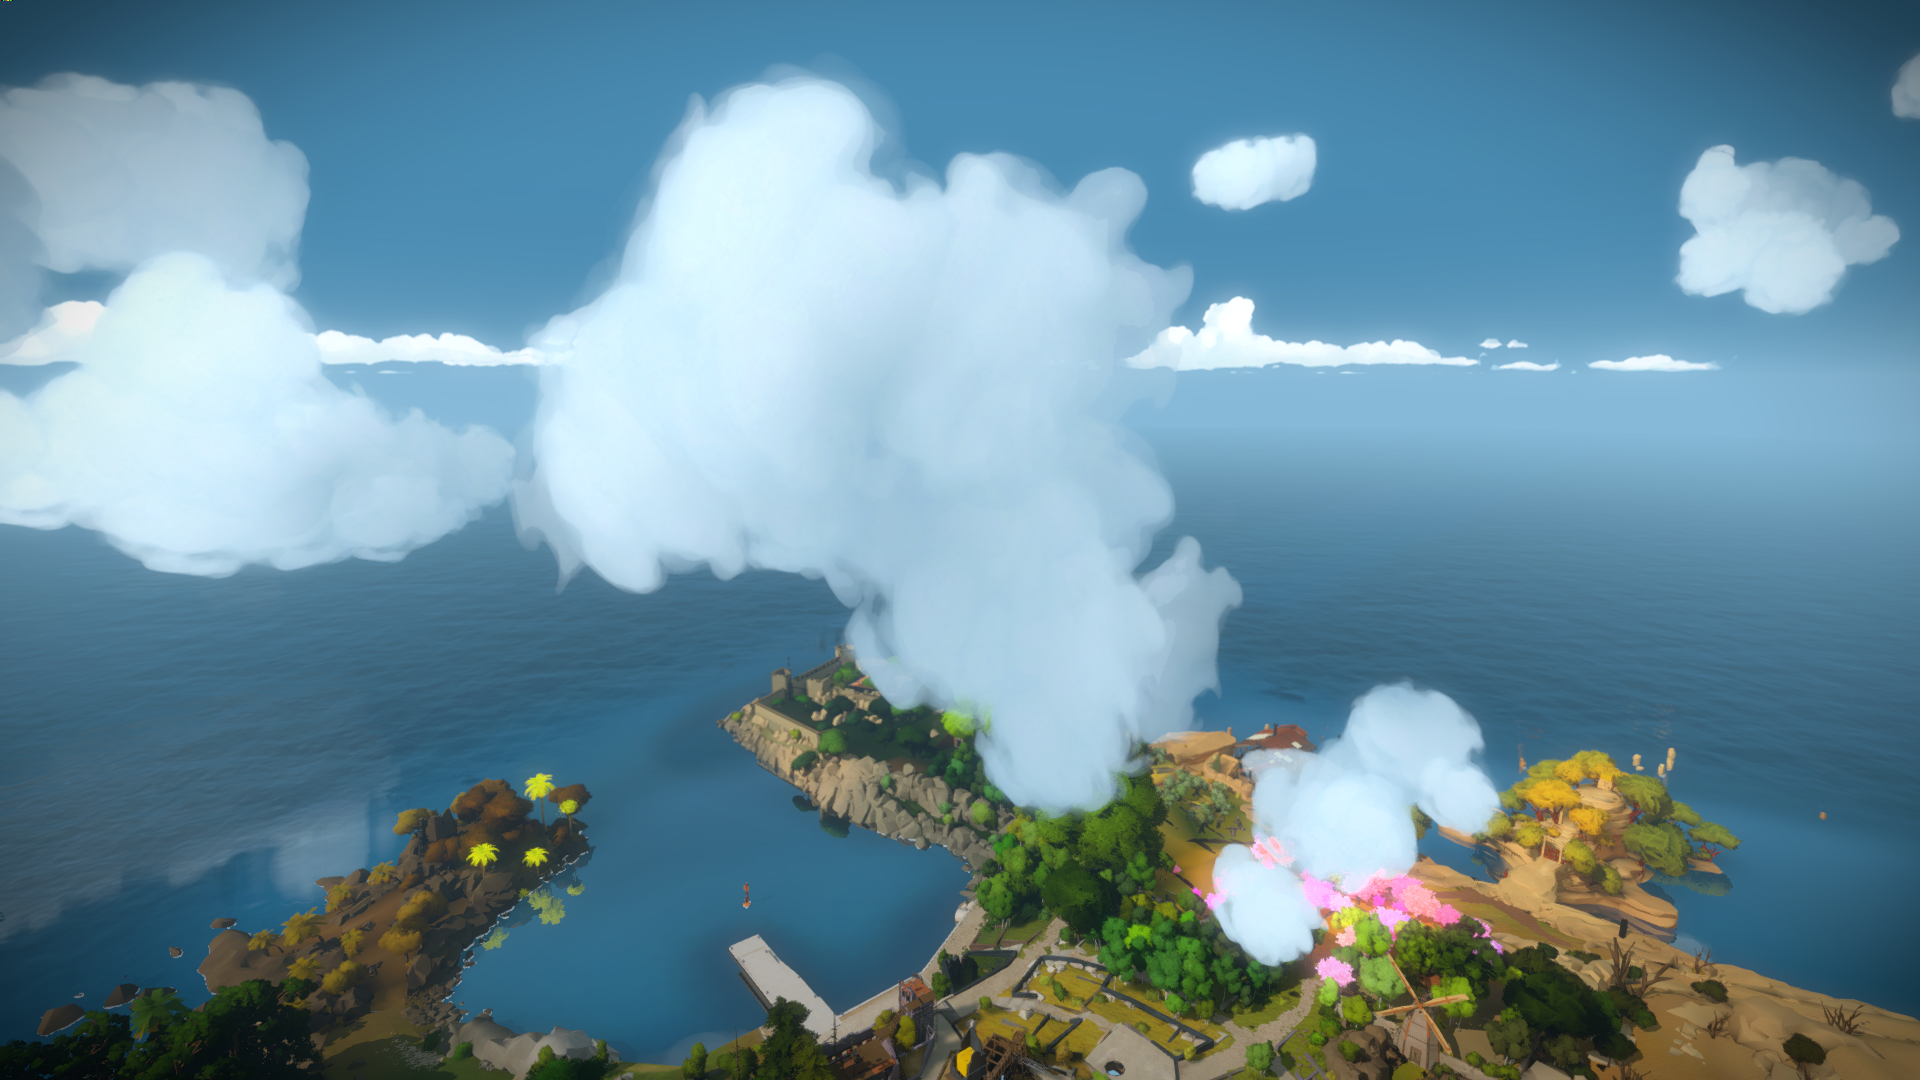
I’m not super happy with the final result, and I wish we had found a way to make them more natural looking, but with all the crazy constrictions we had, they work well and fit with the rest of the world.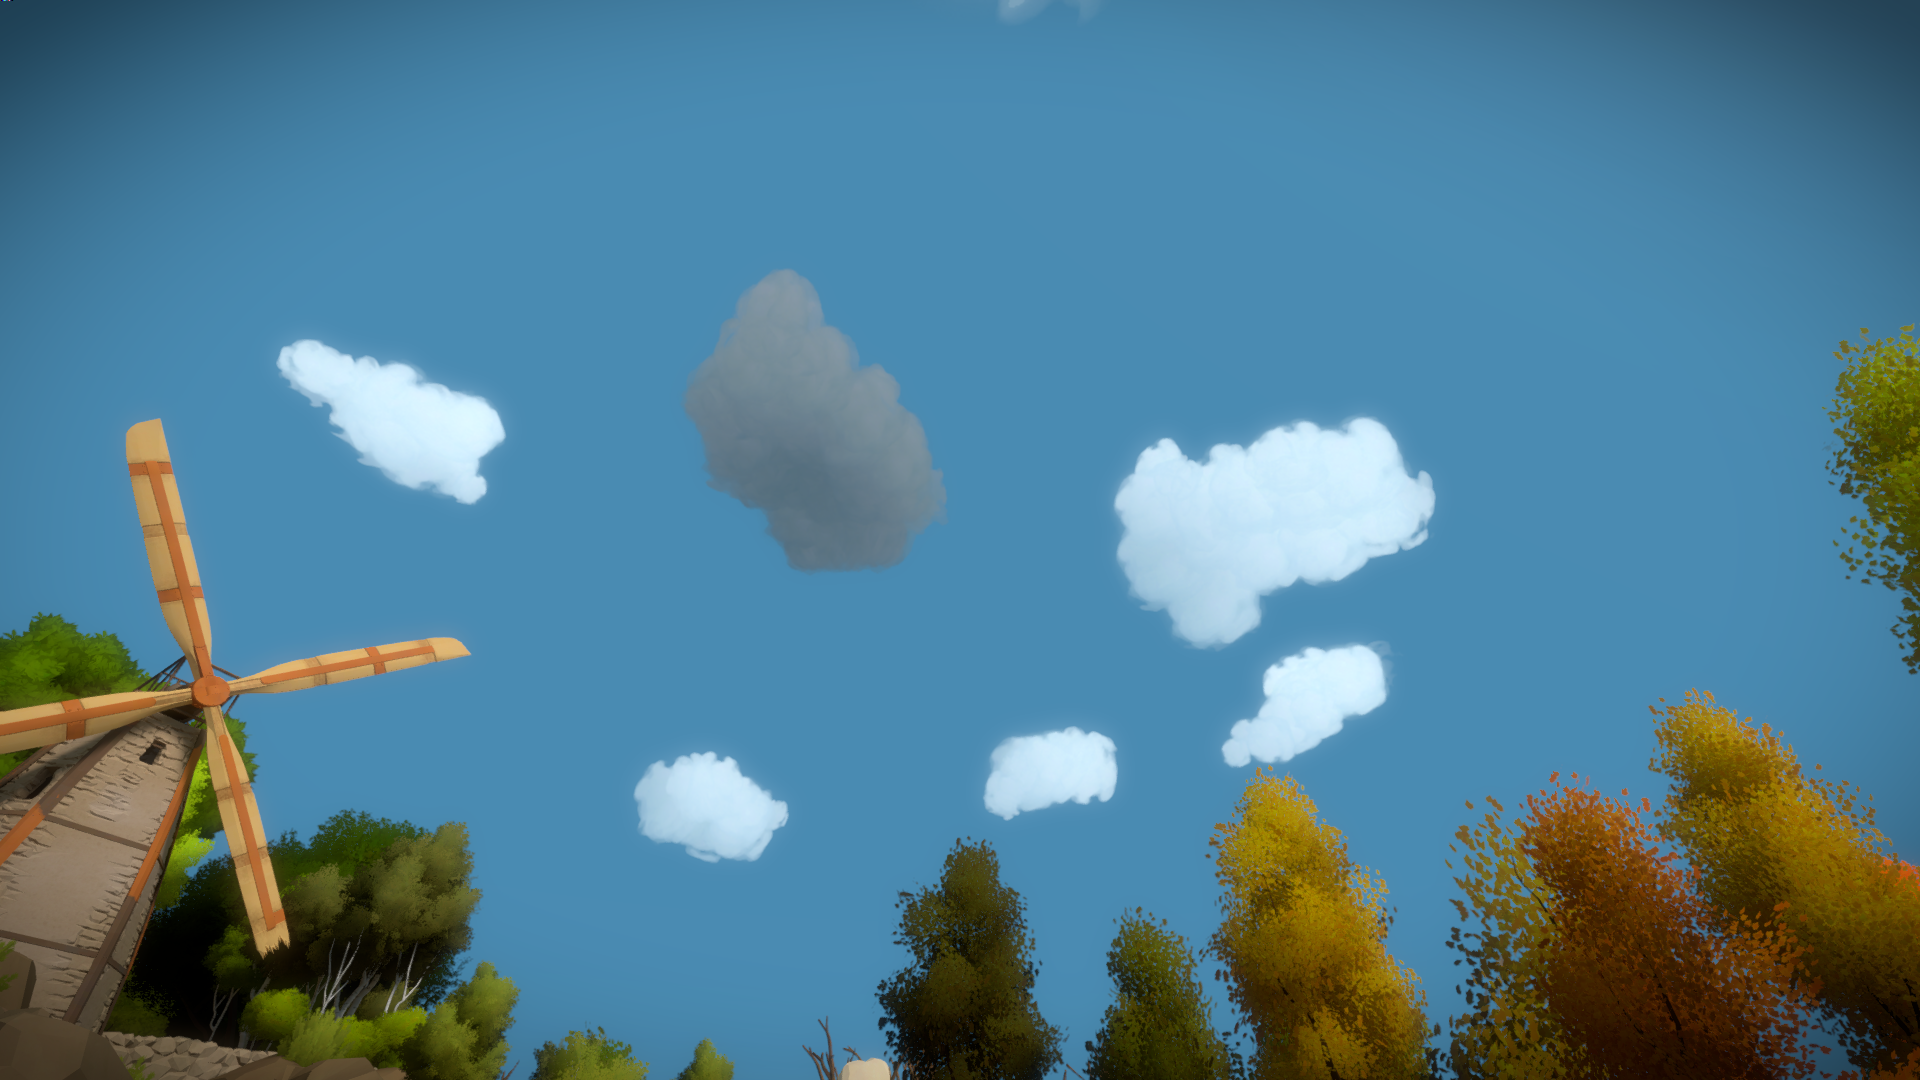
Background Clouds
For the longest time, the background sky was a dome with a painted texture. This was a waste of resources since 90% is just blue and it required a very high resolution texturen in order for the clouds not to be pixelated. The version before I joined looked like this:
I started by using the painted clouds from the reference you saw at the start, and placing them as a temporary background. This changed the mood and allowed me to more easily understand if the foreground clouds were working or not. If you pay close attention to the sky background on the other pages of the blog or the progress on The Witness website, you will not only see this sky but other variations I was trying throughout production. Another nice trivia bit, is that this image I’m using below, is actually a paintover proposing how the foam could look like!
Here is the original, before the paintover:

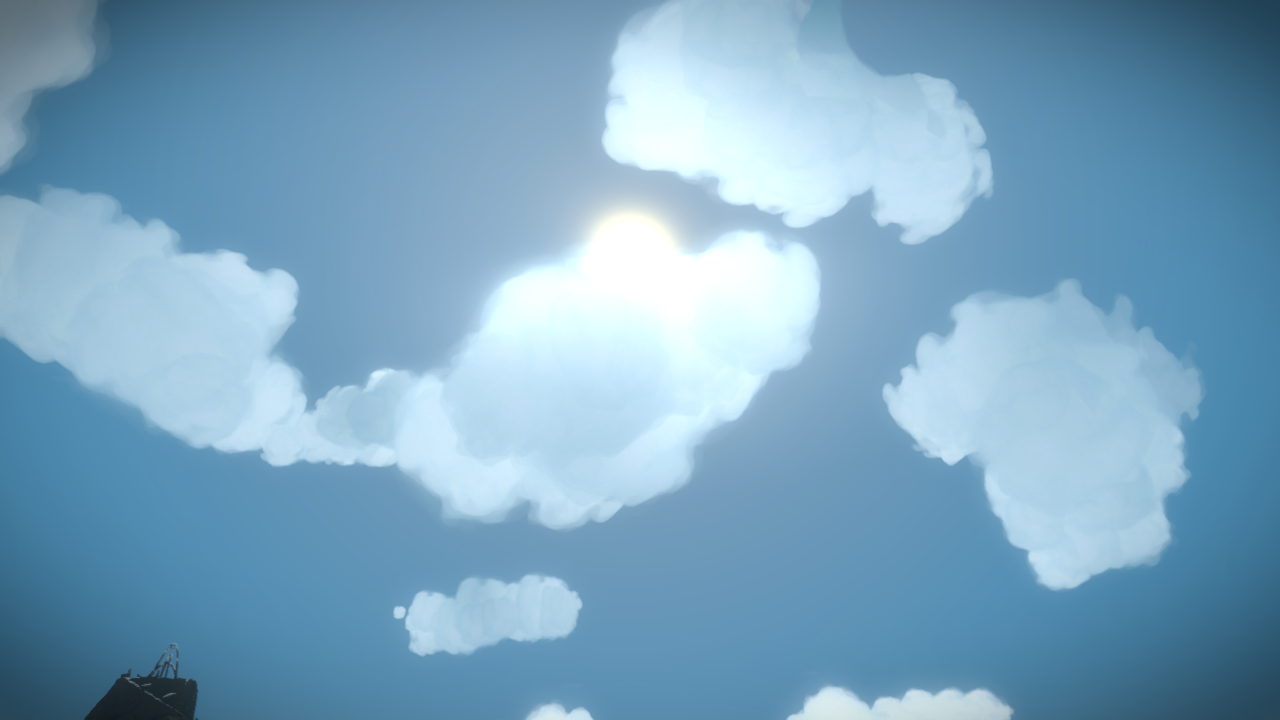
Eventually Ignacio updated the skydome to be a procedural gradient, and so I could separate the clouds into a texture (super relaxing to paint!):

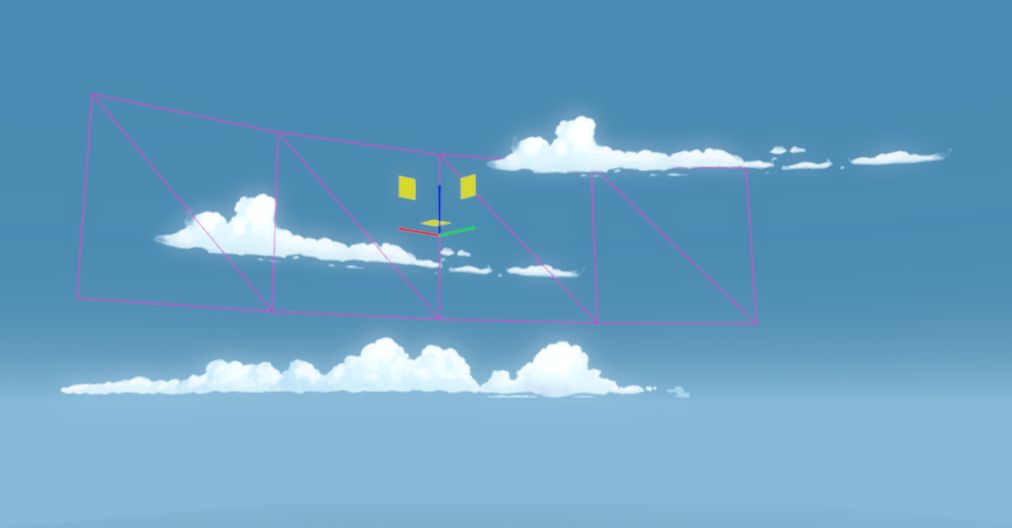
and make them cardboard cutouts in the distance that could be placed as needed:
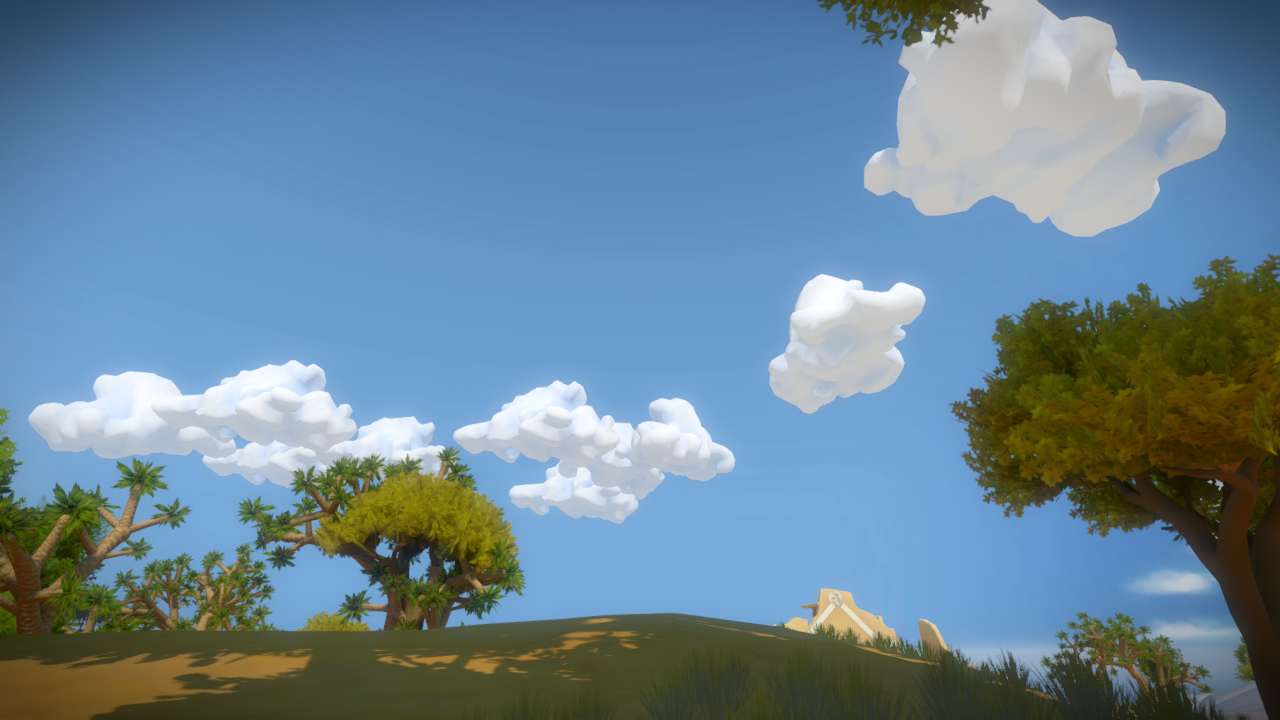
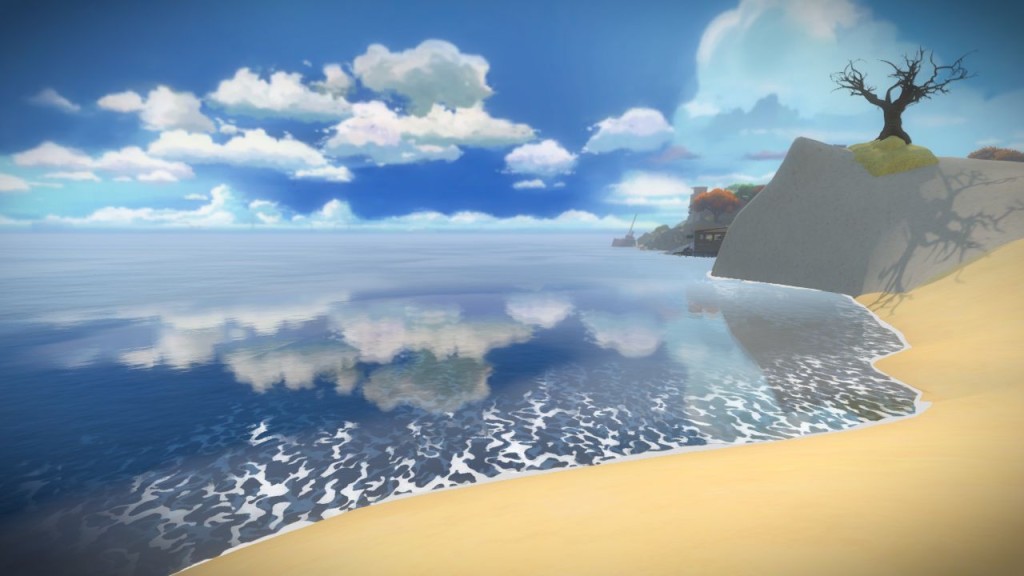
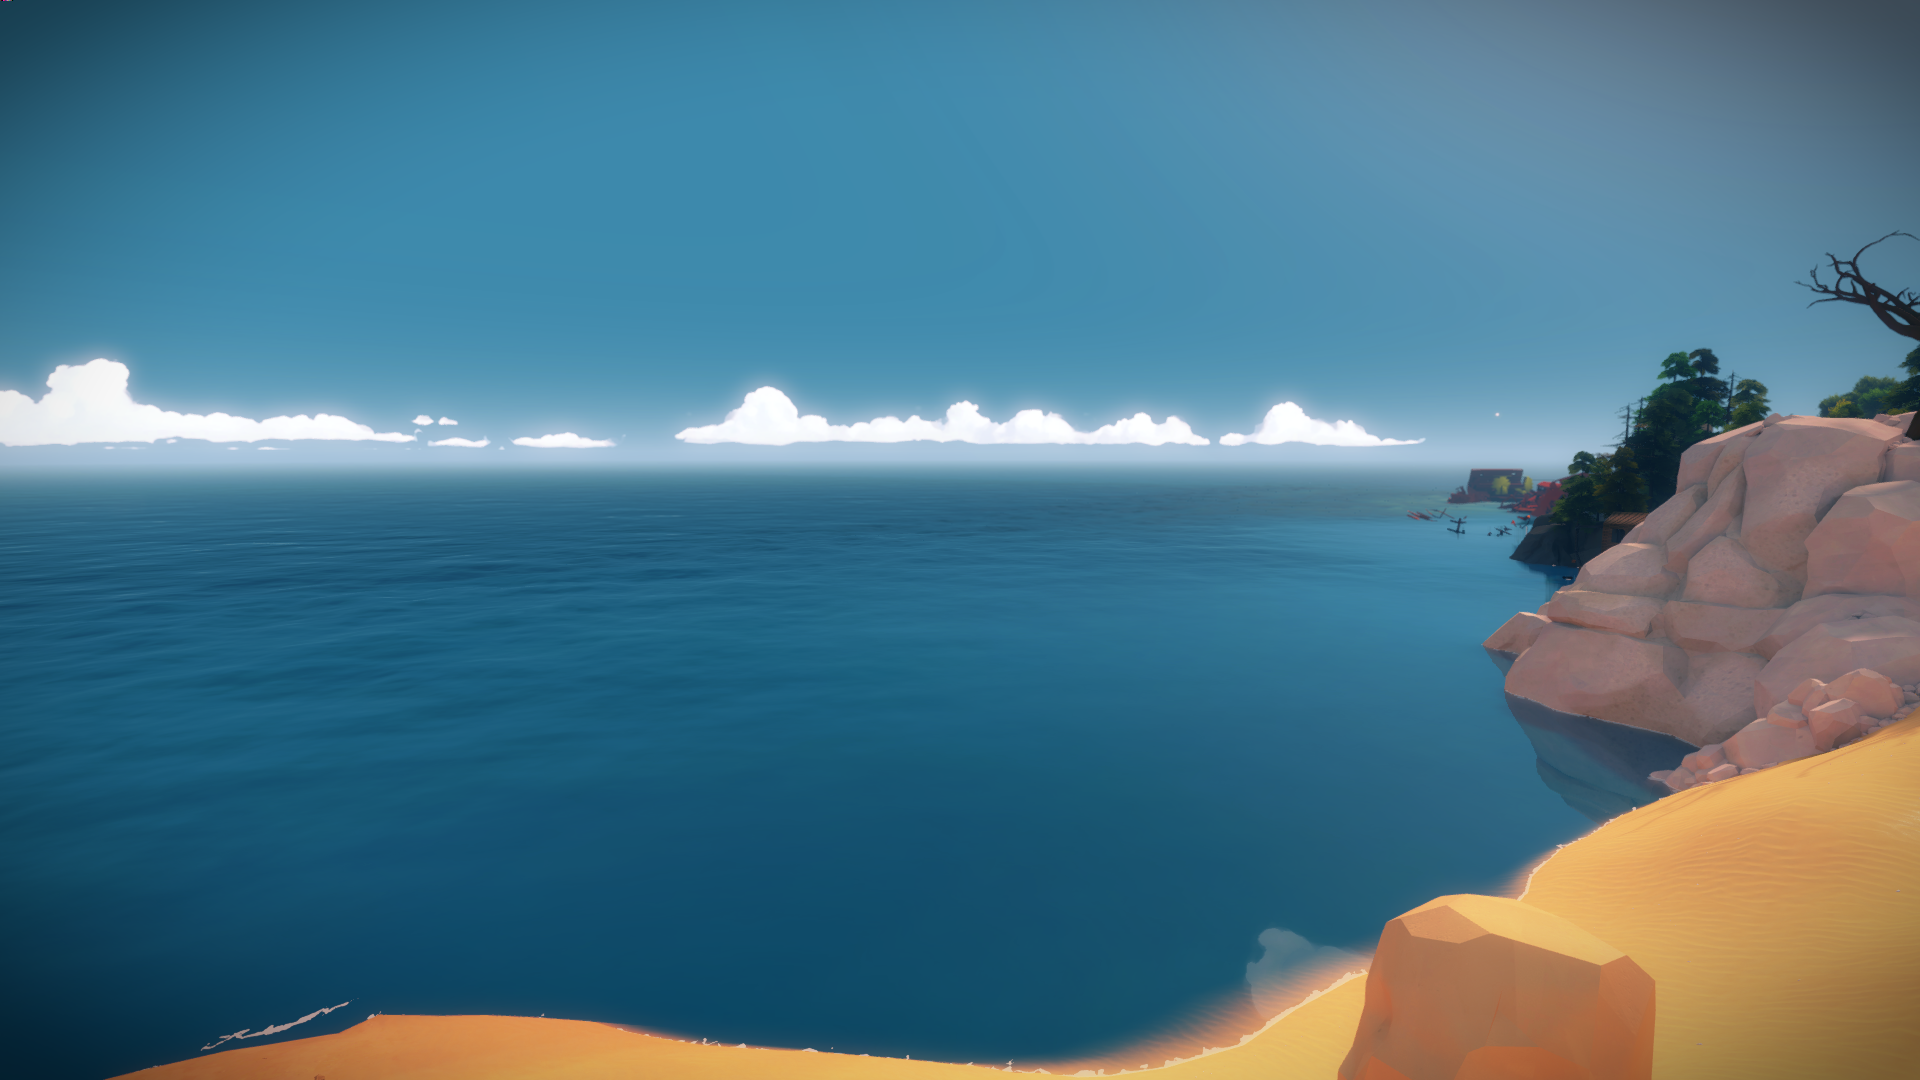
And the final result:
The Technical Bits
As I mentioned, the super graphic programmer Ignacio was the one that made the clouds possible.
We were originally going to do a post on The Witness blog about the clouds, but I never really had time to write my part, while Ignacio did his!
So I thought it would be cool to include it somewhere, and with his permission, here are some technical details of how he went about it.
Initially I had some ideas about volumetric shading that I thought would be interesting to explore, but it seemed a lot of work for a small feature, so I first started doing the most simple thing I could think of and turns out that worked well enough.
First, I render the clouds in two passes using a combination of alpha to coverage and alpha blending. Alpha to coverage provides correct sorting while alpha blending smoothes out the edges. We render each pass in opposite order, the solid pass front to back, the transparent pass back to front. This is actually faster than a single alpha blended pass, because most of all the occlusion that we get during the first pass. Clouds overlap and self intersect, so the alpha blended parts are not entirely correct, but artifacts are barely noticeable, because the colors of the clouds are so uniform. I experimented with this technique for vegetation, but it did not work nearly as well in that case, because it had much higher contrast and sorting errors would stand up a lot more.
Alpha to coverage only:

Alpha to coverage + alpha blending:

For the shading of the clouds I just adopted the same wrap-shading technique that we use to simulate scattering in our vegetation. If we assume that clouds do not cast shadows on each other, this does a reasonable job approximating diffuse scattering with internal self-occlusion.
For this to work we need to provide a smooth normal field around the cloud surface. In the case of the vegetation, we author these normals Maya or MAX using a tool like Normal Thief. However, clouds are assembled in the game editor from smaller clumps. In order to have a smooth normal field encompassing the entire cloud we combine the vertex normals of the individual clouds with a vector field computed subtracting the vertex positions from the cloud centroid, which the artists can tweak manually.
Finally, the clouds had a volumetric appearance, but lacked the forward (Mie) scattering typical of real clouds. We simulated that with an additional term that reaches it’s maximum when the view vector and the light direction oppose each other, but fade out quickly as they diverge:
float forward_scattering = pow(forward_scattering, saturate(-10 * (0.9 + dot(V, L))), 4);
Ideally we want to attenuate that term based on the thickness of the cloud, but since we don’t have that readily available, we use an approximation similar to the one used by the wrap-shading term and assume that thickness is lower at glancing angles, that is when N dot L is close to 0:
forward_scattering *= saturate(1.25 - abs(dot(N, L)));
While not physically accurate, this produced fairly convincing results!
Diffuse scattering only:
Diffuse and forward scattering: